你所需要的
-
-
-
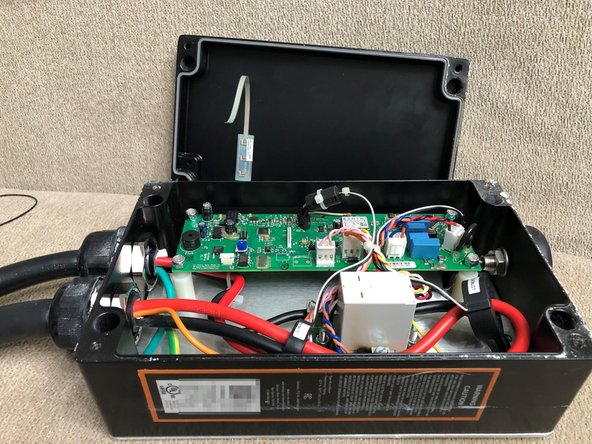
Place JuiceBox on a horizontal surface for easiest work.
-
Three different types of screws were used throughout the history of JuiceBox versions.
-
Philips #2 (silver screw)
-
2.5mm hex (rusted black screw)
-
T20h security Torx (black screw)
-
If you have a 2.5mm hex screw, be extremely careful with it - they are easy to strip and tend to bind. Use exactly a clean 2.5mm hex bit - don't substitute a Torx or other size. Press down and turn counterclockwise strongly and carefully to unscrew.
-
Once 4 screws are removed, if your box has LEDs, pay close attention to the next step before proceeding.
-
-
-
If your box has LEDs, slowly tilt the edge of the case away, revealing the ribbon cable connected to the board.
-
Lift the lock in the direction of the ribbon cable, and you should feel the ribbon cable release.
-
You may now remove the ribbon cable from the board, and place the lid aside.
-
During reassembly, note that the ribbon cable contacts should face opposite the lock slider (as in photo). To re-insert the ribbon cable, first release the lock, insert the cable, then press the lock back down to latch it in place.
-


To reassemble your device, follow these instructions in reverse order.
To reassemble your device, follow these instructions in reverse order.
