跳转到主内容

Razer Naga Epic Numpad Disassembly

你所需要的

  1. Razer Naga Epic Numpad Disassembly, Unscrew retaining bracket and buttons: 步骤 1 中的图像 1,2 Razer Naga Epic Numpad Disassembly, Unscrew retaining bracket and buttons: 步骤 1 中的图像 2,2
    • The buttons and their PCB are held into the side panel by a retaining bracket.

    • Unscrew the 4 x 6mm Phillips #0 screws securing the retaining bracket in place.

  2. Razer Naga Epic Numpad Disassembly, Unclip retaining bracket: 步骤 2 中的图像 1,3 Razer Naga Epic Numpad Disassembly, Unclip retaining bracket: 步骤 2 中的图像 2,3 Razer Naga Epic Numpad Disassembly, Unclip retaining bracket: 步骤 2 中的图像 3,3
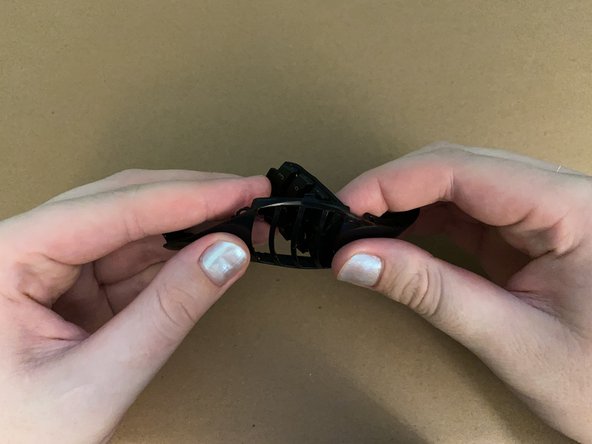
    • The retaining bracket is gently clipped in to the side panel.

    • Gently go round between the retaining bracket and the side panel with a spudger until it comes loose.

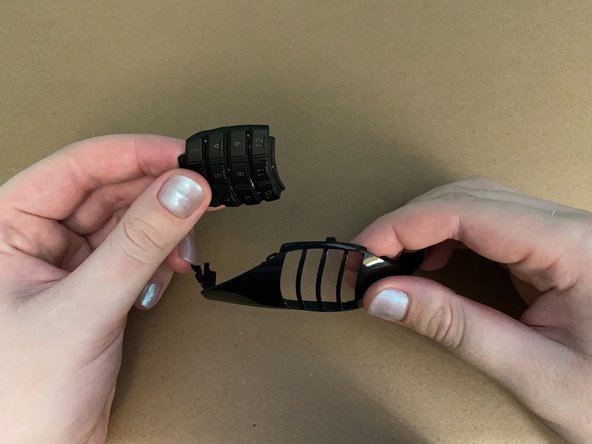
    • You can now separate the retaining bracket.

  3. Razer Naga Epic Numpad Disassembly, Push button cover out from side case: 步骤 3 中的图像 1,3 Razer Naga Epic Numpad Disassembly, Push button cover out from side case: 步骤 3 中的图像 2,3 Razer Naga Epic Numpad Disassembly, Push button cover out from side case: 步骤 3 中的图像 3,3
    • Gently push the rubber button covers out from the side panel. They are not clipped or held in place by anything.

  4. Razer Naga Epic Numpad Disassembly, Unscrew retaining bracket from PCB bundle: 步骤 4 中的图像 1,2 Razer Naga Epic Numpad Disassembly, Unscrew retaining bracket from PCB bundle: 步骤 4 中的图像 2,2
    • The button contacts, corresponding PCB, and transparent panel are held together into the retaining bracket by 4 x 6mm Phillips #000 screws.

    • Unscrew the 4 screws.

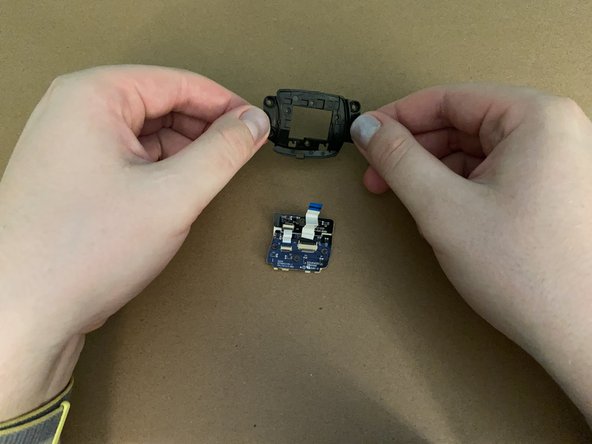
  5. Razer Naga Epic Numpad Disassembly, Remove retaining bracket from PCB bundle: 步骤 5 中的图像 1,3 Razer Naga Epic Numpad Disassembly, Remove retaining bracket from PCB bundle: 步骤 5 中的图像 2,3 Razer Naga Epic Numpad Disassembly, Remove retaining bracket from PCB bundle: 步骤 5 中的图像 3,3
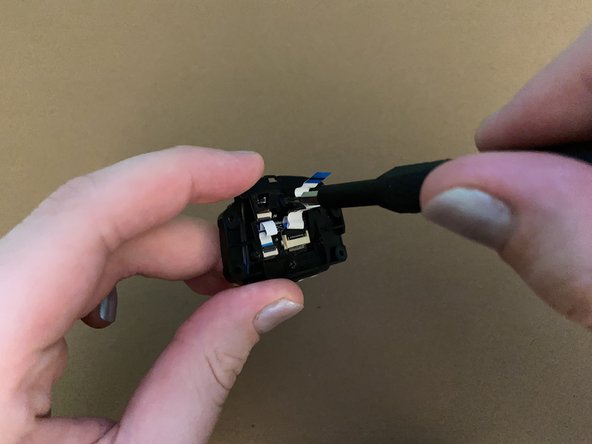
    • Lift the inner retaining bracket away from the PCB bundle.

    • When reassembling, make sure the ribbon cable is threaded through the opening in the retaining bracket.

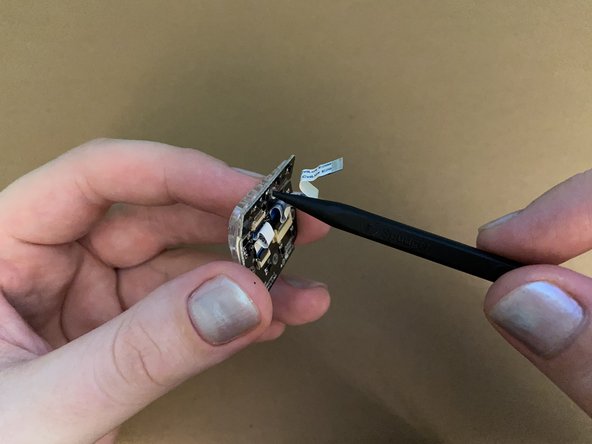
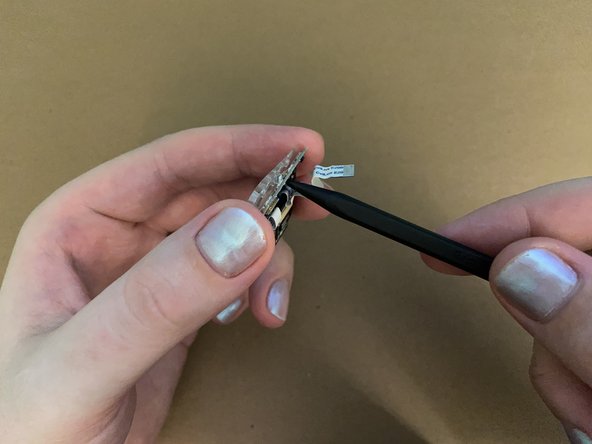
  6. Razer Naga Epic Numpad Disassembly, Separate transparent panel: 步骤 6 中的图像 1,3 Razer Naga Epic Numpad Disassembly, Separate transparent panel: 步骤 6 中的图像 2,3 Razer Naga Epic Numpad Disassembly, Separate transparent panel: 步骤 6 中的图像 3,3
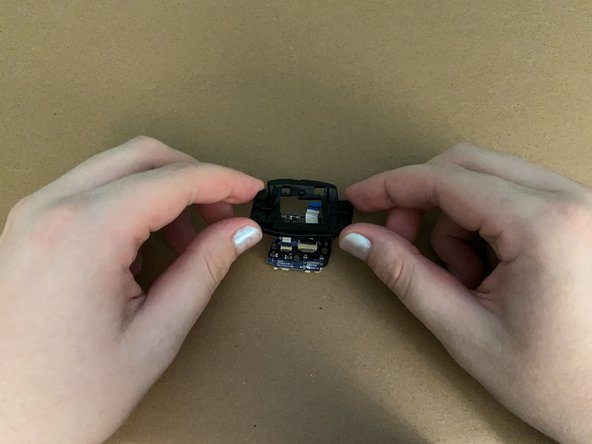
    • The transparent panel is threaded through the button contacts and PCB via 4 screw holes.

    • Using the pointed end of a spudger, gently push the screw holes to push the transparent panel away from the PCB.

    • Exercise caution and be delicate as there are many flexible components here.

  7. Razer Naga Epic Numpad Disassembly, Done!: 步骤 7 中的图像 1,1
    • You've basically done it all! There might be a bit more you could do with the button contacts and PCB, but that's basically it ^^.

结论

To reassemble your device, follow these instructions in reverse order.

Caius Nocturne

于07/12/21注册

2,066 声望

创作了13篇指南

0条评论

添加评论

浏览统计数据:

过去 24 小时: 1

过去 7 天: 5

过去 30 天: 14

总计 82