你所需要的
-
-
Turn the mousepad over and peel off the grip with the white plastic layer.
-
The white plastic layer is glued to the device only on it's edges so if you're using the ifixit head pad you only need to put it on the edges.
-
Be sure to peel the grip + the white plastic layer. Removing just the grip and then the plastic layer will result in a very tedious process of trying to align the grip properly.
-
-
-
-
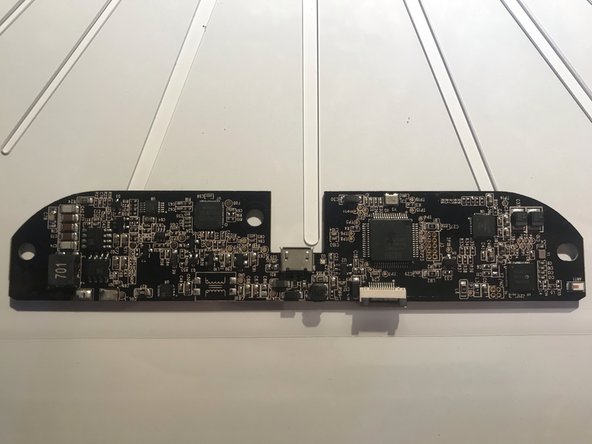
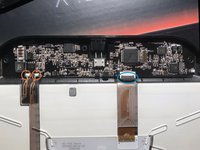
Desolder the copper leads (red circle) and open the gate of the connector (blue circle)
-
You can now safely take out the pcb
-
For reassembly simply follow the steps in reverse
-