简介
Use this guide to replace the front or back camera on a RCA Apollo 8 tablet.
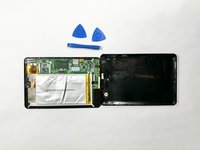
你所需要的
-
-
-
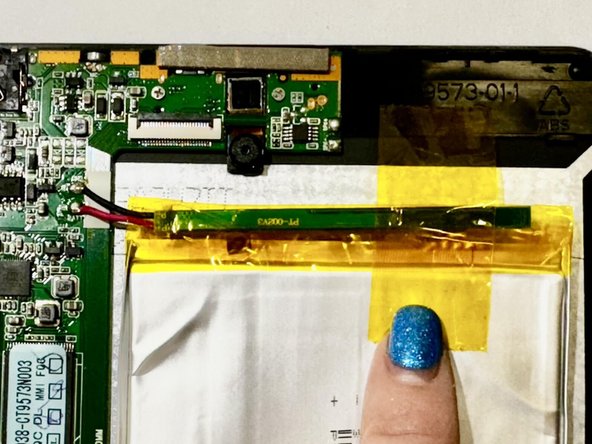
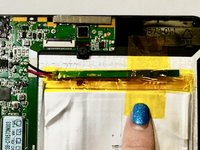
Release the gold and black tab from the battery that's attached to a gray wire. The gold tab is held down by an adhesive; pull it until the adhesive releases.
-
Remove the yellow tape that is around the battery.
-
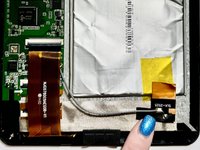
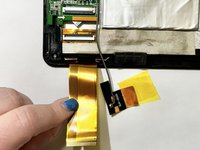
Unlock the ZIF socket and detach the display data interconnect cable from the front panel assembly.
-


结论
To reassemble your device, follow these instructions in reverse order.

团队

Casper College, Team 1-1, Lareau Spring 2024 Casper College, Team 1-1, Lareau Spring 2024 的会员
CASC-LAREAU-S24S1G1
3 名成员
创作了4篇指南