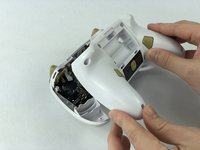
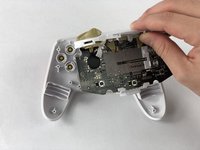
跳转到主内容

PowerA Enhanced Wireless Controller Directional Pad Replacement

你所需要的

  1. PowerA Enhanced Wireless Controller Directional Pad Replacement, Motherboard: 步骤 1 中的图像 1,3 PowerA Enhanced Wireless Controller Directional Pad Replacement, Motherboard: 步骤 1 中的图像 2,3 PowerA Enhanced Wireless Controller Directional Pad Replacement, Motherboard: 步骤 1 中的图像 3,3
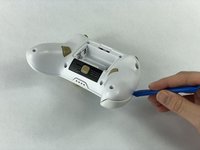
    • Remove the battery cover by pressing down on the lever located on the top of the cover.

    • Apply pressure until it clicks out of place, and pull it off.
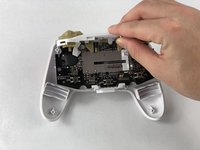
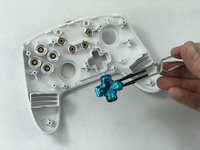
  2. PowerA Enhanced Wireless Controller Directional Pad Replacement: 步骤 2 中的图像 1,1
    • Remove all eight screws using the J0 screwdriver.

  3. PowerA Enhanced Wireless Controller Directional Pad Replacement: 步骤 3 中的图像 1,2 PowerA Enhanced Wireless Controller Directional Pad Replacement: 步骤 3 中的图像 2,2
    • Insert the iFixit opening tool into the seam and gently pry the cover plate up.

    • Remove the cover plate once it is loosened.

  4. PowerA Enhanced Wireless Controller Directional Pad Replacement: 步骤 4 中的图像 1,3 PowerA Enhanced Wireless Controller Directional Pad Replacement: 步骤 4 中的图像 2,3 PowerA Enhanced Wireless Controller Directional Pad Replacement: 步骤 4 中的图像 3,3
    • Remove all three screws securing the motherboard using the J00 screwdriver.

    • Remove the motherboard.

  5. PowerA Enhanced Wireless Controller Directional Pad Replacement, Directional Pad: 步骤 5 中的图像 1,3 PowerA Enhanced Wireless Controller Directional Pad Replacement, Directional Pad: 步骤 5 中的图像 2,3 PowerA Enhanced Wireless Controller Directional Pad Replacement, Directional Pad: 步骤 5 中的图像 3,3
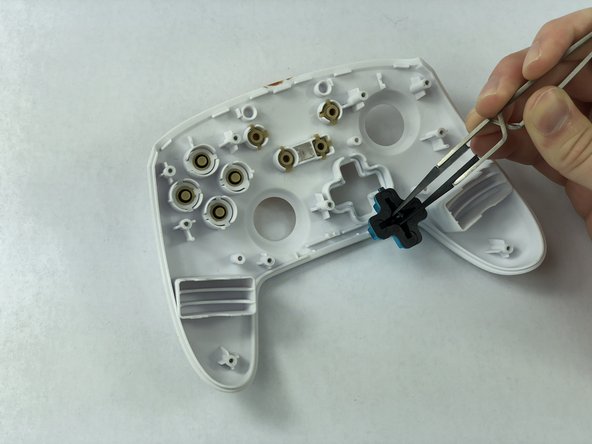
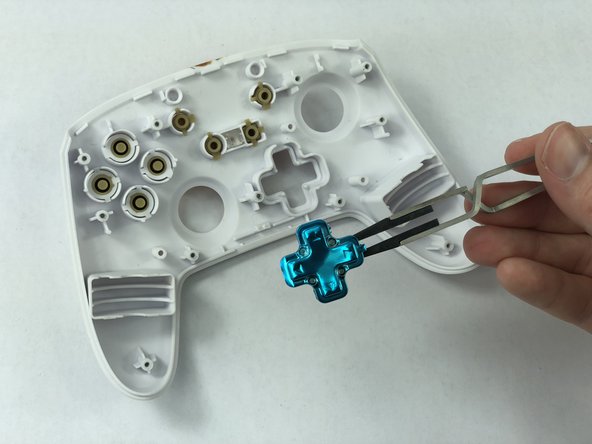
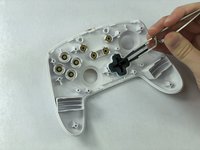
    • Use the rubber tweezers to grab the center of the directional pad and pull it out by pinching its center.

结论

To reassemble your device, follow these instructions in reverse order.

团队

USF Tampa, Team S1-G5, Leahy Fall 2019 USF Tampa, Team S1-G5, Leahy Fall 2019 的会员

USFT-LEAHY-F19S1G5

3 名成员

创作了10篇指南

0条评论

添加评论

浏览统计数据:

过去 24 小时: 5

过去 7 天: 9

过去 30 天: 14

总计 948