当前版本的文档还未经巡查,您可以查看最新的已查核版本 。
Using a #00 screw driver, remove all of the screws on the body of the camera. There are 9 screws total on the face of the camera
All of the screws used in the Polaroid i533 are the same size
Be sure to not misplace any screws as you will need them to put the camera back together.
Slide open the battery door, then using the plastic opening tool, slightly
Gently pull apart the cover from the body of the camera.
Do not pull the cover off completely because it is still attached to the logic board.
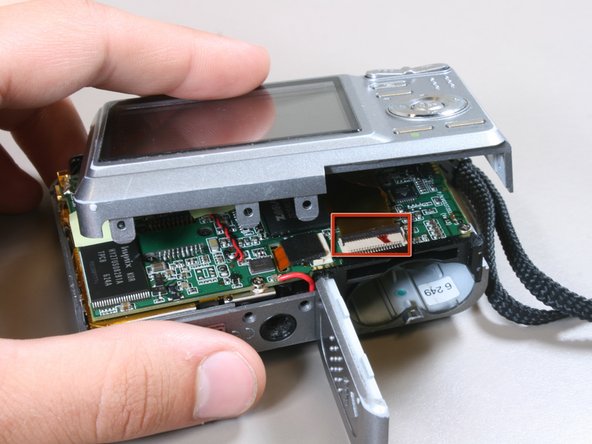
Locate the black tab where the LCD screen ribbon is attached to the logic board.
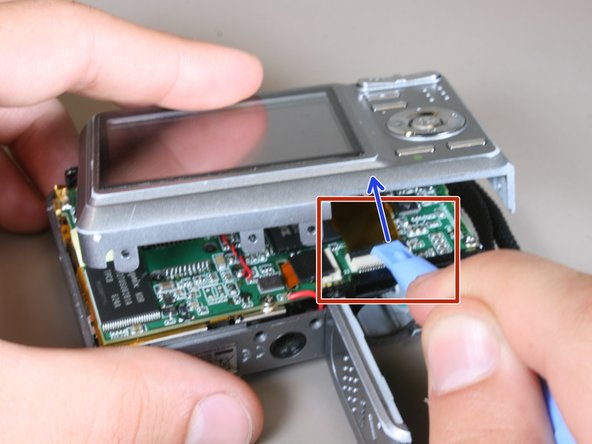
Using the plastic opening tool, flip the black tab towards the ribbon.
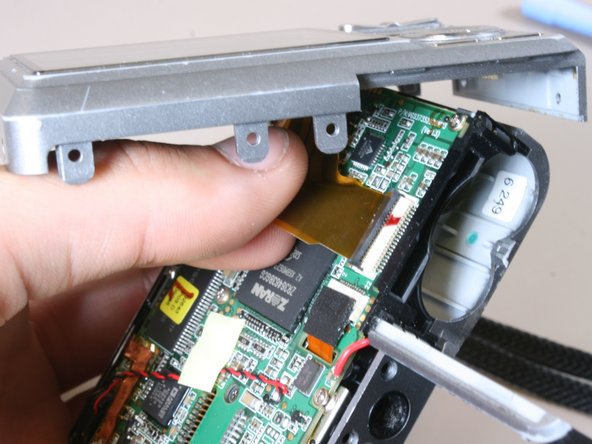
Gently pull the ribbon away from the logic board.
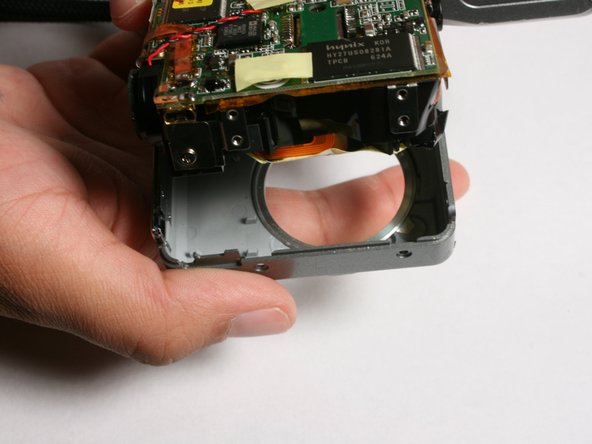
The back half of the camera with the LCD screen should now be separated from the front casing.
If you are experiencing problems with your menu buttons, you must replace the entire back half of the outer case (Not including the screen). move on to step 5.
If you are experiencing problems only with your snap button (the one that you push to take pictures), skip ahead to step 7.
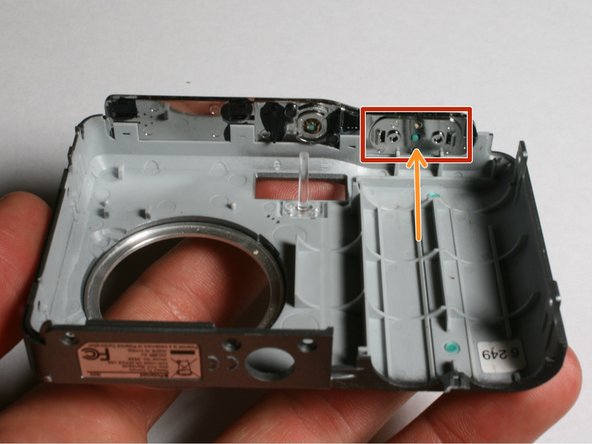
Using a #00 screw driver, remove the screw on the bottom of the logic board just above the tripod attachment.
Gently pull the front of the case away from the insides of the camera.
Remove spring from bottom of broken button.
Remove and replace defective button.
Do not lose spring as it is needed for replacement button.
嵌入本指南
选择一个尺寸并复制下面的代码,将本指南作为一个小插件嵌入到你的网站/论坛中。
单个步骤
完整指南
小——600像素
中——800像素
大——1200像素
预览