跳转到主内容

Pneumatic Door Cylinder Bracket Replacement

你所需要的

  1. Pneumatic Door Cylinder Bracket Replacement, Bracket: 步骤 1 中的图像 1,3 Pneumatic Door Cylinder Bracket Replacement, Bracket: 步骤 1 中的图像 2,3 Pneumatic Door Cylinder Bracket Replacement, Bracket: 步骤 1 中的图像 3,3
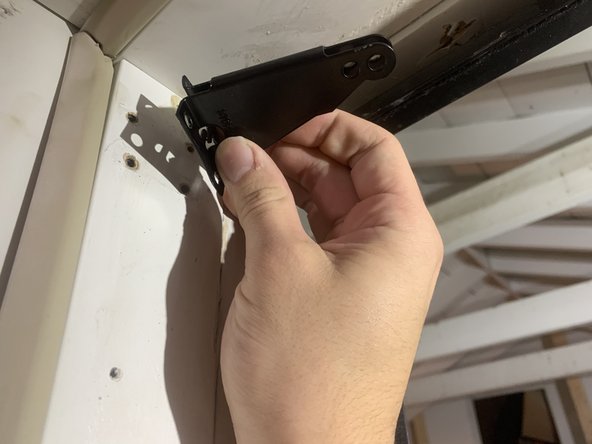
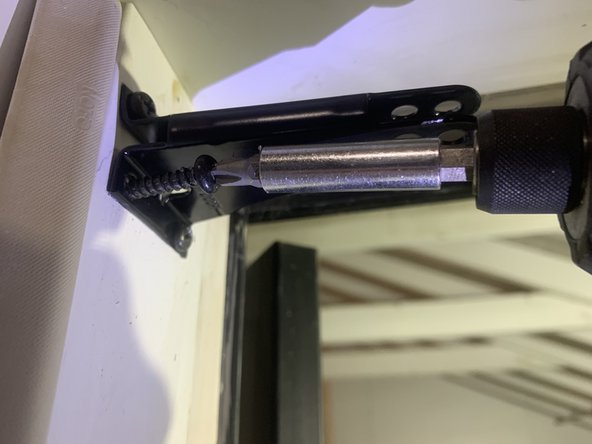
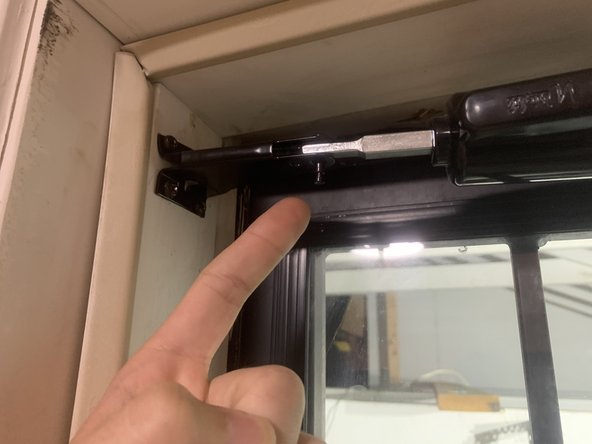
    • Remove the old piston from its current position.

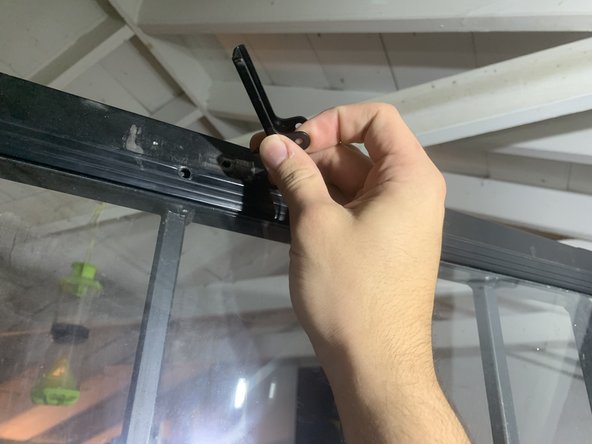
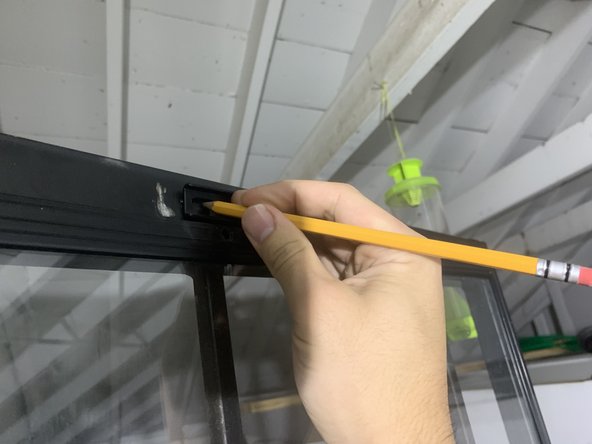
    • Pull out two pins—one on both sides of the piston.

  2. Pneumatic Door Cylinder Bracket Replacement: 步骤 2 中的图像 1,1
    • Unpack your new brackets and piston.

    • Be sure to lay out all the parts to ensure that you have an accurate inventory of all parts.

  3. Pneumatic Door Cylinder Bracket Replacement: 步骤 3 中的图像 1,3 Pneumatic Door Cylinder Bracket Replacement: 步骤 3 中的图像 2,3 Pneumatic Door Cylinder Bracket Replacement: 步骤 3 中的图像 3,3
    • Use the cordless drill to remove the old bracket attached to the door trim.

    • Improperly placed brackets can cause the piston to malfunction.

  4. Pneumatic Door Cylinder Bracket Replacement: 步骤 4 中的图像 1,3 Pneumatic Door Cylinder Bracket Replacement: 步骤 4 中的图像 2,3 Pneumatic Door Cylinder Bracket Replacement: 步骤 4 中的图像 3,3
    • Remove the bracket that is attached to the storm door.

    • There are only 1-2 screws holding this one in, being that it is a metal door. These screws are shorter and have a tighter thread pattern.

  5. Pneumatic Door Cylinder Bracket Replacement: 步骤 5 中的图像 1,2 Pneumatic Door Cylinder Bracket Replacement: 步骤 5 中的图像 2,2
    • Lay out the placement of the new brackets.

    • The template for new brackets can be found in the instruction manuals given with the new hardware. Be sure to pay attention to the type of door it is being installed on.

  6. Pneumatic Door Cylinder Bracket Replacement: 步骤 6 中的图像 1,3 Pneumatic Door Cylinder Bracket Replacement: 步骤 6 中的图像 2,3 Pneumatic Door Cylinder Bracket Replacement: 步骤 6 中的图像 3,3
    • Once marked, use a cordless drill with a Philips #2 bit to drive the four 1 1/2" screws into the bracket into the trim.

    • Ensure that the bracket is roughly square to the naked eye.

  7. Pneumatic Door Cylinder Bracket Replacement: 步骤 7 中的图像 1,3 Pneumatic Door Cylinder Bracket Replacement: 步骤 7 中的图像 2,3 Pneumatic Door Cylinder Bracket Replacement: 步骤 7 中的图像 3,3
    • Use the cordless drill to attach the smaller bracket to the storm door.

    • Ensure screws are tight but not overtighten to the point the screw head is ruined by the over-torque (otherwise known as being "stripped").

  8. Pneumatic Door Cylinder Bracket Replacement: 步骤 8 中的图像 1,3 Pneumatic Door Cylinder Bracket Replacement: 步骤 8 中的图像 2,3 Pneumatic Door Cylinder Bracket Replacement: 步骤 8 中的图像 3,3
    • Using the two pins that were previously removed, secure the piston to the brackets.

    • The metal arm side is attached to the door trim side.

    • The piston side is attached to the door-mounted bracket.

  9. Pneumatic Door Cylinder Bracket Replacement: 步骤 9 中的图像 1,2 Pneumatic Door Cylinder Bracket Replacement: 步骤 9 中的图像 2,2
    • Depress the plunger.

    • Open the door as wide as the piston will allow you to.

    • If the steps were followed correctly, the door will shut on its own via the piston!

结论

You have now fixed your door and saved your future self countless frustrations and gray hairs!

James Huang

于09/23/21注册

169 声望

撰写一个指南

0条评论

添加评论

浏览统计数据:

过去 24 小时: 0

过去 7 天: 6

过去 30 天: 22

总计 276