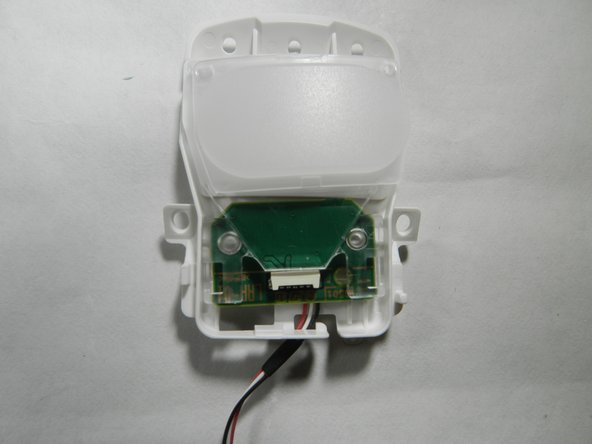
跳转到主内容

PlayStation VR Rear LED Tracker Board Replacement

你所需要的

  1. PlayStation VR Rear LED Tracker Board Replacement, Band Adjuster: 步骤 1 中的图像 1,3 PlayStation VR Rear LED Tracker Board Replacement, Band Adjuster: 步骤 1 中的图像 2,3 PlayStation VR Rear LED Tracker Board Replacement, Band Adjuster: 步骤 1 中的图像 3,3
    • Use your hands to remove the foam piece in the headband.

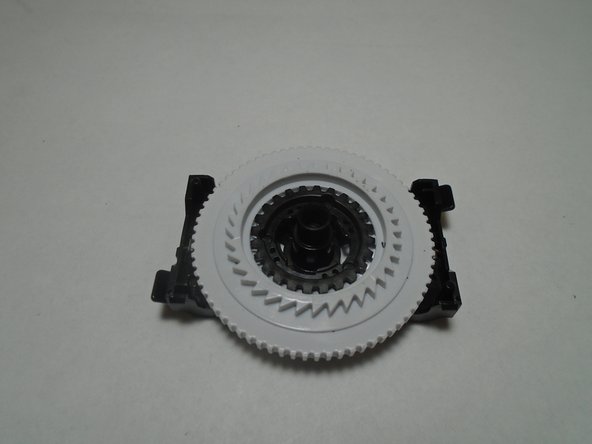
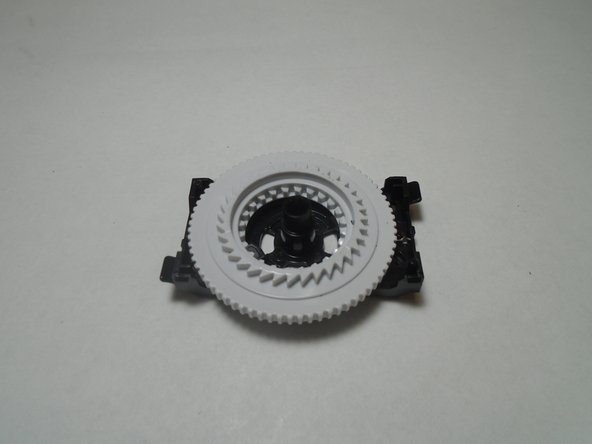
    • Use the iFixIt Opening Tool to pry the top and bottom trim pieces off of the rear band assembly.

  2. PlayStation VR Rear LED Tracker Board Replacement: 步骤 2 中的图像 1,1
    • Remove a total of four 5 mm screws from inside the left and right sides of the headband using a Phillips #00 screwdriver.

  3. PlayStation VR Rear LED Tracker Board Replacement: 步骤 3 中的图像 1,2 PlayStation VR Rear LED Tracker Board Replacement: 步骤 3 中的图像 2,2
    • Remove three silver 5 mm screws that are securing the rear white cover of the band using a Phillips #00 screwdriver.

  4. PlayStation VR Rear LED Tracker Board Replacement: 步骤 4 中的图像 1,3 PlayStation VR Rear LED Tracker Board Replacement: 步骤 4 中的图像 2,3 PlayStation VR Rear LED Tracker Board Replacement: 步骤 4 中的图像 3,3
    • Remove the 6 mm screw from the retainer securing wires to the rear band assembly using a Phillips #00 screwdriver.

    • Use a spudger to flip up the retaining flap connected to the rear LEDs.

  5. PlayStation VR Rear LED Tracker Board Replacement: 步骤 5 中的图像 1,1
    • Remove the single 5 mm screw from the center of the headband adjuster using a Phillips #00 screwdriver.

  6. PlayStation VR Rear LED Tracker Board Replacement: 步骤 6 中的图像 1,1
    • Gently pry the adjuster assembly away from the rear headband using an opening tool.

  7. PlayStation VR Rear LED Tracker Board Replacement: 步骤 7 中的图像 1,3 PlayStation VR Rear LED Tracker Board Replacement: 步骤 7 中的图像 2,3 PlayStation VR Rear LED Tracker Board Replacement: 步骤 7 中的图像 3,3
    • Disassemble the adjuster assembly spring, small gear, large gear, and bracket in order to replace the broken component.

  8. PlayStation VR Rear LED Tracker Board Replacement, Rear LED Tracker Board: 步骤 8 中的图像 1,3 PlayStation VR Rear LED Tracker Board Replacement, Rear LED Tracker Board: 步骤 8 中的图像 2,3 PlayStation VR Rear LED Tracker Board Replacement, Rear LED Tracker Board: 步骤 8 中的图像 3,3
    • Once the rear headband is removed, both rear LED tracker boards can be identified as the white components labelled 'L' and 'R' on the rear of the band.

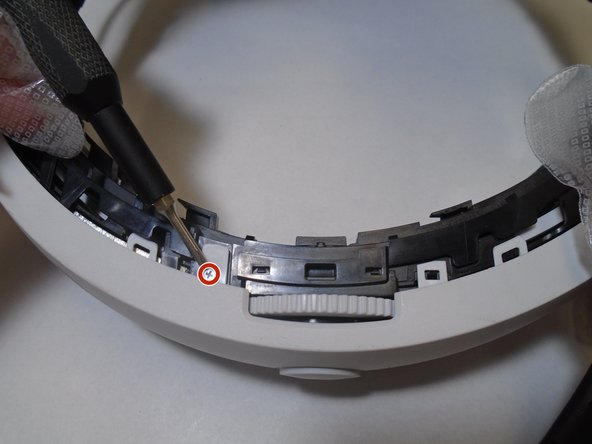
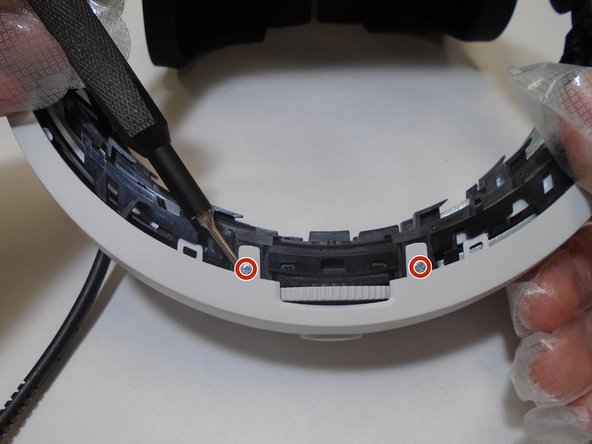
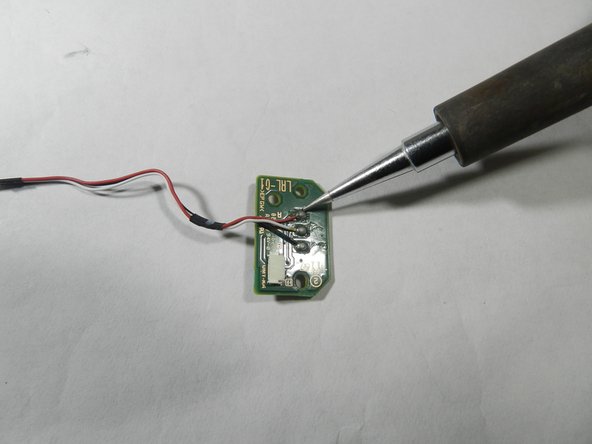
    • Remove the single 5 mm screw from each of the LED tracker boards using a Phillips #00 screwdriver.

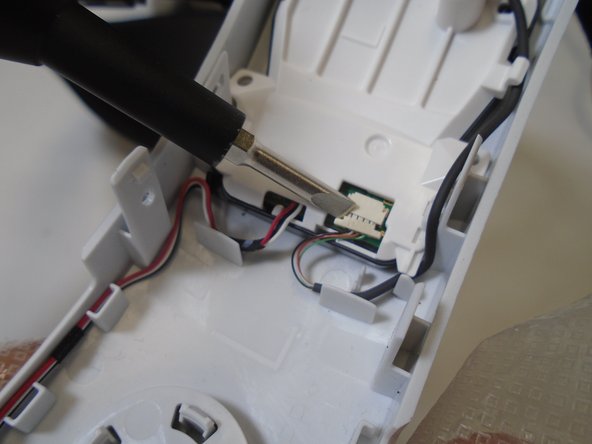
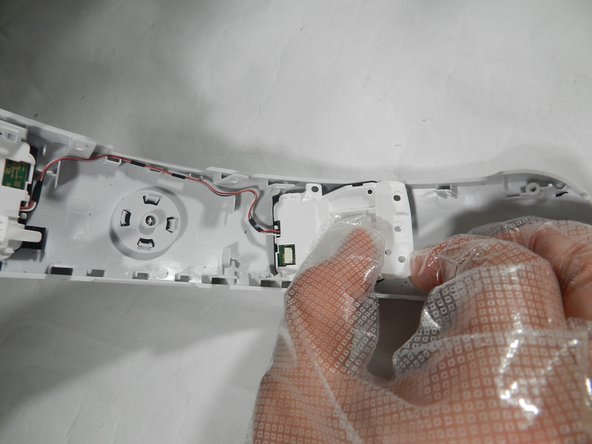
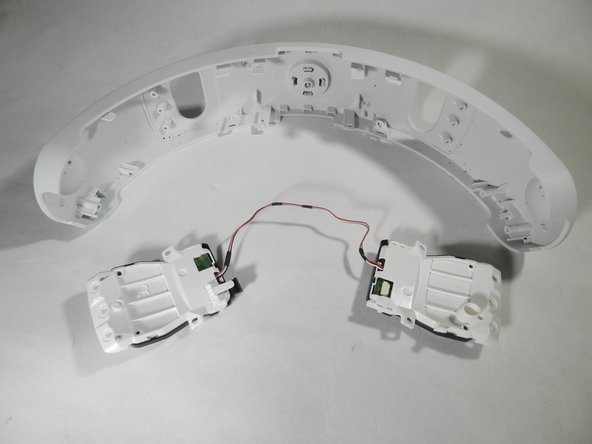
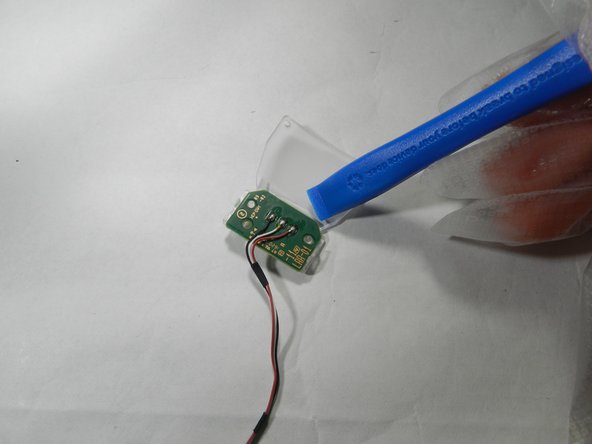
    • Gently pull up and slide each tracker board outward, away from the center of the band, in order to free it from the rear headband shell.

  9. PlayStation VR Rear LED Tracker Board Replacement: 步骤 9 中的图像 1,3 PlayStation VR Rear LED Tracker Board Replacement: 步骤 9 中的图像 2,3 PlayStation VR Rear LED Tracker Board Replacement: 步骤 9 中的图像 3,3
    • The tracker board assembly is comprised of two shell halves.

    • Gently pry on the black tabs on the outward edge of the shell to free the two halves from each other.

    • Then gently pry outward on the internal tracker board to free each one from the opaque lens.

  10. PlayStation VR Rear LED Tracker Board Replacement: 步骤 10 中的图像 1,2 PlayStation VR Rear LED Tracker Board Replacement: 步骤 10 中的图像 2,2
    • Use a soldering iron in order to remove the three wires (black, white, red) from the faulty tracker board.

结论

To reassemble your device, follow these instructions in reverse order.

另外一个人完成了本指南。

一条评论

Salve grazie per la splendida guida , devo sostituire un tracker led LRR-01 ma non riesco a trovare un venditore online, puoi aiutarmi grazie

Alexjei Rais - 回复

添加评论

浏览统计数据:

过去 24 小时: 0

过去 7 天: 3

过去 30 天: 10

总计 516