简介
Over long periods of time and use, the manual adjustment wheel for the PlayStation VR headset can wear and the teeth can dull. This guide will assist with replacing the mechanical adjustment wheel for the PlayStation VR headset using basic household tools. While this project doesn't require a lot of tools, it does require a delicate touch when working with the headband and plastic tabs. If you are too rough with these parts they can become damaged and will require more maintenance.
你所需要的
-
-
Use your hands to remove the foam piece in the headband.
-
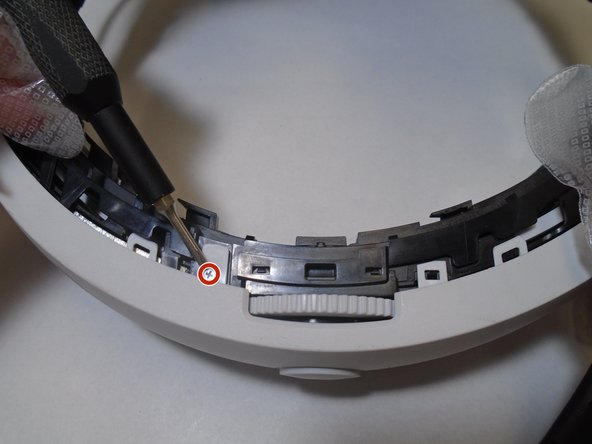
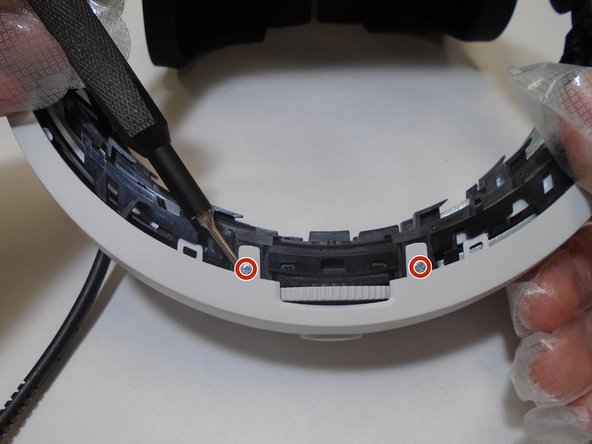
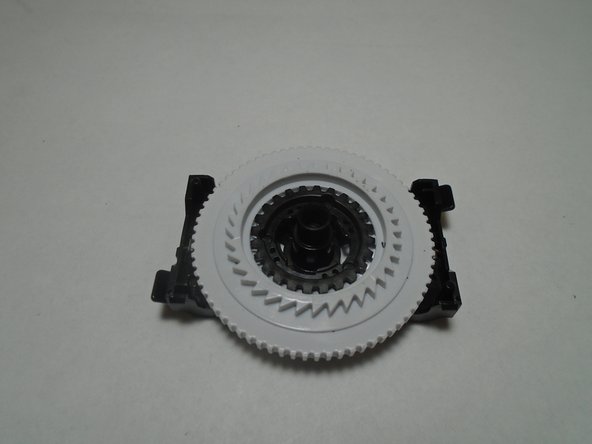
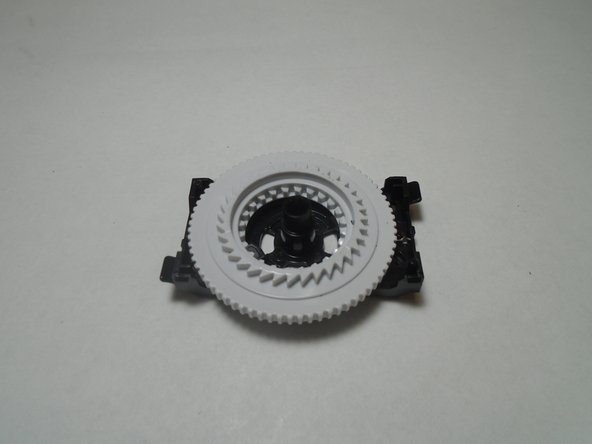
Use the iFixIt Opening Tool to pry the top and bottom trim pieces off of the rear band assembly.
-
-


To reassemble your device, follow these instructions in reverse order.
To reassemble your device, follow these instructions in reverse order.

团队

The Citadel Military College of South Carolina, Team 1-7, Eggleston Fall 2021 The Citadel Military College of South Carolina, Team 1-7, Eggleston Fall 2021 的会员
CMCSC-EGGLESTON-F21S1G7
3 名成员
创作了4篇指南