本指南有最近更改,您可查看未经巡查的最新版本。
简介
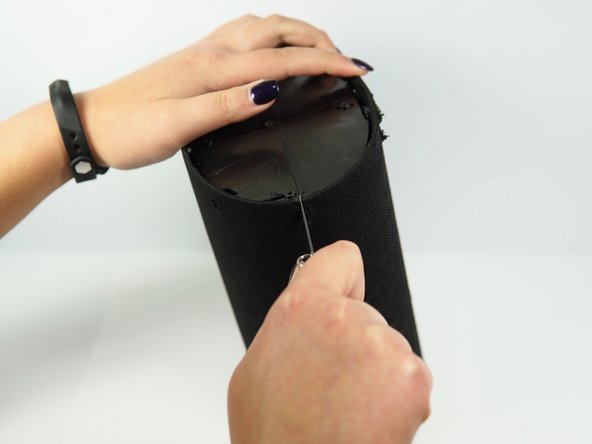
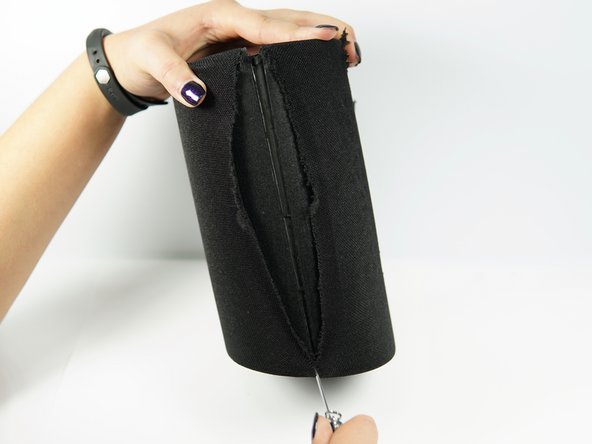
If the fabric casing and plastic cage is damaged, this guide will walk you through how to open up the speaker to replace it. Please note that the speaker's casing will need to be permanently damaged in order to fix anything in this device.
你所需要的
-
-
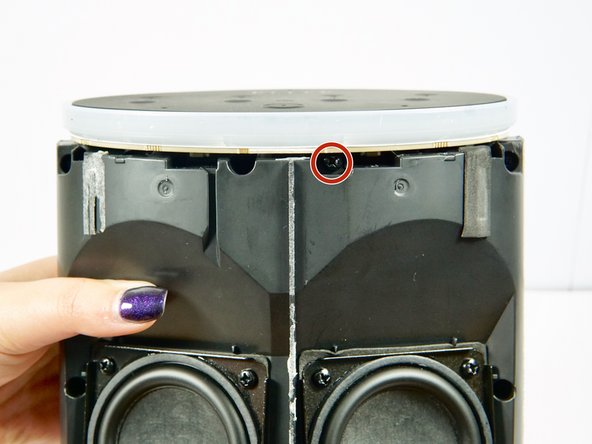
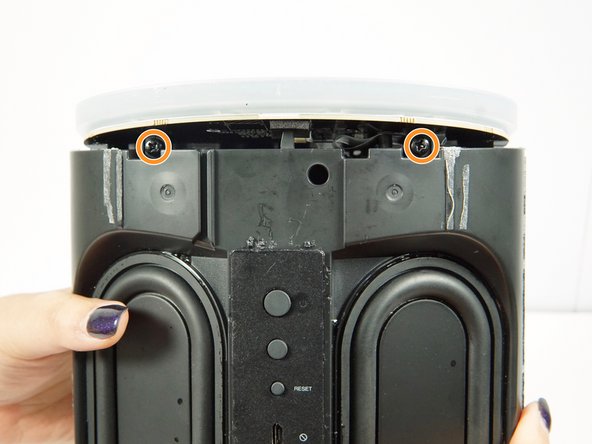
Flip the speaker upside down with the back panel of plugs pointed away from you.
-
-


即将完成!
To reassemble your device, follow these instructions in reverse order.
结论
To reassemble your device, follow these instructions in reverse order.
团队

Cal Poly, Team S1-G1, Zimmerman Spring 2020 Cal Poly, Team S1-G1, Zimmerman Spring 2020 的会员
CPSU-ZIMMERMAN-S20S1G1
5 名成员
创作了6篇指南