跳转到主内容

Philips TAS7505 Outer Shell Disassembly

你所需要的

  1. Philips TAS7505 Outer Shell Disassembly, Philips TAS7505 Outer Shell Disassembly: 步骤 1 中的图像 1,2 Philips TAS7505 Outer Shell Disassembly, Philips TAS7505 Outer Shell Disassembly: 步骤 1 中的图像 2,2
    • Make sure the speaker is turned off before you begin the disassembly.

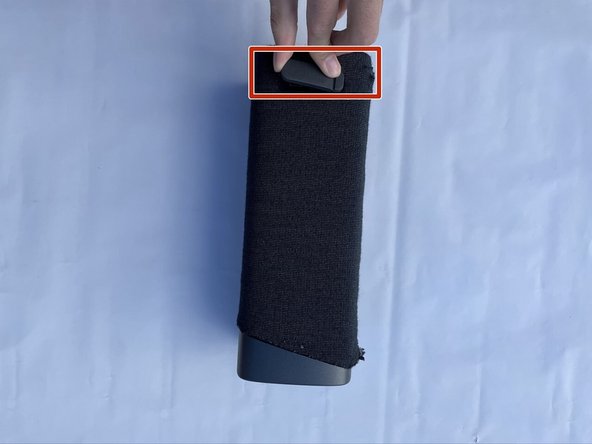
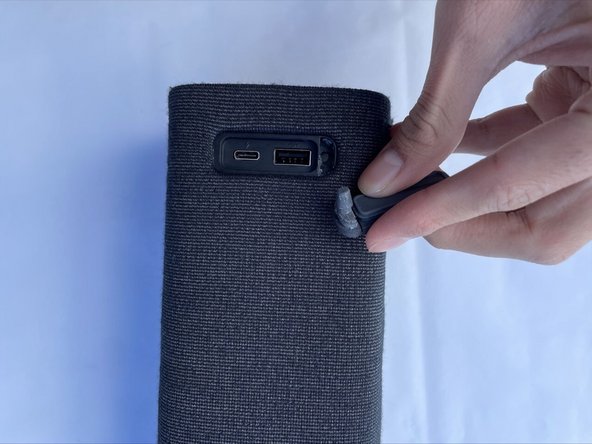
    • Turn the speaker upside down. You will see a rubber base. Use an opening tool to lift up the sides to expose the screws.

  2. Philips TAS7505 Outer Shell Disassembly: 步骤 2 中的图像 1,3 Philips TAS7505 Outer Shell Disassembly: 步骤 2 中的图像 2,3 Philips TAS7505 Outer Shell Disassembly: 步骤 2 中的图像 3,3
    • There will be 4 exposed screws. Make sure to use the Phillips #0 Screwdriver.

    • When the screws are removed, you can use an opening tool to take off the plastic cover.

  3. Philips TAS7505 Outer Shell Disassembly: 步骤 3 中的图像 1,3 Philips TAS7505 Outer Shell Disassembly: 步骤 3 中的图像 2,3 Philips TAS7505 Outer Shell Disassembly: 步骤 3 中的图像 3,3
    • Now that you have removed this cover, there is another cover. This cover has a total of 9 screws that can be removed with a Philips #0 screwdriver.

    • Once all these screws are removed, you can take off the cover

  4. Philips TAS7505 Outer Shell Disassembly: 步骤 4 中的图像 1,3 Philips TAS7505 Outer Shell Disassembly: 步骤 4 中的图像 2,3 Philips TAS7505 Outer Shell Disassembly: 步骤 4 中的图像 3,3
    • You can now see the inside of the speaker but you aren't done yet.

    • Remove both rubber stands that hold up the device horizontally (one of these stands is a cover for the USB ports).

  5. Philips TAS7505 Outer Shell Disassembly: 步骤 5 中的图像 1,1
    • Once you pull these out, you can pull the whole sleeve to expose the infrastructure of the device.

结论

To reassemble your device, follow these instructions in reverse order.

团队

CSU Los Angeles, Team 5-2, Adachi Fall 2022 CSU Los Angeles, Team 5-2, Adachi Fall 2022 的会员

CSULA-ADACHI-F22S5G2

5 名成员

创作了5篇指南

0条评论

添加评论

浏览统计数据:

过去 24 小时: 1

过去 7 天: 1

过去 30 天: 21

总计 362