简介
The trigger switch in a Performance Tool W54002 allows you to change the direction the wrench rotates. If the trigger switch is broken, you will no longer be able to change the direction the wrench rotates. To avoid this, proper maintenance is required.
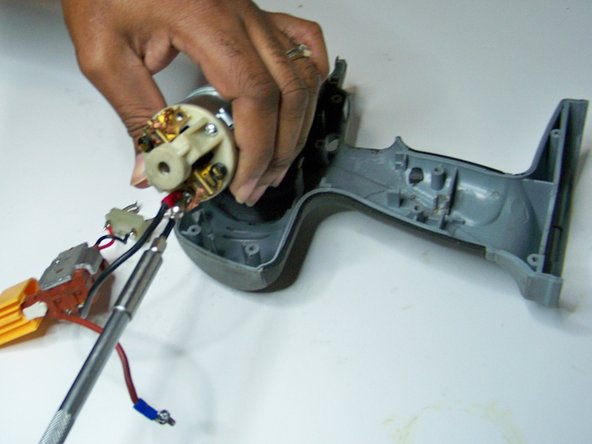
This guide will take you through the steps to properly replace the trigger switch in a Performance Tool W54002.
你所需要的
-
-
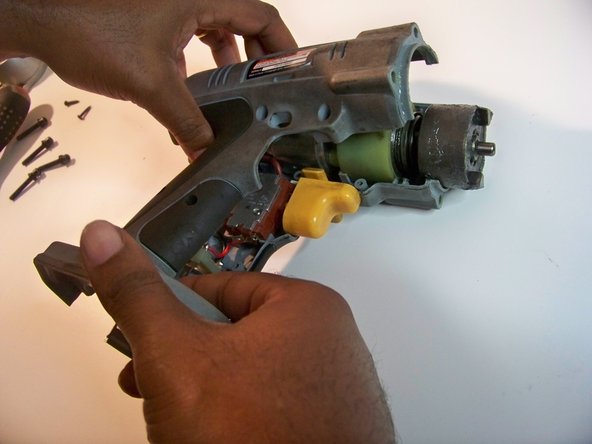
Remove the battery by pressing the yellow tabs on both sides, then pull the battery out.
-
-


To reassemble your device, follow these instructions in reverse order.
To reassemble your device, follow these instructions in reverse order.
另外一个人完成了本指南。
团队

University of Memphis, Team 2-7, Cameron Fall 2022 University of Memphis, Team 2-7, Cameron Fall 2022 的会员
UM-CAMERON-F22S2G7
1 名成员
创作了1篇指南