简介
Use this guide to replace the battery of your original Pebble watch.
If your watch won't turn on, or turns on briefly when charging. It is likely a problem with the battery
You'll need a replacement battery, as well as a soldering iron to complete this repair.
你所需要的
-
-
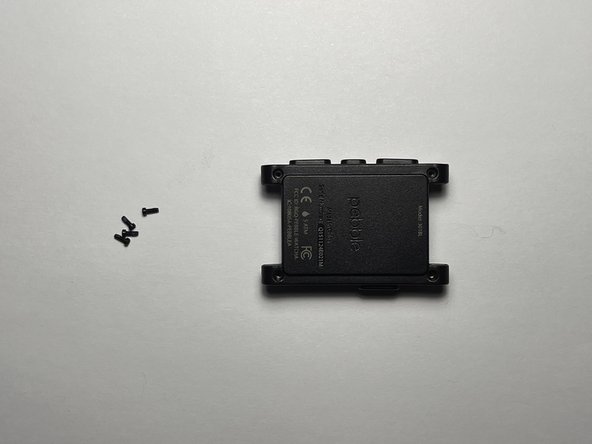
Some pebble watches, especially the original Kickstarter ones, do not have screws on the back. These watches are glued together, making them much more difficult to repair. the disassembly process for those watches is not covered here.
-
-
-
Take a small flathead or something similar to push the metal rod holding the wrist band in
-
-
-
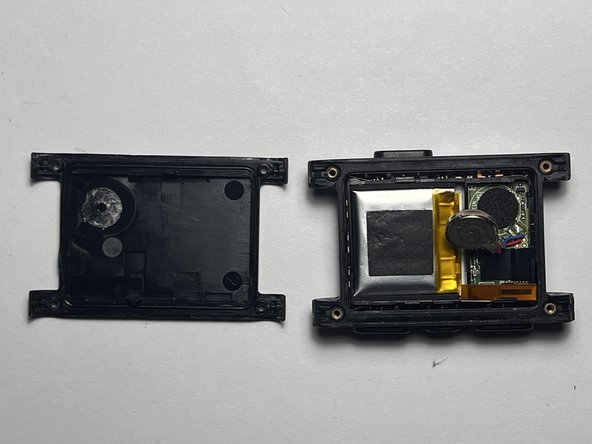
There is one component glued to the back of the watch. Use a small flathead or a similar tool to pry it from the back of the watch.
-
During re-assembly, ensure the haptic component is fitted into its original position.
-
-
-
-
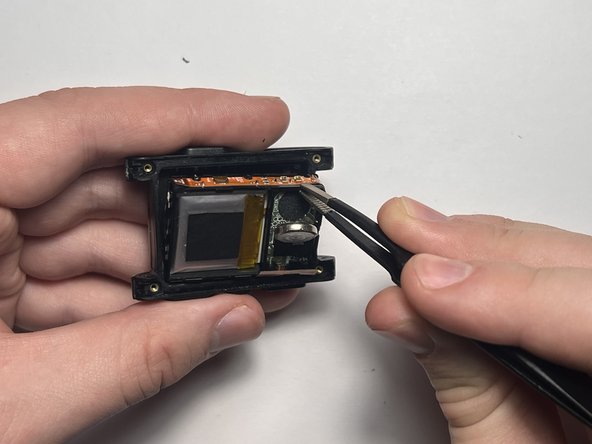
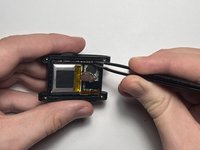
The internals of the watch lie inside a plastic housing which can be disconnected from the screen. This is more difficult for some watches than others. Use a pair of tweezers that have a good grip.
-
-
-
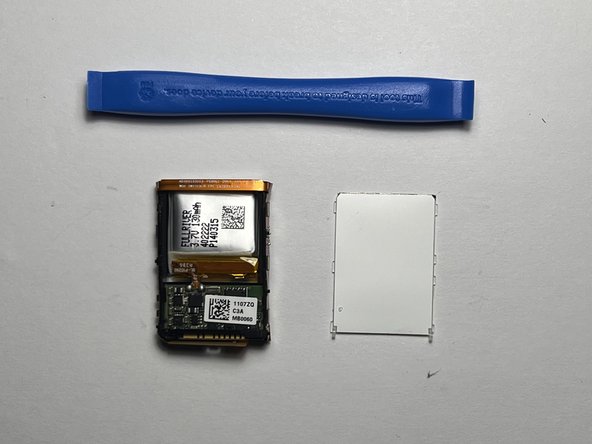
Using tweezers or fingers, carefully remove the black film from the side with the white light diffuser. Set it aside to be reapplied during reassembly.
-
-
-
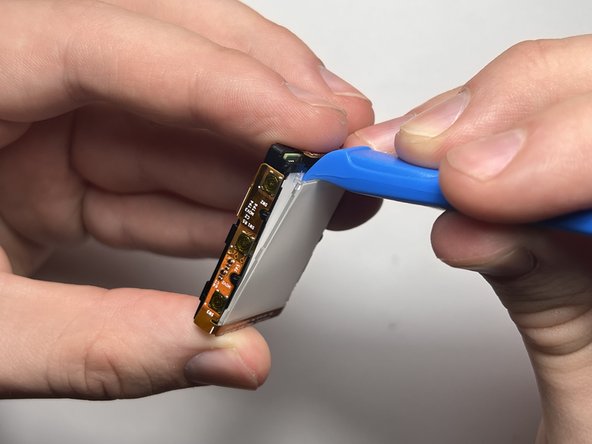
Using a prying tool, separate the diffuser from the casing via the small plastic hooks.
-
-
-
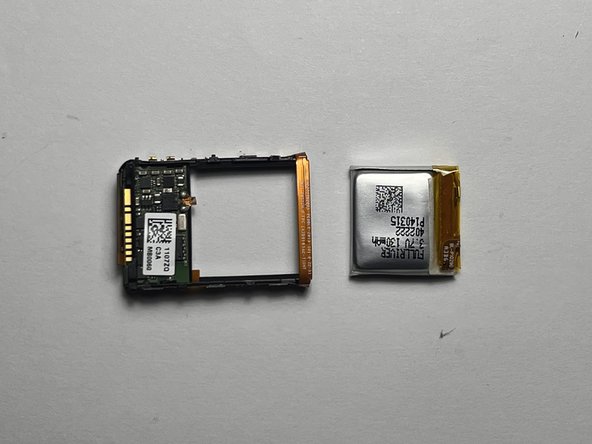
Using scissors or a small blade, carefully cut the ribbon cable connecting the battery to the main board.
-
-
-
Using a sharp blade, scrape the residual flux off of the solder points. This is necessary when soldering the new battery to the board.
-
-
-
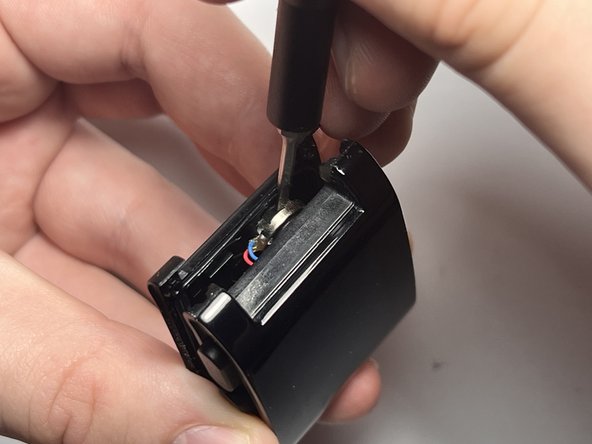
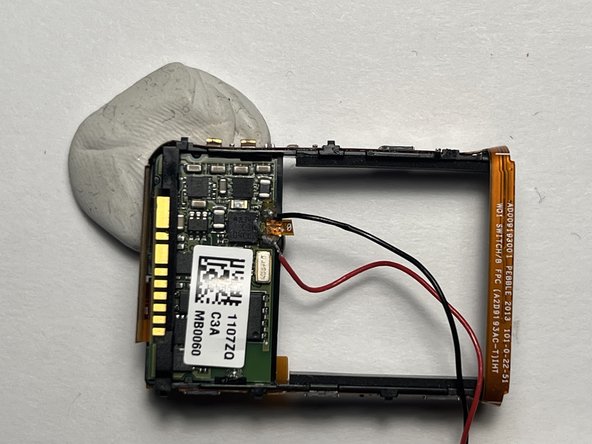
Using soldering iron and a pair of precision tweezers, solder the black wire of your replacement battery to the contact shown in the picture. The pre-applied solder should be sufficient for this, but more can be applied if necessary.
-
-
-
Just like with step 11, use a soldering iron and a pair of precision tweezers to solder the red wire of your replacement battery to the contact shown in the picture. The pre-applied solder should be sufficient for this, but more can be applied if necessary.
-
After successfully soldering these wires, you should see the backlight light up
-
-
-
Now the the new battery is soldered, Insert is as shown. Other orientations are fine as well, as long as the connection points for the wire are not under stress.
-


To reassemble your device, follow these instructions in reverse order. Take special care re-inserting the light diffuser.
2等其他人完成本指南。

2指南评论
Hard but doable.
Make sure to pull the internals out by the up/down side closest to the battery (not the vibrator) or you'll crack the mount like I did, which might lead to screen tearing.
It's so easy to crack the light diffuser, I sure did. My black film didn't want to come off, so it stayed in the watch, which was fine.
Tiny soldier points, what a YouTube if your not familiar on tiny points.
I put the internals back in about a dozen times before I had good enough contact to avoid screen tearing, and even then it only did under pressure...which I got when I screwed it back together.
In the end, success!!!
Thank you author.
Each time I re-installed the board in my watch, connecting it to the screen, the screen jut showed garbage (like static, or stars). I spent a lot of time troubleshooting the connector before realizing that I just needed to reboot it with back + up + select.
Joel Crane - 回复