当前版本的文档还未经巡查,您可以查看最新的已查核版本。
你所需要的


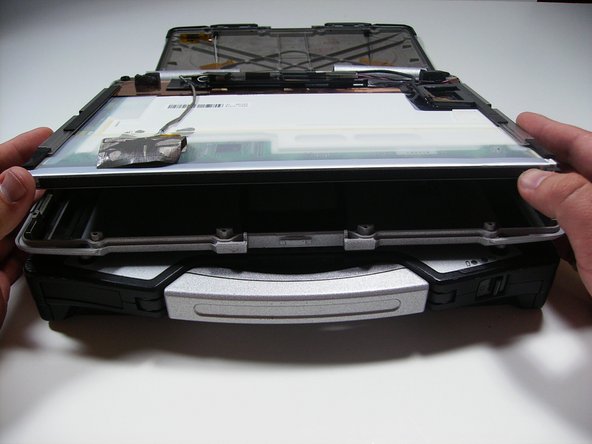
即将完成!
终点
5等其他人完成本指南。
团队

Cal Poly, Team 27-93, Amido Spring 2010 Cal Poly, Team 27-93, Amido Spring 2010 的会员
CPSU-AMIDO-S10S27G93
4 名成员
创作了26篇指南
一条评论
This guide is good for replacing the LCD screen, but it is not complete for the touchscreen panel, which requires some more delicate and precise steps. I think the title of the guide needs to be changed.
Thanks