简介
This guide will disassemble the device in the most concise way possible to get to the CD Tray Cover and give precise directions on how to put a new one in.
你所需要的
-
-
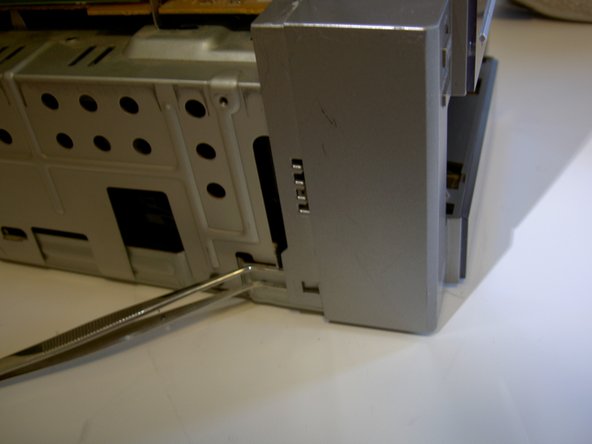
Using a Phillips screwdriver, remove the eight 9.5 mm screws on the left and right sides of the device.
-
-
-
-
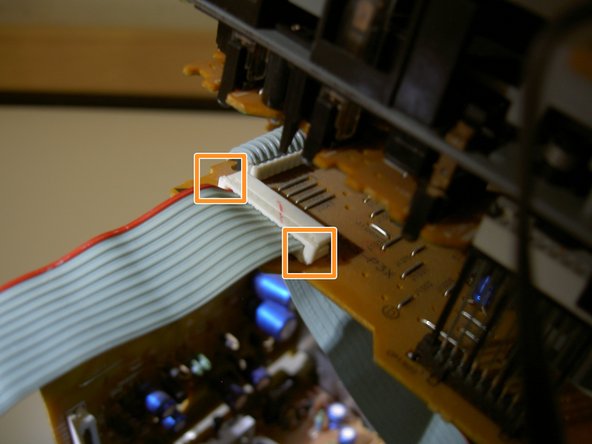
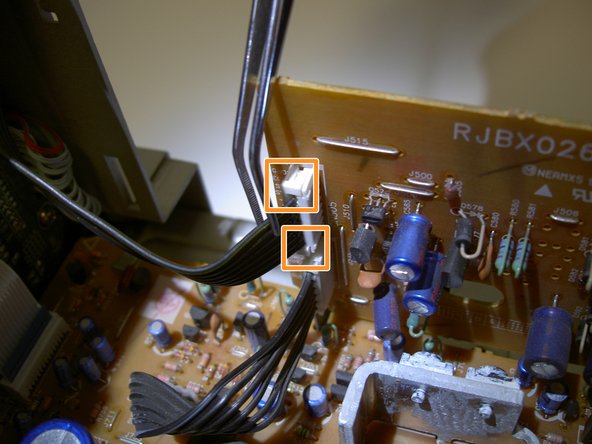
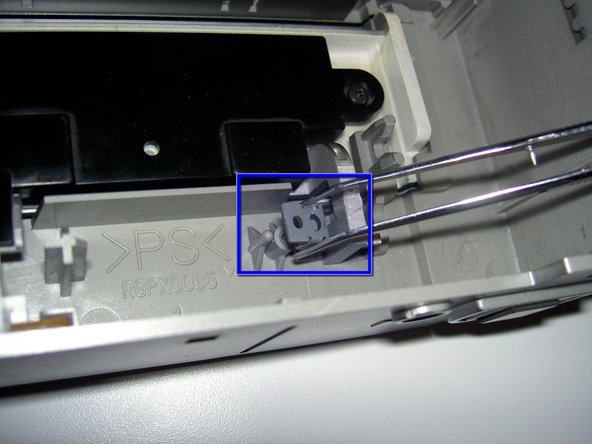
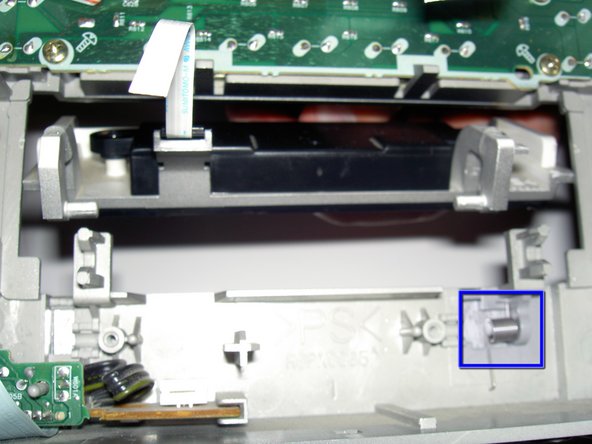
This step deals with the indicated area of the device.
-
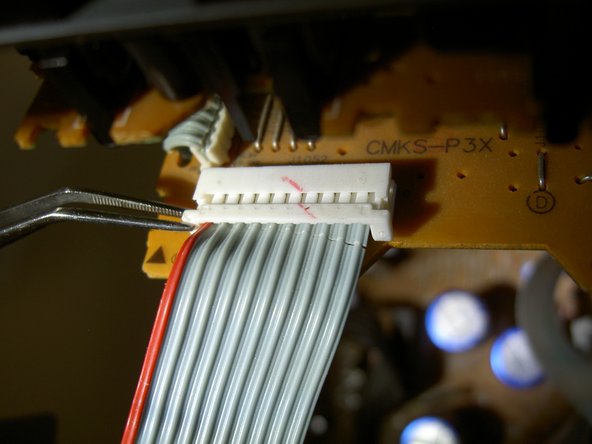
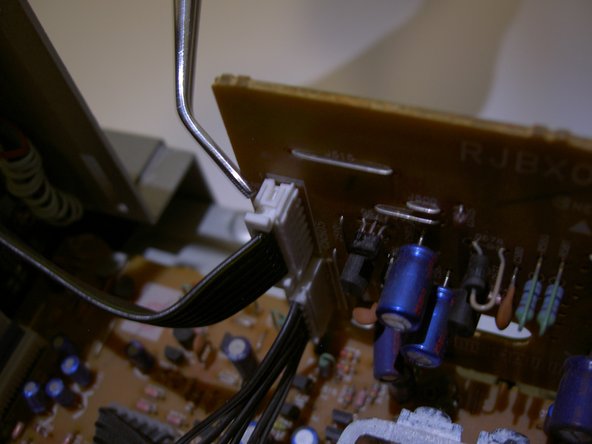
Using tweezers or fingers, lift gently on the tab indicated to free the front from the body of the device.
-
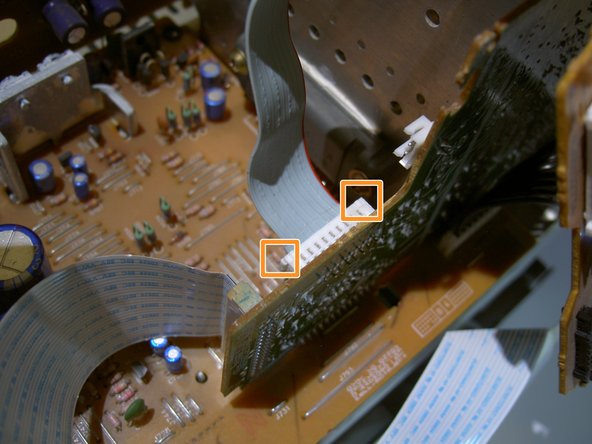
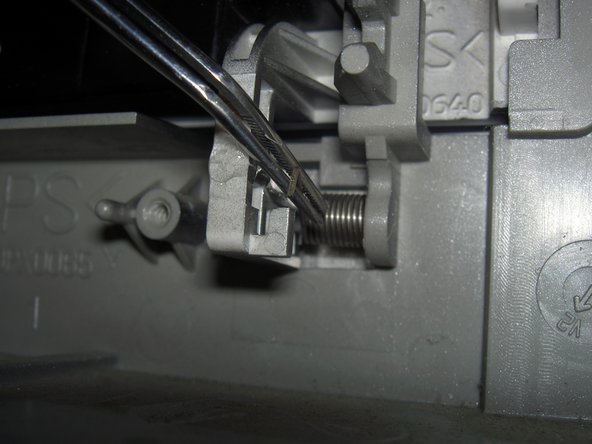
Rotate device 180 degrees and repeat for other side.
-
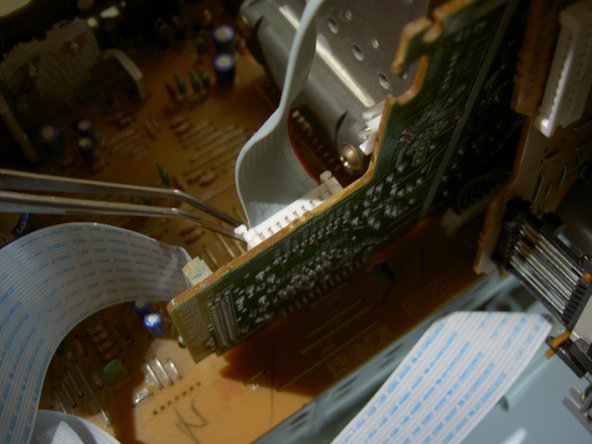
Rotate the front slightly forward to keep the tabs from re-engaging on their hooks.
-


To reassemble your device, follow these instructions in reverse order.
To reassemble your device, follow these instructions in reverse order.
团队

Cal Poly, Team 4-1, Regan Spring 2011 Cal Poly, Team 4-1, Regan Spring 2011 的会员
CPSU-REGAN-S11S4G1
3 名成员
创作了5篇指南