跳转到主内容

Panasonic Lumix DMC-ZS35 Flash Replacement

你所需要的

  1. Panasonic Lumix DMC-ZS35 Flash Replacement, Back Casing: 步骤 1 中的图像 1,3 Panasonic Lumix DMC-ZS35 Flash Replacement, Back Casing: 步骤 1 中的图像 2,3 Panasonic Lumix DMC-ZS35 Flash Replacement, Back Casing: 步骤 1 中的图像 3,3
    • Remove the six 4mm screws located on the side and bottom of the camera casing using a Phillips #000 screwdriver.

  2. Panasonic Lumix DMC-ZS35 Flash Replacement: 步骤 2 中的图像 1,2 Panasonic Lumix DMC-ZS35 Flash Replacement: 步骤 2 中的图像 2,2
    • Use a plastic opening tool to carefully separate the back casing from the main body of the camera. It's advised to run along the entire "seam" of the casing and the camera with the tool to ensure full separation.

  3. Panasonic Lumix DMC-ZS35 Flash Replacement: 步骤 3 中的图像 1,1
    • Gently pry apart the back casing from the body of the camera. It's recommended to apply as minimal force as is necessary to prevent unintended damage to the camera or the casing.

  4. Panasonic Lumix DMC-ZS35 Flash Replacement, Flash: 步骤 4 中的图像 1,3 Panasonic Lumix DMC-ZS35 Flash Replacement, Flash: 步骤 4 中的图像 2,3 Panasonic Lumix DMC-ZS35 Flash Replacement, Flash: 步骤 4 中的图像 3,3
    • Unscrew the six 3mm screws holding the LCD screen hinge in place using a Phillips 000 screwdriver.

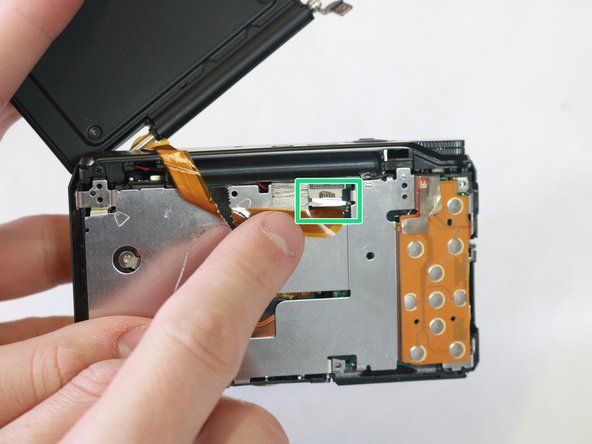
    • Gently pull LCD screen ribbon cable from the internal port to disconnect the screen and prevent unwanted damage.

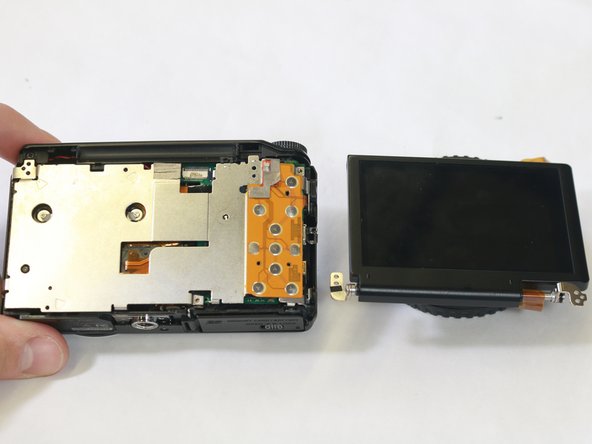
    • Lift the freed LCD screen from the base of the camera to complete the process.

  5. Panasonic Lumix DMC-ZS35 Flash Replacement: 步骤 5 中的图像 1,3 Panasonic Lumix DMC-ZS35 Flash Replacement: 步骤 5 中的图像 2,3 Panasonic Lumix DMC-ZS35 Flash Replacement: 步骤 5 中的图像 3,3
    • Unscrew the two 4mm screws holding the metal plate on the side of the camera with a Phillips #000 screwdriver.

    • Using the opening tool, carefully separate the metal plate from the main body of the camera.

  6. Panasonic Lumix DMC-ZS35 Flash Replacement: 步骤 6 中的图像 1,3 Panasonic Lumix DMC-ZS35 Flash Replacement: 步骤 6 中的图像 2,3 Panasonic Lumix DMC-ZS35 Flash Replacement: 步骤 6 中的图像 3,3
    • Push the lens out from the front of the camera with your finger. Since you have already removed all of the screws holding it in place, you should be able to push it out with ease with little to no resistance.

  7. Panasonic Lumix DMC-ZS35 Flash Replacement: 步骤 7 中的图像 1,3 Panasonic Lumix DMC-ZS35 Flash Replacement: 步骤 7 中的图像 2,3 Panasonic Lumix DMC-ZS35 Flash Replacement: 步骤 7 中的图像 3,3
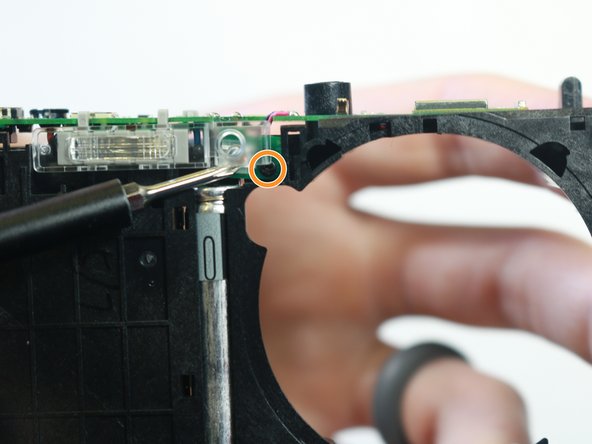
    • Face the front of the camera away from you, and remove the 3mm screw in the upper left corner with a Phillips #000 screwdriver.

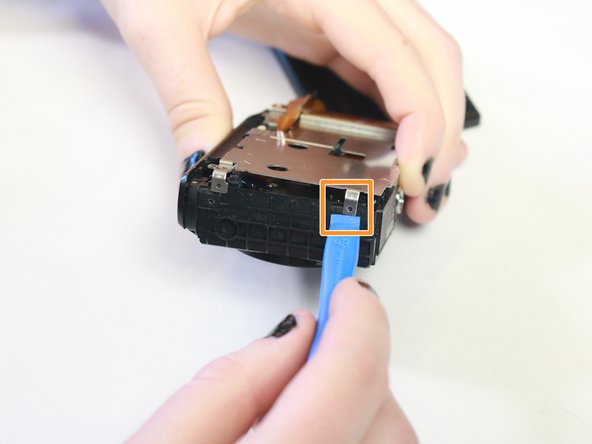
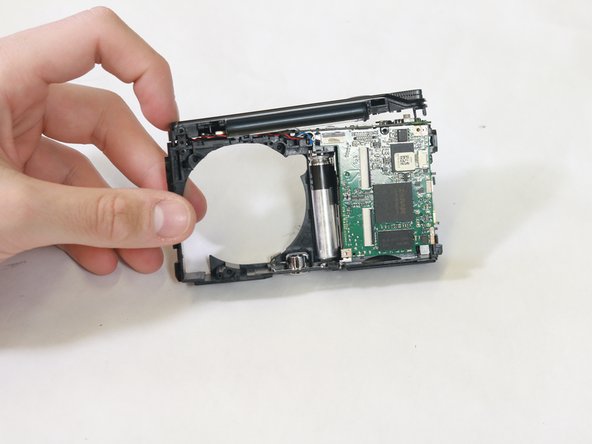
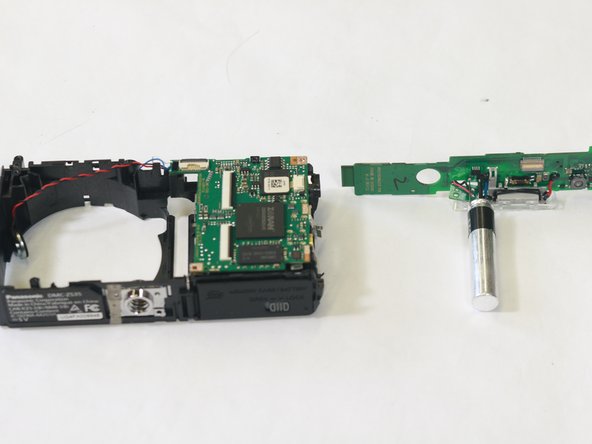
    • Now that you have removed all of the screws holding it down, the entire top panel will be loose. Wiggle it with your fingers until you are able to completely remove it.

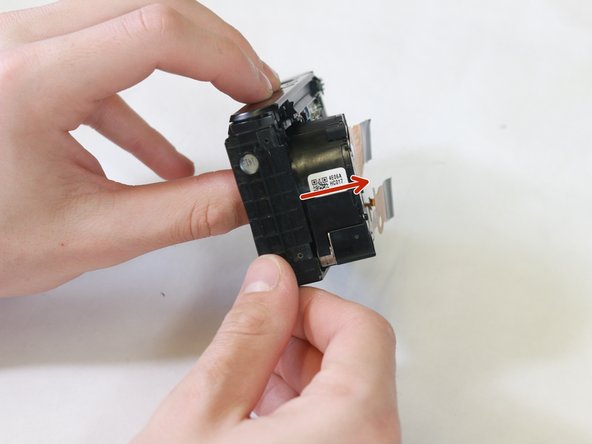
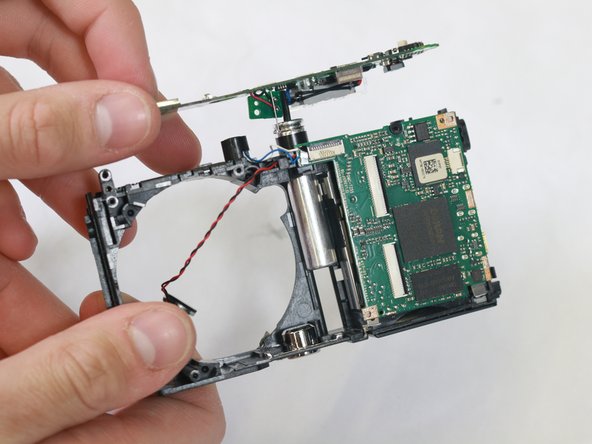
    • Remove the 3mm screw that is tucked behind the flash with a Phillips #000 screwdriver. It is a little tricky to see, but your screwdriver should be able to fit between the crack.

  8. Panasonic Lumix DMC-ZS35 Flash Replacement: 步骤 8 中的图像 1,3 Panasonic Lumix DMC-ZS35 Flash Replacement: 步骤 8 中的图像 2,3 Panasonic Lumix DMC-ZS35 Flash Replacement: 步骤 8 中的图像 3,3
    • The top panel motherboard is ready to be removed. With your fingers, lightly tug on it from each corner to loosen it.

    • Once it is loose, pull the entire flash module off to completely remove it from the main body of the camera.

结论

To reassemble your device, follow these instructions in reverse order.

另外一个人完成了本指南。

Rachel Hughes

于01/31/20注册

688 声望

创作了4篇指南

团队

UW Stout, Team S1-G2, Schneider-Bateman Spring 2020 UW Stout, Team S1-G2, Schneider-Bateman Spring 2020 的会员

UWSTOUT-SCHNEIDER-BATEMAN-S20S1G2

4 名成员

创作了10篇指南

0条评论

添加评论

浏览统计数据:

过去 24 小时: 1

过去 7 天: 7

过去 30 天: 13

总计 381