简介
If your digitizer cable has failed in your Panasonic Lumix DMC-FX9 camera, follow this guide to replace. By following this guide you should be able to continue using your camera.
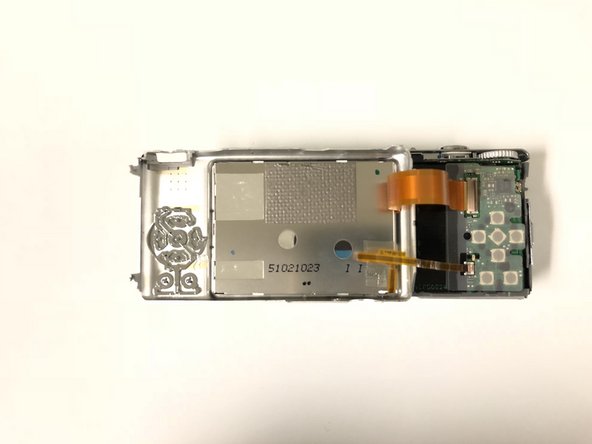
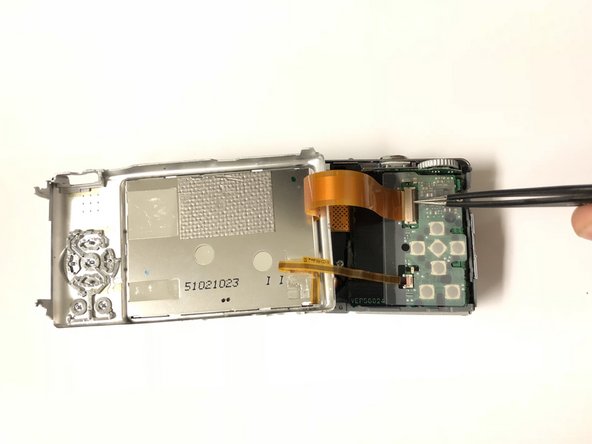
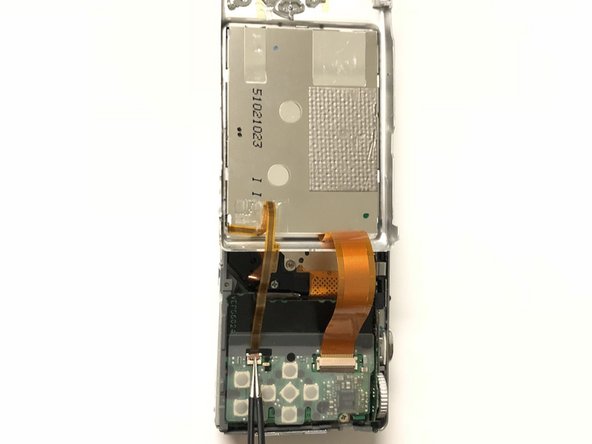
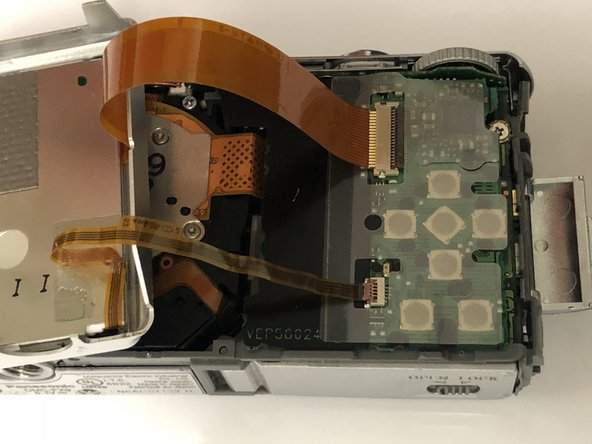
A digitizer cable is important to the camera as it sends the display signals to the camera screen from the motherboard. It is vital for both camera operation and a live view of the lens.
Be sure to remove the batteries from your camera prior to beginning this guide.
你所需要的


To reassemble your device, follow these instructions in reverse order.
To reassemble your device, follow these instructions in reverse order.
团队

University of North Texas, Team S6-G1, Thomas Spring 2018 University of North Texas, Team S6-G1, Thomas Spring 2018 的会员
UNT-THOMAS-S18S6G1
4 名成员
创作了9篇指南