简介
If you have not disassembled a device similar to this in the past, here are a few tips:
1) Always place the screws you remove with their respective slots, this will prevent you from trying to insert a screw that is too big and causing internal damage. (A magnetic mat can help with this!)
2) Because this is a smaller device and you will be interacting with some of the circuit boards directly, you may wish to wear an anti-static wrist wrap to prevent damage.
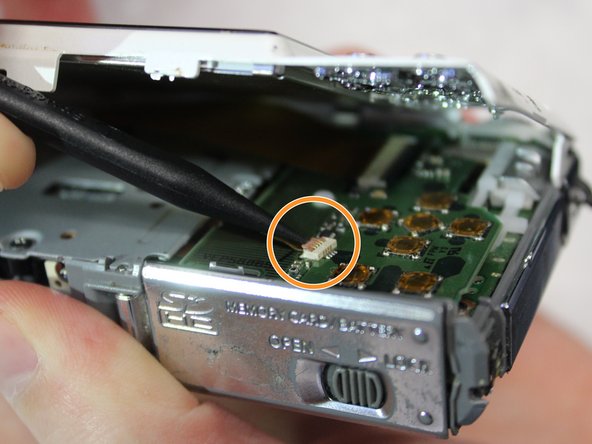
3) Ribbon cables (named due to their shape) are quite delicate and should be handled gently if possible. We will be sure to warn you when dealing with these.
Otherwise, this guide will mainly be unscrewing screws.
你所需要的
-
-
Remove both of the 3 mm screws on the bottom of the camera connected to the side panel.
-
-


To reassemble your device, follow these instructions in reverse order.
To reassemble your device, follow these instructions in reverse order.
团队

Baylor, Team S2-G3, Johnson Spring 2018 Baylor, Team S2-G3, Johnson Spring 2018 的会员
BU-JOHNSON-S18S2G3
3 名成员
创作了6篇指南