当前版本的文档还未经巡查,您可以查看最新的已查核版本 。
Using the spudger, remove the rubber rectangular cover located in the upper rear, right-hand corner.
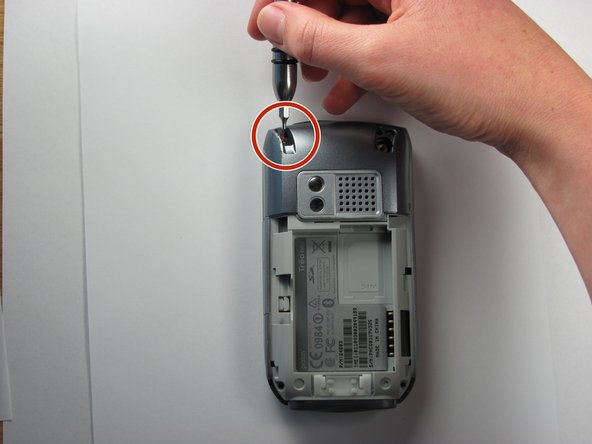
Remove the 27mm screw using the T6 Torx screwdriver.
If there is a red Palm sticker covering this screw, puncture it to access the screw.
Turn the phone so the screen is facing the right side.
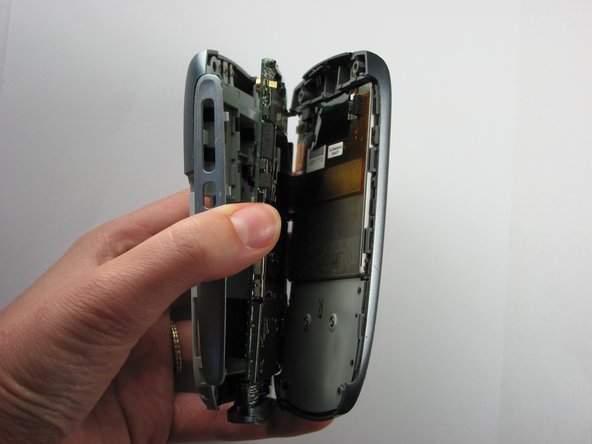
Use a spudger to carefully separate the back panel from the front panel to access components inside the phone.
Separate the covers from the left side of the device as indicated in the picture.
The right side contains orange ribbons that are easily damaged.
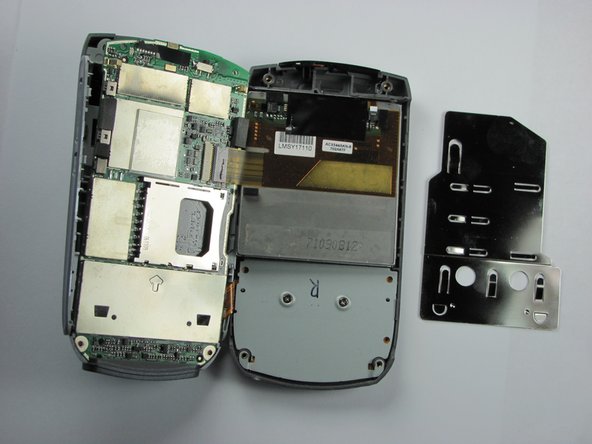
Slide the slim metal plate upwards until it disconnects from the motherboard.
DO NOT bend or crinkle this metal plate. It will be VERY DIFFICULT, IF NOT IMPOSSIBLE, to slide it back into place when you are re-assembling if you bend or crinkle this metal plate.
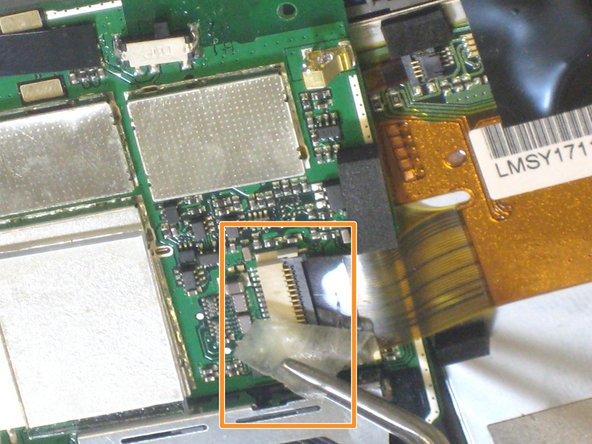
Slide the spudger between the orange ribbon and black connector. Flip the black connector upwards to release the orange ribbon.
Using the spudger, pull the orange ribbon away from the connector to confirm the wire is fully disconnected.
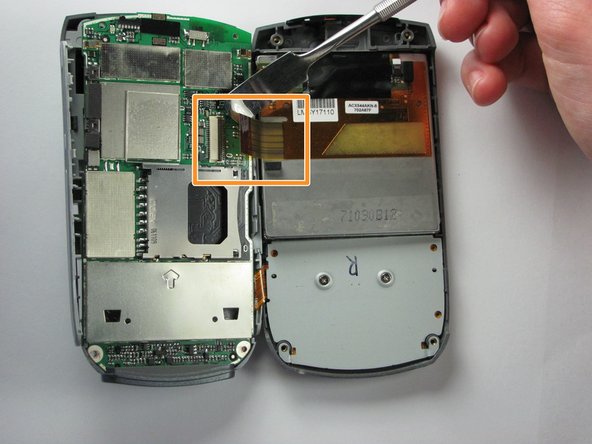
Carefully turn the phone over so the screen is face up.
Locate the other orange ribbon that connects the motherboard to the faceplate.
Slide the spudger between the orange ribbon and tan connector. Lift the tan connector up to release the orange ribbon.
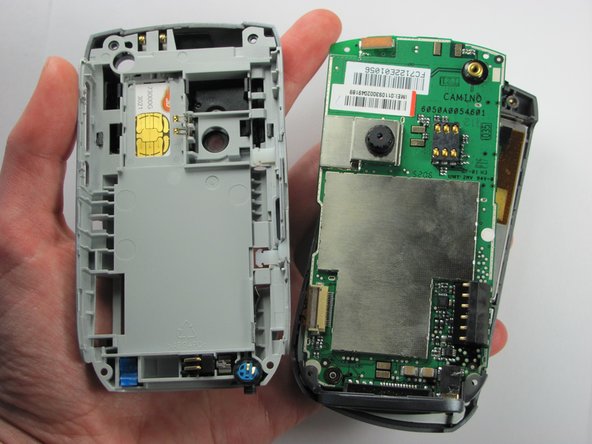
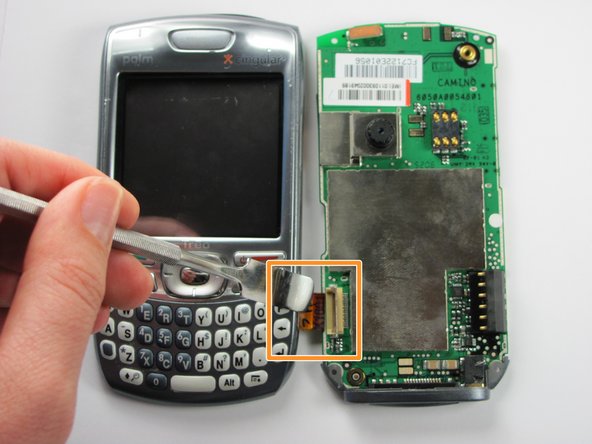
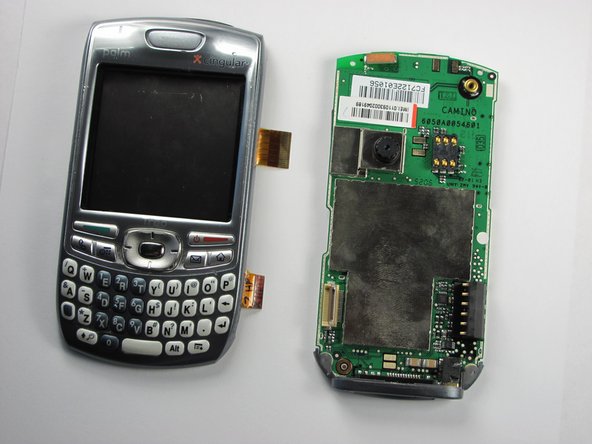
Separate the motherboard and faceplate of the Palm Treo.
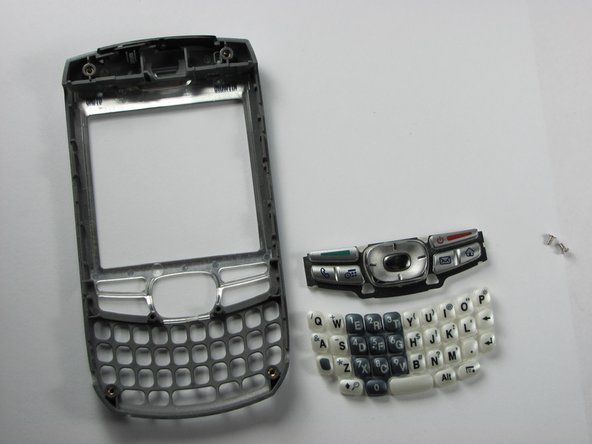
Take off the plastic back panel, to gain access to the rubber keys of the keyboard.
Push on the keys and function bar from the front of the Treo. They should all pop right out.
嵌入本指南
选择一个尺寸并复制下面的代码,将本指南作为一个小插件嵌入到你的网站/论坛中。
单个步骤
完整指南
小——600像素
中——800像素
大——1200像素
预览