你所需要的


结论
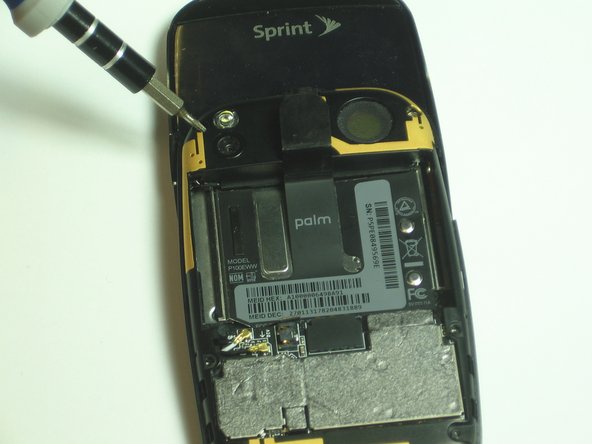
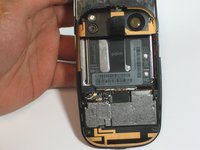
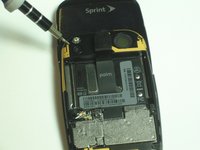
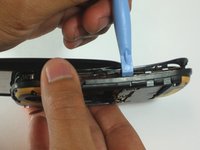
若要把你的设备装回去,请倒序完成这些步骤。
团队

Cal Poly, Team 7-31, Maness Spring 2012 Cal Poly, Team 7-31, Maness Spring 2012 的会员
CPSU-MANESS-S12S7G31
3 名成员
创作了28篇指南