简介
请注意:若想学习如何维修DualShock3控制器,请勿参考本教程,因本教程的拆卸可能具有破坏性和不可逆性 。
你所需要的
-
-
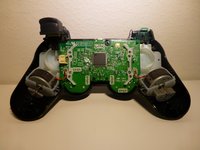
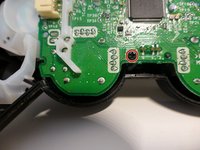
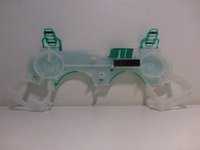
当控制器后盖被移除后,其状态应如图示。然后沿电池的红黑供电线找到主板侧插头。
-
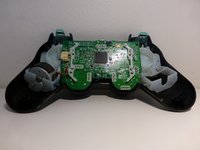
用小号镊子拔除供电线(拔除后状态如图2)。
-
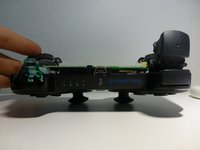
此时便可移除电池并暴露出控制器的主板。
-
固定电池的塑料夹具此时也已可移除。
-
-
-
注意:本步骤具有破坏性和不可逆性。
-
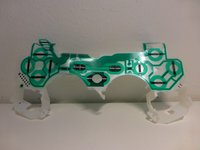
首先从L1(或R1)开始拆解。拆解这两个按钮时可能需要稍作扭动。
-
拆解L2(或R2)则需要稍用力使按钮从控制器骨架塑料上脱离。图2展示了拆解后和拆解前的对比。
-
-
-
-
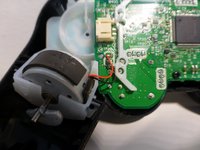
本步骤需要使用电烙铁拆除锡焊的连接线。或者,您也可以直接将线剪断。
-
首先,从控制器骨架里取出电机。由于电机用双面胶粘在骨架里,故取出时可能会比较费力。
-
然后,剪断或用电烙铁拆焊掉两条连接线。图1展示了右侧振动子电机被移除的状态。
-
对另一个振动子电机重复上述操作。
-
-
-
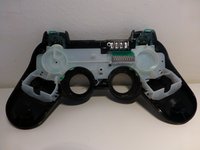
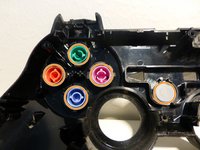
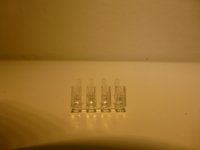
首先,移除左右两边的两组按钮导电胶(白色)和中间的一组(灰黑色)。图1展示了移除导电胶后的状态。
-
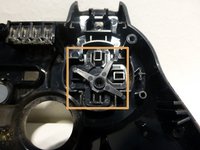
从控制器前方顶出四个主按钮和PS按钮(图2中用黄圈标示)。
-
同样方法取出另一侧的十字架方向钮(一体化,上边还有一个T型支架)
-


16指南评论
Rip. To the controller that he used.
Tintin1870 - 回复
If I have to sacrifice one controller in order to show people how to (potentially) fix theirs, then I'm fully fine with that.
You can remove the entire motherboard assembly without disconnecting the rumble motors. Just lift them out at the same time carefully
Some wording needs to be edited,
(TEAR IT DOWN not disassemble. )
Is in fact the same thing.
Cut wire from board ,
vs rip it off , would work,, lol.
The rubber touch switch pads,,
carbon pile buttons,, just might
be the reason my L2/ R2 Quit today,
or dust got under flex circuit strip
that bump contacts the circuit board
seen in recent video, scrubbed clean
to make it functional.
Not looking forward to the torture,
but not able to shift gears on
Granturismo , or fire motars from
pirate ship of Assassins Creed Rogue,
is cramping my style a bit.
Cheers..