跳转到主内容

Oster Expressbake CKSTBRTW20 Heating Coils Replacement

你所需要的

  1. Oster Expressbake CKSTBRTW20 Heating Coils Replacement, Top Panel Removal: 步骤 1 中的图像 1,1
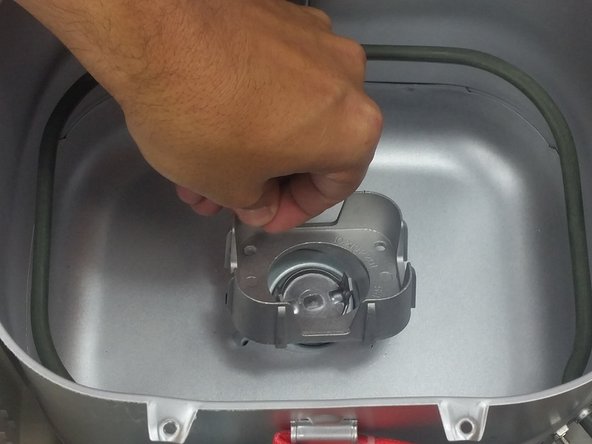
    • Remove the bread pan.

  2. Oster Expressbake CKSTBRTW20 Heating Coils Replacement: 步骤 2 中的图像 1,3 Oster Expressbake CKSTBRTW20 Heating Coils Replacement: 步骤 2 中的图像 2,3 Oster Expressbake CKSTBRTW20 Heating Coils Replacement: 步骤 2 中的图像 3,3
    • Remove the eight 22mm Phillips #1 screws from the grey lining.

    • Remove the grey liner.

  3. Oster Expressbake CKSTBRTW20 Heating Coils Replacement: 步骤 3 中的图像 1,2 Oster Expressbake CKSTBRTW20 Heating Coils Replacement: 步骤 3 中的图像 2,2
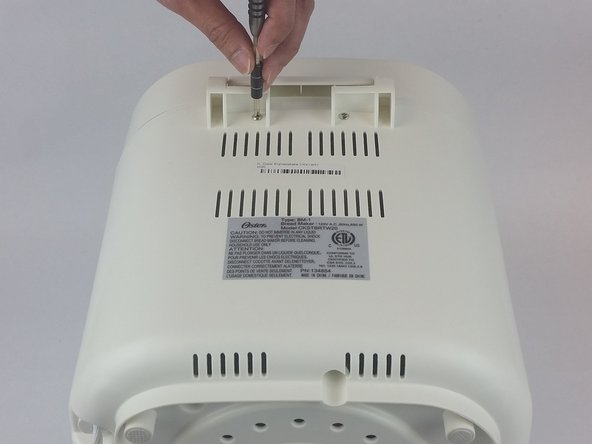
    • Remove the two 11mm Phillips #1 screws from the back of the device.

  4. Oster Expressbake CKSTBRTW20 Heating Coils Replacement: 步骤 4 中的图像 1,2 Oster Expressbake CKSTBRTW20 Heating Coils Replacement: 步骤 4 中的图像 2,2
    • Pop off the top case using a spudger.

    • Keep the spudger away from the control panel.

    • Be aware of wires connecting the microcontroller to the panel when removing the top lining.

  5. Oster Expressbake CKSTBRTW20 Heating Coils Replacement, Inner Chamber: 步骤 5 中的图像 1,3 Oster Expressbake CKSTBRTW20 Heating Coils Replacement, Inner Chamber: 步骤 5 中的图像 2,3 Oster Expressbake CKSTBRTW20 Heating Coils Replacement, Inner Chamber: 步骤 5 中的图像 3,3
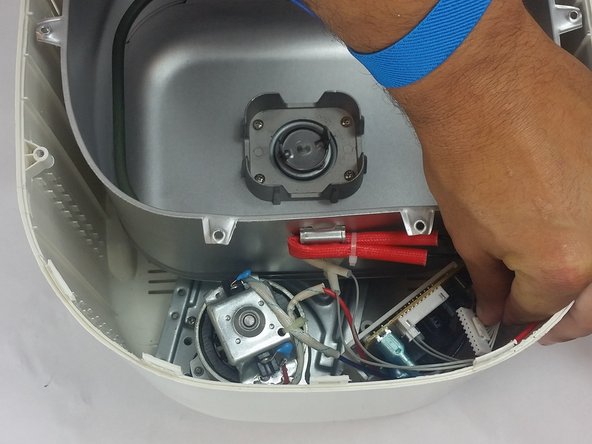
    • Disconnect microcontroller and top lining.

    • Ground yourself prior to disconnecting in order to avoid harming the inner electronics.

  6. Oster Expressbake CKSTBRTW20 Heating Coils Replacement: 步骤 6 中的图像 1,3 Oster Expressbake CKSTBRTW20 Heating Coils Replacement: 步骤 6 中的图像 2,3 Oster Expressbake CKSTBRTW20 Heating Coils Replacement: 步骤 6 中的图像 3,3
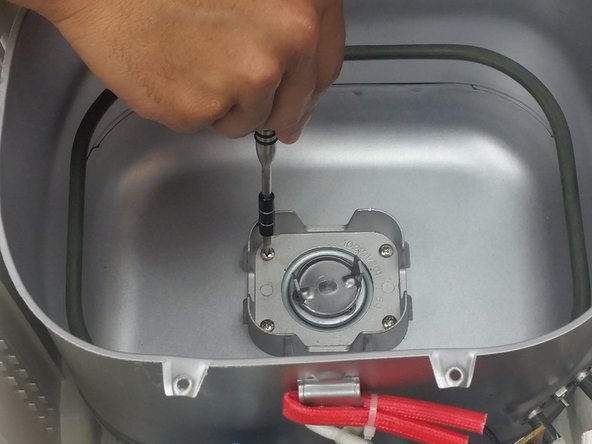
    • Remove the four 11mm Phillips #1 screws holding from the guard and inner lining.

    • Remove small rectangular guard from bottom of liner

  7. Oster Expressbake CKSTBRTW20 Heating Coils Replacement: 步骤 7 中的图像 1,1
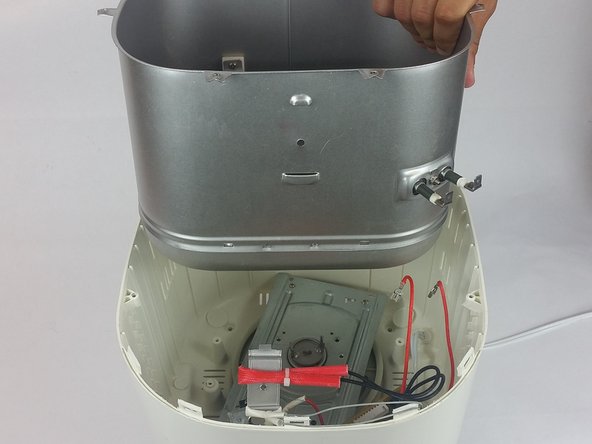
    • Remove the inner liner.

    • The inner liner will be connected to the outer chamber with wires.

  8. Oster Expressbake CKSTBRTW20 Heating Coils Replacement: 步骤 8 中的图像 1,3 Oster Expressbake CKSTBRTW20 Heating Coils Replacement: 步骤 8 中的图像 2,3 Oster Expressbake CKSTBRTW20 Heating Coils Replacement: 步骤 8 中的图像 3,3
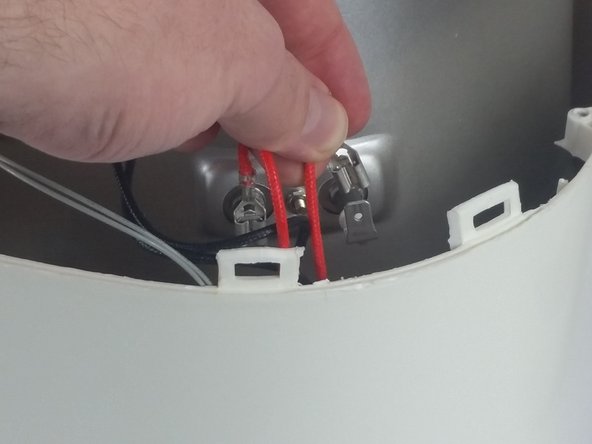
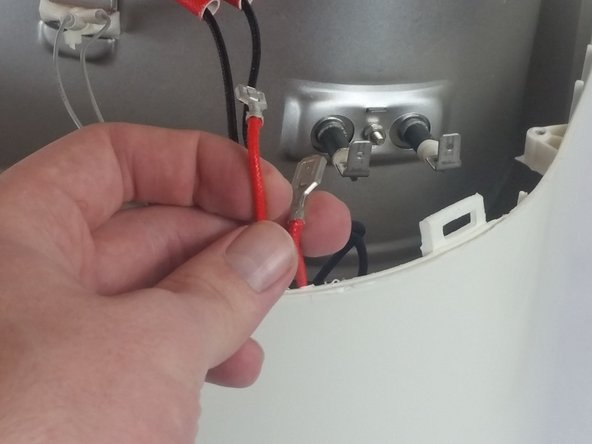
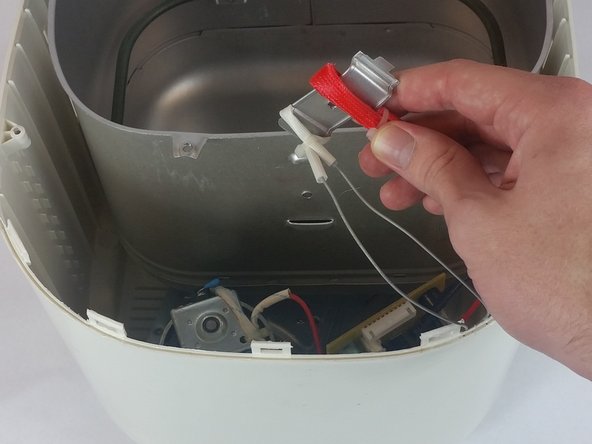
    • Disconnect the red wires from the inner liner.

  9. Oster Expressbake CKSTBRTW20 Heating Coils Replacement: 步骤 9 中的图像 1,2 Oster Expressbake CKSTBRTW20 Heating Coils Replacement: 步骤 9 中的图像 2,2
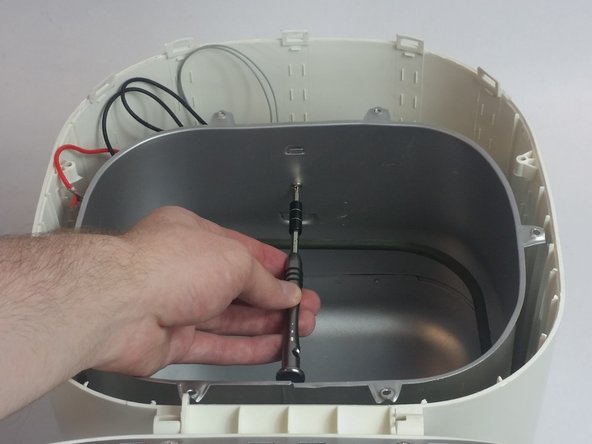
    • Remove the single 11mm Phillips #1 screw thats holding and inner lining in place.

  10. Oster Expressbake CKSTBRTW20 Heating Coils Replacement: 步骤 10 中的图像 1,3 Oster Expressbake CKSTBRTW20 Heating Coils Replacement: 步骤 10 中的图像 2,3 Oster Expressbake CKSTBRTW20 Heating Coils Replacement: 步骤 10 中的图像 3,3
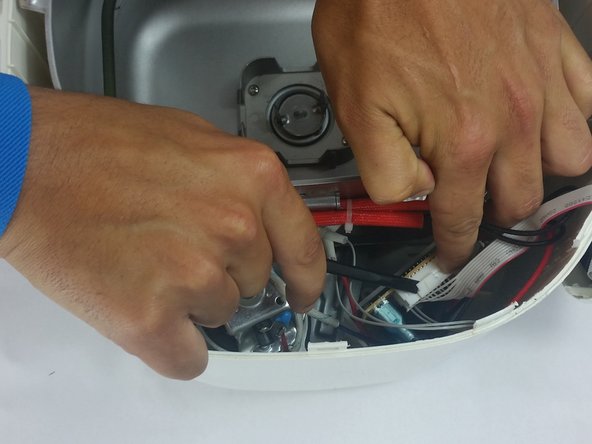
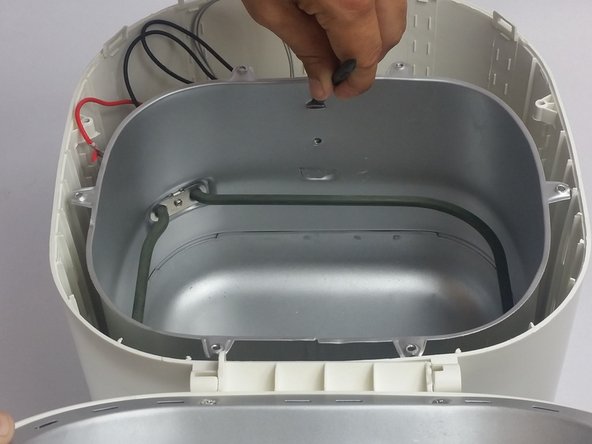
    • Use a spudger to push out the connector found on the inner lining.

  11. Oster Expressbake CKSTBRTW20 Heating Coils Replacement: 步骤 11 中的图像 1,2 Oster Expressbake CKSTBRTW20 Heating Coils Replacement: 步骤 11 中的图像 2,2
    • Remove lining.

  12. Oster Expressbake CKSTBRTW20 Heating Coils Replacement, Heating Coils: 步骤 12 中的图像 1,3 Oster Expressbake CKSTBRTW20 Heating Coils Replacement, Heating Coils: 步骤 12 中的图像 2,3 Oster Expressbake CKSTBRTW20 Heating Coils Replacement, Heating Coils: 步骤 12 中的图像 3,3
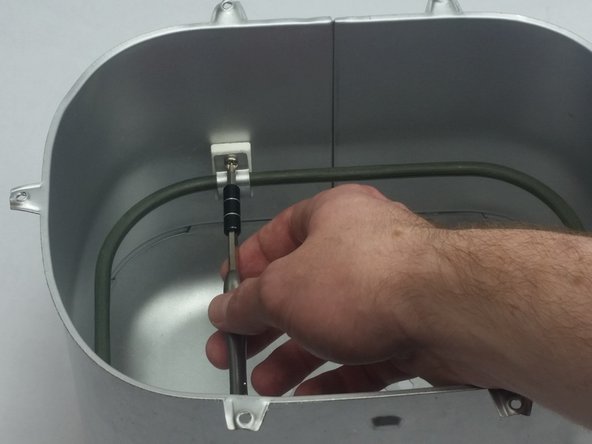
    • Remove the two 11mm Phillips #1 screws from the inside of the chamber.

    • Removal of the screws may also require a 1/4 socket wrench on the other side to prevent spinning.

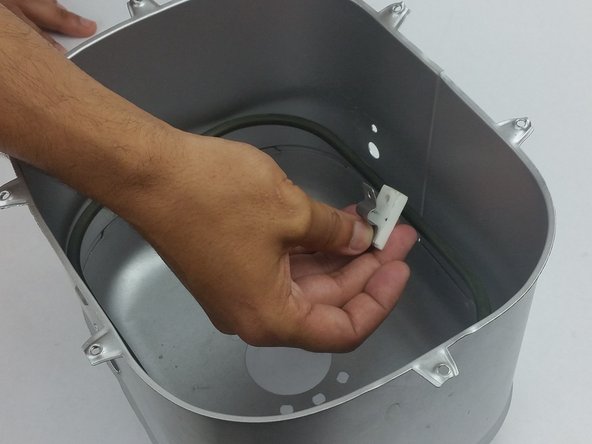
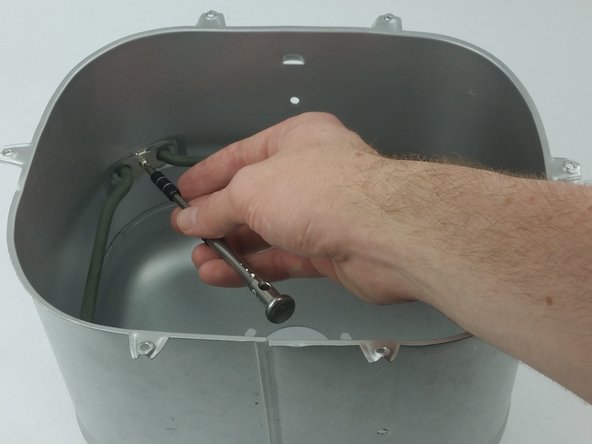
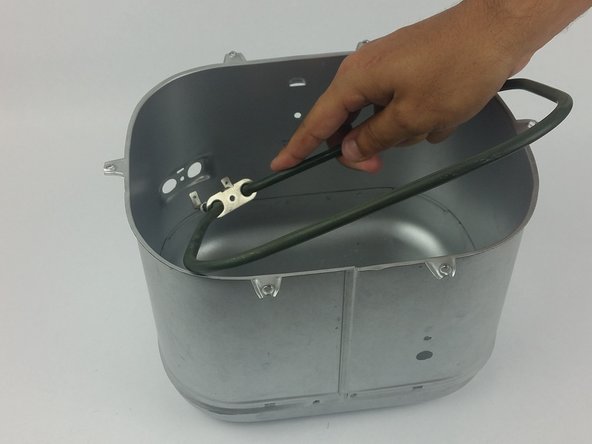
  13. Oster Expressbake CKSTBRTW20 Heating Coils Replacement: 步骤 13 中的图像 1,3 Oster Expressbake CKSTBRTW20 Heating Coils Replacement: 步骤 13 中的图像 2,3 Oster Expressbake CKSTBRTW20 Heating Coils Replacement: 步骤 13 中的图像 3,3
    • Remove the 11mm Phillips #1 screw from the heating coil.

    • After you have removed the screw the coils will pop out of place.

结论

To reassemble your device, follow these instructions in reverse order.

另外一个人完成了本指南。

Megan Saunders

于01/25/18注册

701 声望

创作了5篇指南

团队

USF Tampa, Team S7-G5, Passmore Spring 2018 USF Tampa, Team S7-G5, Passmore Spring 2018 的会员

USFT-PASSMORE-S18S7G5

4 名成员

创作了5篇指南

一条评论

We odered a new element but when we took the maker apart one of the leads was not attached. The maker had “walked” off our slick countertop and we think that is when the lead came off. We cleaned the felt pads and put silicone pads on top of those and now it stays stationary. Thank you for this tutorial. Love being able to fix things instead of tossing them. We have repaired our dishwasher twice and even the microwave. Freedom to repair is vital.

Laurie L Sippel - 回复

添加评论

浏览统计数据:

过去 24 小时: 0

过去 7 天: 1

过去 30 天: 3

总计 467