跳转到主内容

Olympus SP-320 Back casing and LCD screen Replacement

你所需要的

  1. Olympus SP-320 Back casing and LCD screen Replacement, Back casing and LCD screen: 步骤 1 中的图像 1,3 Olympus SP-320 Back casing and LCD screen Replacement, Back casing and LCD screen: 步骤 1 中的图像 2,3 Olympus SP-320 Back casing and LCD screen Replacement, Back casing and LCD screen: 步骤 1 中的图像 3,3
    • Remove the 3 mm long screws with a Phillips head screwdriver that has a PH000 size bit.

  2. Olympus SP-320 Back casing and LCD screen Replacement: 步骤 2 中的图像 1,1
    • Remove the 3 mm long screw using Phillips head screwdriver that has a PH000 size bit.

  3. Olympus SP-320 Back casing and LCD screen Replacement: 步骤 3 中的图像 1,1
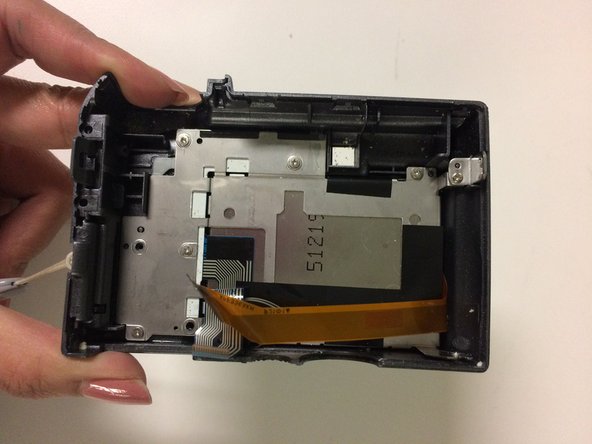
    • Pry the outer case open using a blue, plastic opening tool.

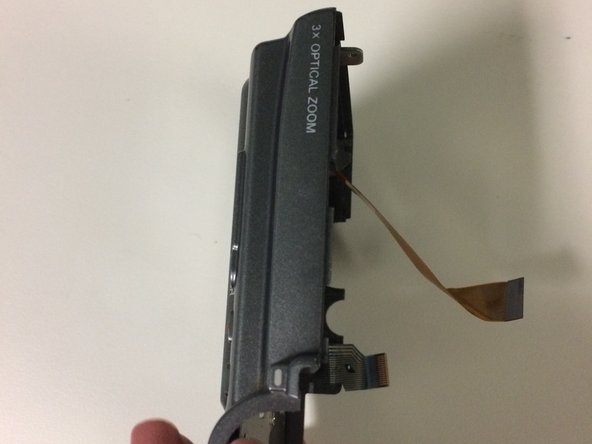
    • Pry case open gently to avoid tearing the ribbon that connects the front part of the case to the back of the case.

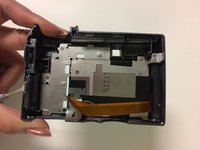
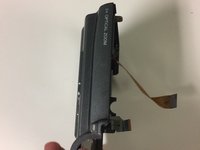
  4. Olympus SP-320 Back casing and LCD screen Replacement: 步骤 4 中的图像 1,3 Olympus SP-320 Back casing and LCD screen Replacement: 步骤 4 中的图像 2,3 Olympus SP-320 Back casing and LCD screen Replacement: 步骤 4 中的图像 3,3
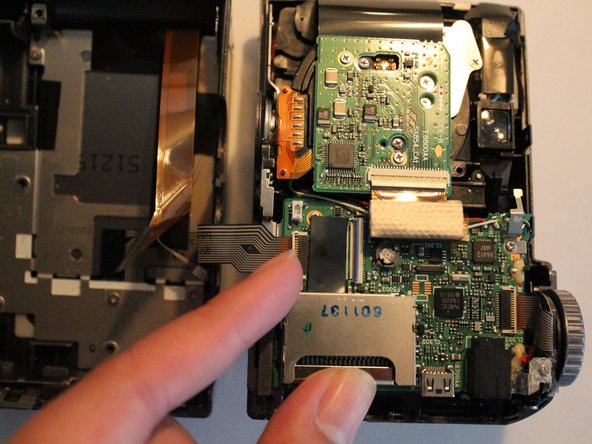
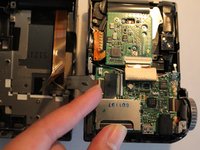
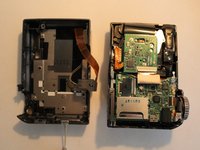
    • Detach camera body from back casing and LCD screen.

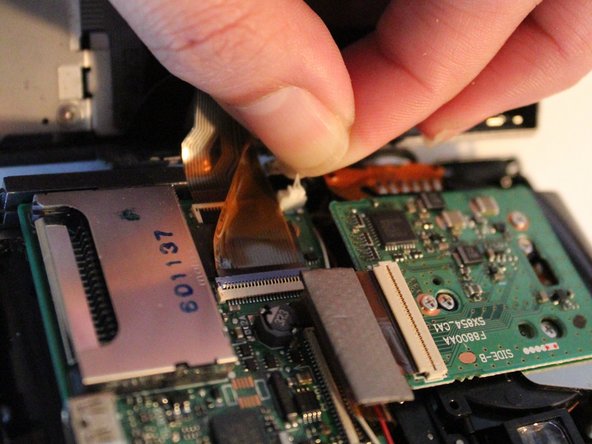
    • Pull gently on the white connecting cable to detach it from the main body of the camera.

    • Lift the small, plastic clip, detaching the ribbon from the main body of the camera.

  5. Olympus SP-320 Back casing and LCD screen Replacement: 步骤 5 中的图像 1,3 Olympus SP-320 Back casing and LCD screen Replacement: 步骤 5 中的图像 2,3 Olympus SP-320 Back casing and LCD screen Replacement: 步骤 5 中的图像 3,3
    • You have detached the back casing and LCD screen.

结论

To reassemble your device, follow these instructions in reverse order.

一条评论

Is that thin white connector - a powercable to screen led-light? thnx

Alex CalmCroft Tokarsky - 回复

添加评论

浏览统计数据:

过去 24 小时: 0

过去 7 天: 1

过去 30 天: 7

总计 508