跳转到主内容

Oculus Rift DK1 Control Box Buttons Replacement

你所需要的

  1. Oculus Rift DK1 Control Box Buttons Replacement, Control Box Bottom Cover: 步骤 1 中的图像 1,3 Oculus Rift DK1 Control Box Buttons Replacement, Control Box Bottom Cover: 步骤 1 中的图像 2,3 Oculus Rift DK1 Control Box Buttons Replacement, Control Box Bottom Cover: 步骤 1 中的图像 3,3
    • Use a plastic opening tool to carefully pry off the four rubber feet from the control box.

    • You have now revealed the four 9 mm Phillips #1 screws underneath the rubber feet.

  2. Oculus Rift DK1 Control Box Buttons Replacement: 步骤 2 中的图像 1,3 Oculus Rift DK1 Control Box Buttons Replacement: 步骤 2 中的图像 2,3 Oculus Rift DK1 Control Box Buttons Replacement: 步骤 2 中的图像 3,3
    • Use a Phillips #1 Screwdriver to unscrew the four 9mm Phillips screws on the bottom of the control box.

    • You can now remove the bottom lid of the control box. It should come apart easily.

  3. Oculus Rift DK1 Control Box Buttons Replacement, Control Box  Motherboard: 步骤 3 中的图像 1,3 Oculus Rift DK1 Control Box Buttons Replacement, Control Box  Motherboard: 步骤 3 中的图像 2,3 Oculus Rift DK1 Control Box Buttons Replacement, Control Box  Motherboard: 步骤 3 中的图像 3,3
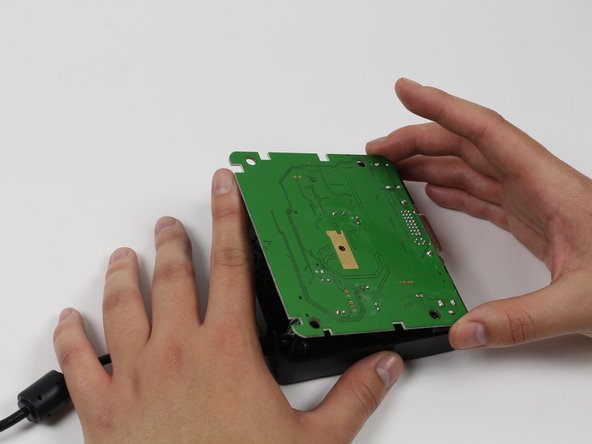
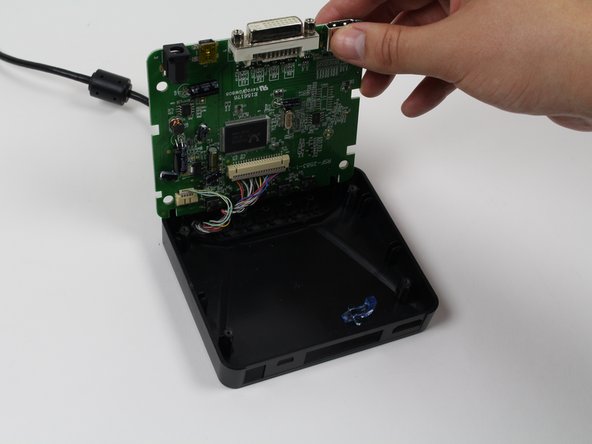
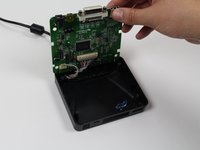
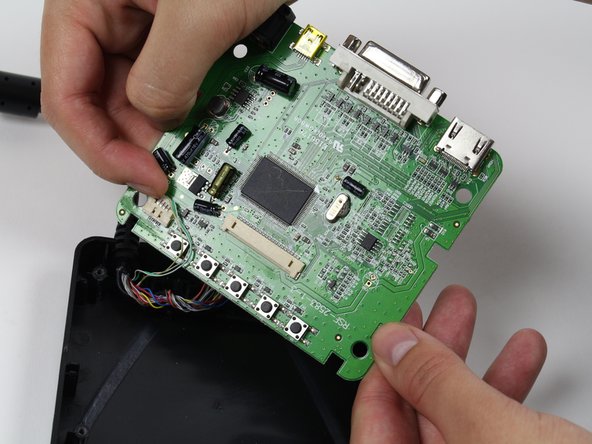
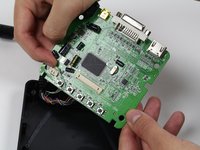
    • Use your finger(s) to start lifting the motherboard from the control box casing. While doing so, use your other hand to push the DVI connector into the control box casing.

    • When the DVI connector has cleared the casing, lift the motherboard.

    • Be careful! There should be two sets of wires still connected to the control box - do not tug on them. Simply flip the motherboard over to access these wires.

    • When reassembling the device, ensure that all of the wires are clear of the buttons.

  4. Oculus Rift DK1 Control Box Buttons Replacement: 步骤 4 中的图像 1,3 Oculus Rift DK1 Control Box Buttons Replacement: 步骤 4 中的图像 2,3 Oculus Rift DK1 Control Box Buttons Replacement: 步骤 4 中的图像 3,3
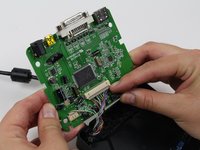
    • Use a plastic opening tool or your fingernails to disconnect the grey wire connectors. To make removal easier, pry the left and right edges to carefully remove the connector.

    • Do so for both of the wires attached to the motherboard.

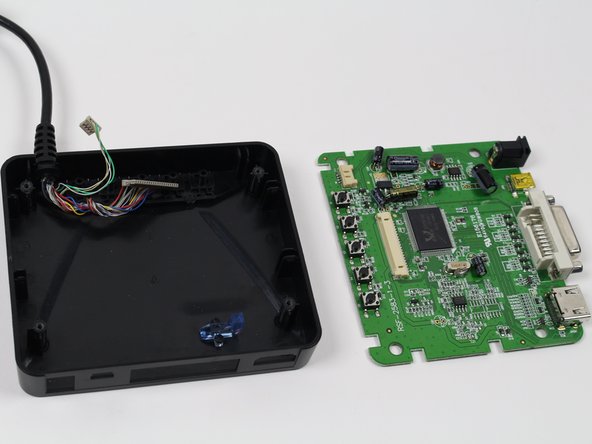
    • Now fully separate the motherboard from the control box casing.

  5. Oculus Rift DK1 Control Box Buttons Replacement, Control Box Buttons: 步骤 5 中的图像 1,1
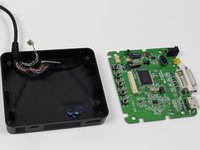
    • You now have the motherboard separated from the control box.

    • Identify the buttons that are not working.

  6. Oculus Rift DK1 Control Box Buttons Replacement, Desoldering Button: 步骤 6 中的图像 1,1
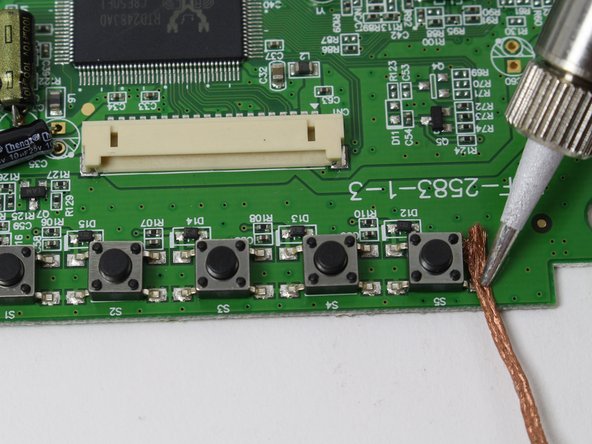
    • For each button that needs to be replaced, use a soldering iron and soldering braid to desolder the four metal points.

    • Be careful! Soldering iron is hot.

  7. Oculus Rift DK1 Control Box Buttons Replacement, Removing Button: 步骤 7 中的图像 1,2 Oculus Rift DK1 Control Box Buttons Replacement, Removing Button: 步骤 7 中的图像 2,2
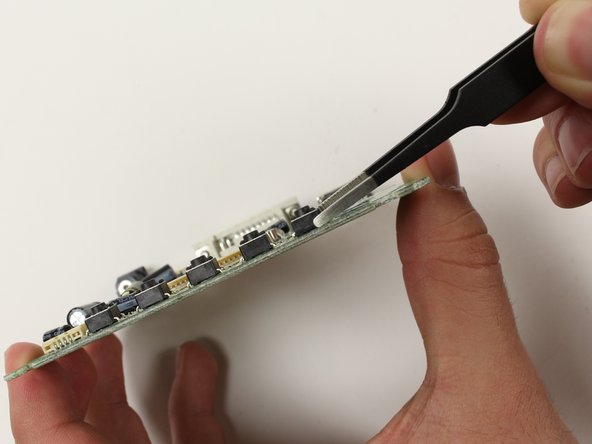
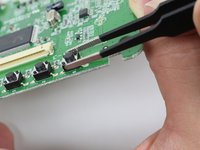
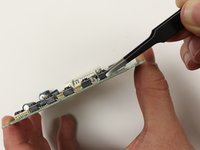
    • Now that each button with issues is desoldered, use tweezers to grab each button and detach from the motherboard.

    • If the button does not come off easily, go back to the previous step and ensure each of the four metal points are properly desoldered.

结论

To reassemble your device, follow these instructions in reverse order.

Ross De Vito

于01/13/15注册

225 声望

创作了2篇指南

团队

Cal Poly, Team 70-5, Forte Winter 2015 Cal Poly, Team 70-5, Forte Winter 2015 的会员

CPSU-FORTE-W15S70G5

4 名成员

创作了6篇指南

0条评论

添加评论

浏览统计数据:

过去 24 小时: 0

过去 7 天: 1

过去 30 天: 4

总计 538