跳转到主内容

Nvidia Shield Pro Android TV I/O Board Replacement

你所需要的

  1. Nvidia Shield Pro Android TV I/O Board Replacement, Bottom Cover: 步骤 1 中的图像 1,2 Nvidia Shield Pro Android TV I/O Board Replacement, Bottom Cover: 步骤 1 中的图像 2,2
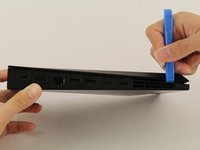
    • Flip to the back side of your Nvidia Shield Pro Android TV.

    • To open the bottom cover of the Nvidia Shield, start from the corner and slide your plastic opening tool across the gap.

    • If using a plastic opening tool to open the bottom cover is difficult, try using a metal spudger.

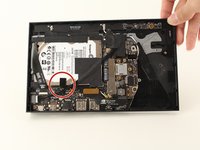
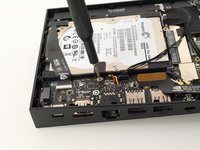
  2. Nvidia Shield Pro Android TV I/O Board Replacement, Hard Drive: 步骤 2 中的图像 1,3 Nvidia Shield Pro Android TV I/O Board Replacement, Hard Drive: 步骤 2 中的图像 2,3 Nvidia Shield Pro Android TV I/O Board Replacement, Hard Drive: 步骤 2 中的图像 3,3
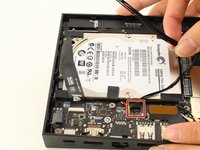
    • Remove the two pieces of adhesives found at the top and the bottom side of the hard drive.

    • Put the two adhesives aside. Make sure to keep them flat so that you can put them back on after.

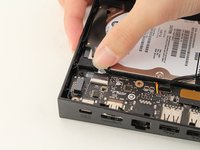
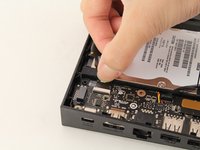
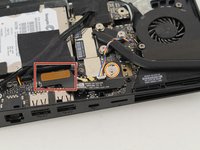
  3. Nvidia Shield Pro Android TV I/O Board Replacement: 步骤 3 中的图像 1,3 Nvidia Shield Pro Android TV I/O Board Replacement: 步骤 3 中的图像 2,3 Nvidia Shield Pro Android TV I/O Board Replacement: 步骤 3 中的图像 3,3
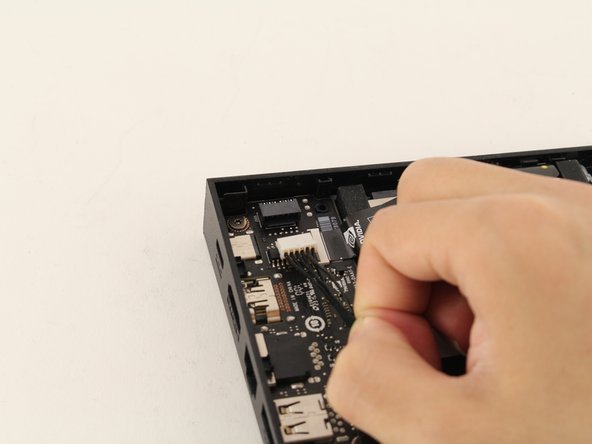
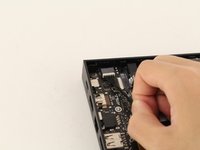
    • Detach the pack of wires by pulling it away from the socket.

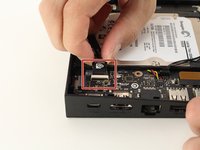
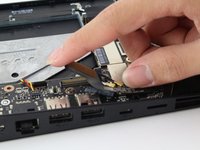
  4. Nvidia Shield Pro Android TV I/O Board Replacement: 步骤 4 中的图像 1,3 Nvidia Shield Pro Android TV I/O Board Replacement: 步骤 4 中的图像 2,3 Nvidia Shield Pro Android TV I/O Board Replacement: 步骤 4 中的图像 3,3
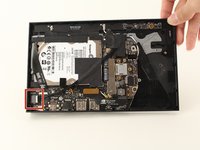
    • Next to the empty socket where the black wires were attached to the I/O board (refer back to Step 2), detach the plastic strap from the I/O board by pushing the strap away from the socket using your finger.

  5. Nvidia Shield Pro Android TV I/O Board Replacement: 步骤 5 中的图像 1,2 Nvidia Shield Pro Android TV I/O Board Replacement: 步骤 5 中的图像 2,2
    • Remove the screw on the metal piece using a T6 Torx screwdriver and put away the metal piece after removing the screw.

  6. Nvidia Shield Pro Android TV I/O Board Replacement: 步骤 6 中的图像 1,1
    • Gently pull the hard drive out of the device.

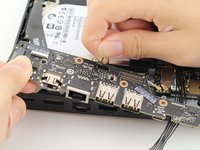
  7. Nvidia Shield Pro Android TV I/O Board Replacement, I/O Board: 步骤 7 中的图像 1,3 Nvidia Shield Pro Android TV I/O Board Replacement, I/O Board: 步骤 7 中的图像 2,3 Nvidia Shield Pro Android TV I/O Board Replacement, I/O Board: 步骤 7 中的图像 3,3
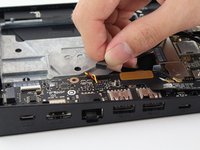
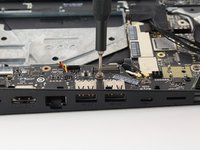
    • Detach the brown side of the connector from the I/O board by pulling it upward.

    • Remove the screw from the silver plate using a T6 Torx screwdriver.

    • Put the cable aside after removing it.

  8. Nvidia Shield Pro Android TV I/O Board Replacement: 步骤 8 中的图像 1,2 Nvidia Shield Pro Android TV I/O Board Replacement: 步骤 8 中的图像 2,2
    • Detach the small bundle of black wires from the I/O board by gently pulling upward.

    • Be very gentle because the wires are very fragile.

  9. Nvidia Shield Pro Android TV I/O Board Replacement: 步骤 9 中的图像 1,2 Nvidia Shield Pro Android TV I/O Board Replacement: 步骤 9 中的图像 2,2
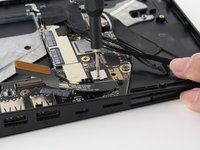
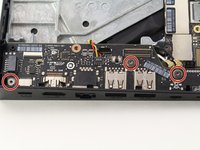
    • Remove the three T6 Torx screws from the I/O board.

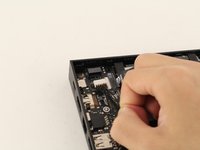
  10. Nvidia Shield Pro Android TV I/O Board Replacement: 步骤 10 中的图像 1,3 Nvidia Shield Pro Android TV I/O Board Replacement: 步骤 10 中的图像 2,3 Nvidia Shield Pro Android TV I/O Board Replacement: 步骤 10 中的图像 3,3
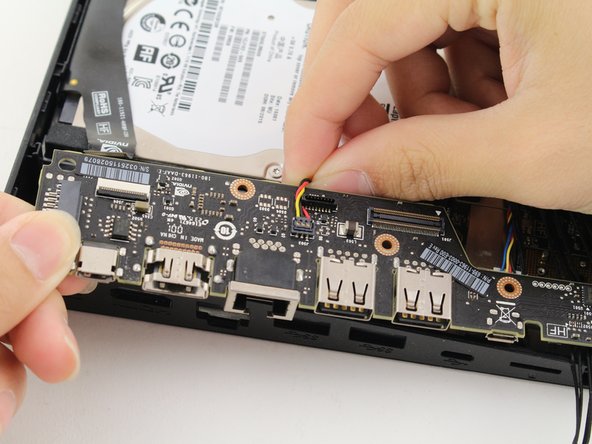
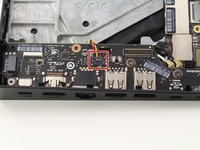
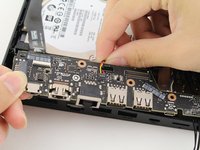
    • Detach the multi-colored (red/yellow/black) wire from the I/O board by pulling it away from the socket.

  11. Nvidia Shield Pro Android TV I/O Board Replacement: 步骤 11 中的图像 1,1
    • Gently remove the I/O board by sliding it away from the exterior input/output sockets on your Nvidia Shield Pro.

结论

To reassemble your device, follow these instructions in reverse order.

6等其他人完成本指南。

Jimmy Chen

于01/23/20注册

594 声望

创作了3篇指南

团队

Cal Poly, Team S18-G2, White Winter 2020 Cal Poly, Team S18-G2, White Winter 2020 的会员

CPSU-WHITE-W20S18G2

4 名成员

创作了6篇指南

2条评论

Where can I buy Nvidia Shield Pro Android TV I/O Board? Greentings from Brazil.

Sergio Santos - 回复

Aniyone managed to get a source for this part, The IO board

Yoda Mann - 回复

添加评论

浏览统计数据:

过去 24 小时: 1

过去 7 天: 17

过去 30 天: 74

总计 4,552