简介
It's possible through normal wear and tear, or particularly vigorous gameplay, that your Nvidia Joystick will need to have its joystick board and/or thumb-sticks replaced to restore them to fully functional. The joystick board is what communicates the movements of the thumb-sticks to the computer or console which will then produce movement onscreen.
Repairs like these will save you money since these devices can become expensive, and keep repairable electronics out of landfills. By completing this repair, your joystick should be back to fully functional and more responsive, assuming the wear on the joystick board degraded with age and time.
To complete this repair, you'll only need the replacement parts and a screwdriver that fits a 6.5mm screw so, nothing fancy and no special knowledge is required.
你所需要的
-
-
Remove the seven 6.4mm T5 Torx screws from the back panel.
-
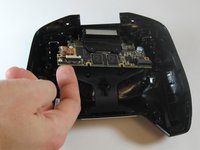
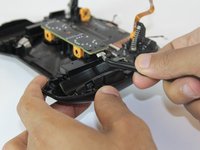
Use the spudger to separate the front and back panels.
-
-
-
Remove the six 6.5mm T5 Torx screws.
-
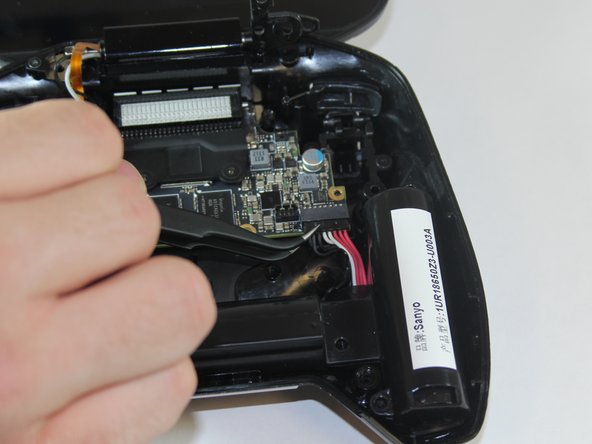
Disconnect the power wires.
-
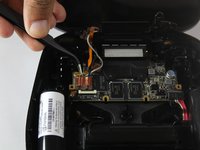
Peel back the copper tape and disconnect the black and white wires.
-
-
-
-
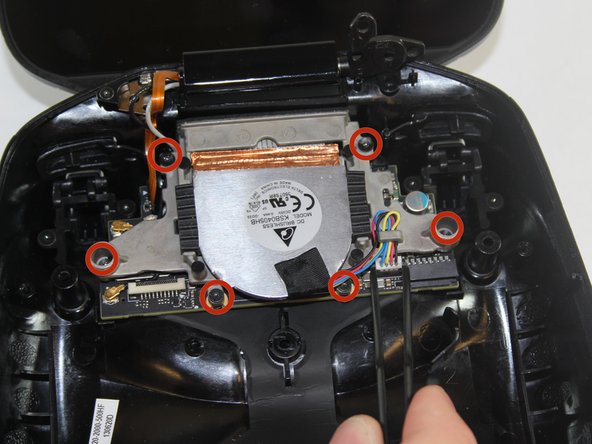
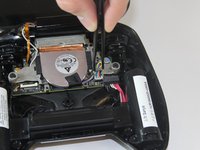
Remove the two 7.3mm and four 8.4mm T5 Torx screws and disconnect the power cable.
-
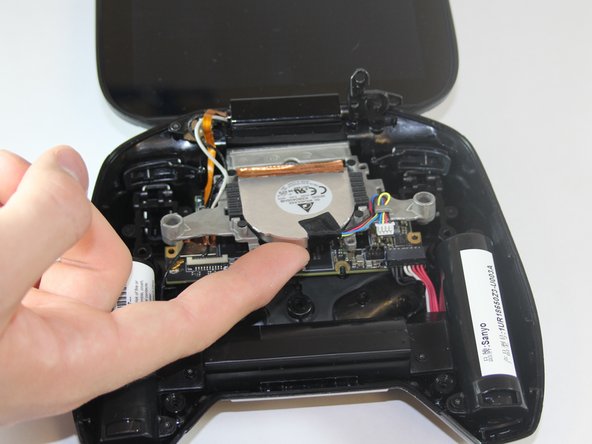
Lift the fan free after the screws and cable are removed.
-
-
-
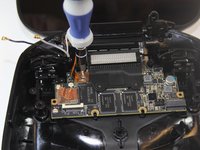
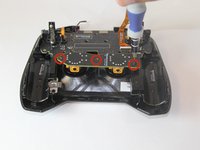
Using your T5 Torx screwdriver, remove six screws from the motherboard—two 7.3 mm screws and four 8.4 mm screws.
-
Simply pull gently on the edges of the board, wiggling it if necessary so as not to damage the ports at the top of the board.
-
-
-
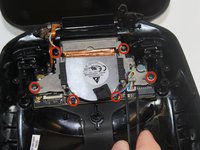
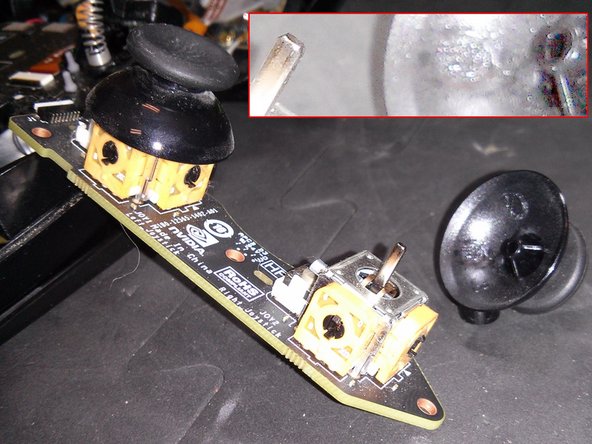
Unscrew the 3 6.5mm screws from the Joystick board
-
Unplug the ribbon attached on the right hand side of the board
-
Once removed, the Joystick board will lift from the panel, allowing replacement
-
The thumb-Sticks can be pulled off of the metal pegs for replacement.
-


To reassemble your device, follow these instructions in reverse order.
4等其他人完成本指南。
团队

USF Tampa, Team 1-1, Hickman Fall 2014 USF Tampa, Team 1-1, Hickman Fall 2014 的会员
USFT-HICKMAN-F14S1G1
4 名成员
创作了18篇指南