简介
This repair guide shows how to replace the motherboard for a Nvidia Shield Controller Gen 2, manufactured by Nvidia, item model number: 945-12920-2500-000.
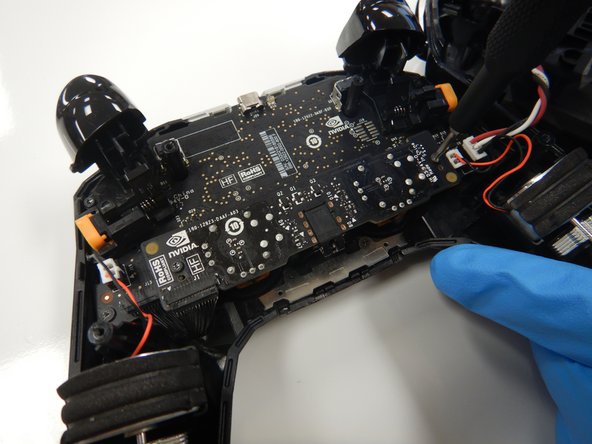
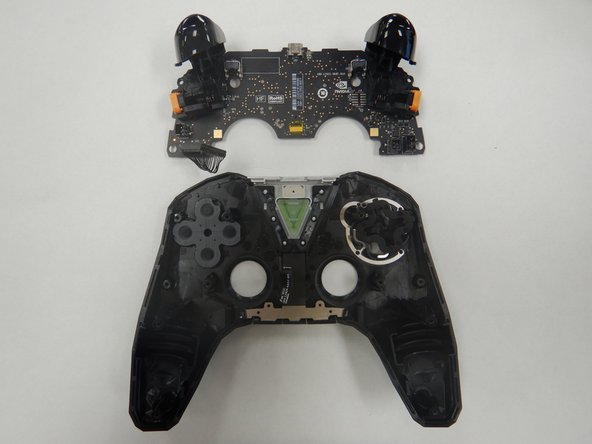
The motherboard is a circuit board which connects all the components within a device. If the motherboard is faulty, the controller may not turn on at all.
你所需要的
-
-
Use a Torx TR6 screwdriver to remove the six 7mm screws from the back of the controller.
-
-


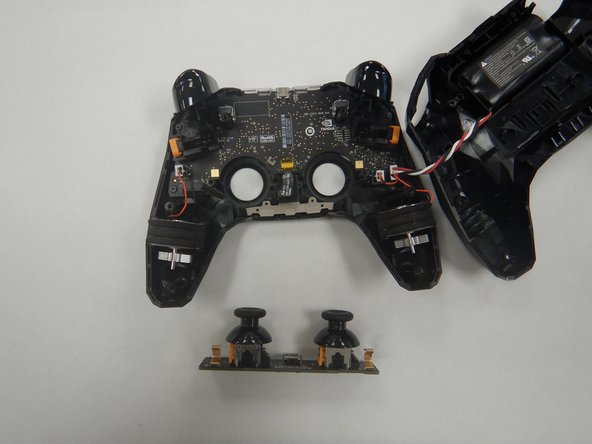


To reassemble your device, follow these instructions in reverse order.
3等其他人完成本指南。
团队

The Citadel Military College of South Carolina, Team S2-G10, Eggleston Fall 2020 The Citadel Military College of South Carolina, Team S2-G10, Eggleston Fall 2020 的会员
CMCSC-EGGLESTON-F20S2G10
3 名成员
创作了6篇指南