跳转到主内容
Nook HD+ Motherboard Replacement

Nook HD+ Motherboard Replacement

Brennan Holcombe

Brennan Holcombe3 其他贡献者

最后更新于 May 7, 2024

30 - 45 分钟
中等

This guide shows how to replace the Nook HD+ motherboard in 7 easy to understand steps. The tools needed to replace this piece of the Nook HD+ are the plastic opening tool, a T5 screwdriver, and tweezers.

No hazards are present in this guide, but be mindful of how rough the motherboard and ribbons are treated.

你所需要的

工具

查看更多...

  1. Nook HD+ Motherboard Replacement, Motherboard: 步骤 1 中的图像 1,3 Nook HD+ Motherboard Replacement, Motherboard: 步骤 1 中的图像 2,3 Nook HD+ Motherboard Replacement, Motherboard: 步骤 1 中的图像 3,3
    • Open the plastic frame by wedging the plastic iFixit opening tool under the plastic frame to remove adhesive.

    • Pop up all plastic tabs that secure the frame to the chassis.

  2. Nook HD+ Motherboard Replacement: 步骤 2 中的图像 1,3 Nook HD+ Motherboard Replacement: 步骤 2 中的图像 2,3 Nook HD+ Motherboard Replacement: 步骤 2 中的图像 3,3
    • Remove twenty 5.0 mm Torx T5 screws that hold the chassis to the back casing using a screwdriver.

    • Disconnect battery from motherboard.

    • Remove back casing.

  3. Nook HD+ Motherboard Replacement: 步骤 3 中的图像 1,2 Nook HD+ Motherboard Replacement: 步骤 3 中的图像 2,2
    在这个步骤中使用的工具:
    Tweezers
    $4.99
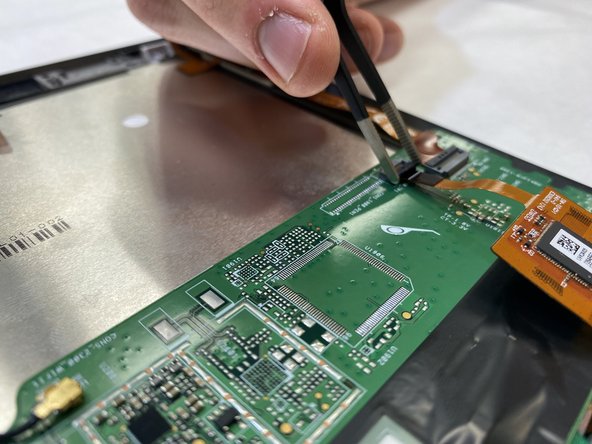
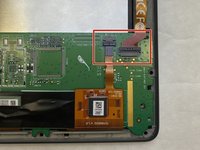
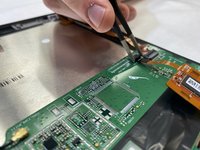
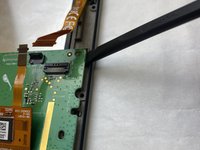
    • Disconnect both ribbons from the motherboard by pulling up on the dark grey flaps and pulling out the ribbons.

    • Use tweezers to lift the flaps.

  4. Nook HD+ Motherboard Replacement: 步骤 4 中的图像 1,1
    • Disconnect the small red and black ribbon connected to the speaker from the white clip on the motherboard.

    • No tool is needed. Gently pull on the wires until the piece disconnects.

  5. Nook HD+ Motherboard Replacement: 步骤 5 中的图像 1,1
    • Disconnect antenna from motherboard by pulling up with slight force.

  6. Nook HD+ Motherboard Replacement: 步骤 6 中的图像 1,2 Nook HD+ Motherboard Replacement: 步骤 6 中的图像 2,2
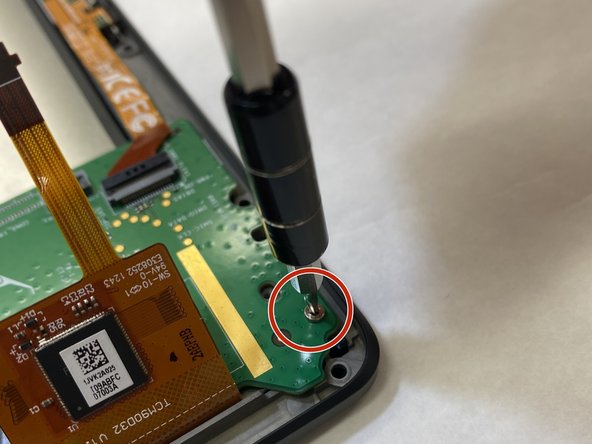
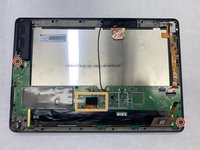
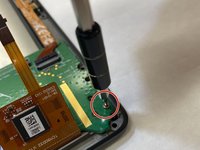
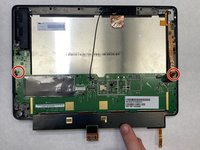
    • Remove two 5.0 mm Torx T5 screws attached to the motherboard using a screwdriver.

    • Lift the small foam piece attached to the black strip on the motherboard and gently pull up.

  7. Nook HD+ Motherboard Replacement: 步骤 7 中的图像 1,2 Nook HD+ Motherboard Replacement: 步骤 7 中的图像 2,2
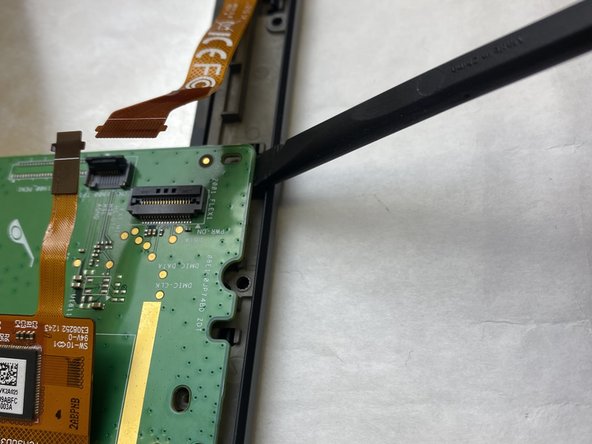
    • With the black strip lifted, carefully snap the motherboard out of the plastic pieces holding it down.

    • Remove the motherboard.

结论

To reassemble your device, follow these instructions in reverse order.

Brennan Holcombe

于03/31/22注册

256 声望

创作了2篇指南

团队

IUPUI, Team 3-3, Harley Spring 2022 IUPUI, Team 3-3, Harley Spring 2022 的会员

IUPUI-HARLEY-S22S3G3

3 名成员

创作了3篇指南

0指南评论

添加评论

浏览统计数据:

过去 24 小时: 0

过去 7 天: 6

过去 30 天: 11

总计 302