跳转到主内容

Nokia X Headphone Jack Replacement

你所需要的

  1. Nokia X Headphone Jack Replacement, Battery: 步骤 1 中的图像 1,1
    • The first step is to remove the back cover off of the phone. To do this, place both your thumbs on the two top corners of the device and simply pop it off.

  2. Nokia X Headphone Jack Replacement: 步骤 2 中的图像 1,1
    • To remove the battery, simply use your finger to pry the battery out of its slot.

  3. Nokia X Headphone Jack Replacement: 步骤 3 中的图像 1,1
    • Inserting a new battery is as simple as lining up the gold connectors and sliding the battery in text-side down.

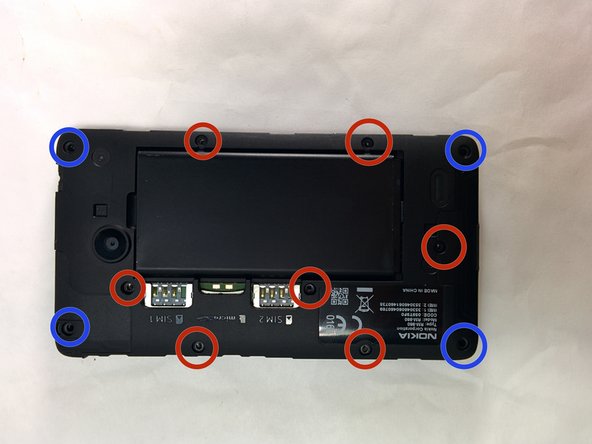
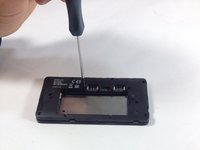
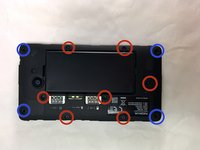
  4. Nokia X Headphone Jack Replacement, Display Assembly: 步骤 4 中的图像 1,2 Nokia X Headphone Jack Replacement, Display Assembly: 步骤 4 中的图像 2,2
    • Remove the four 5.33mm T5 Torx screws which are located in the corners of the phone.

    • Remove the seven 4.00mm T5 Torx screws that line the phone between the corners.

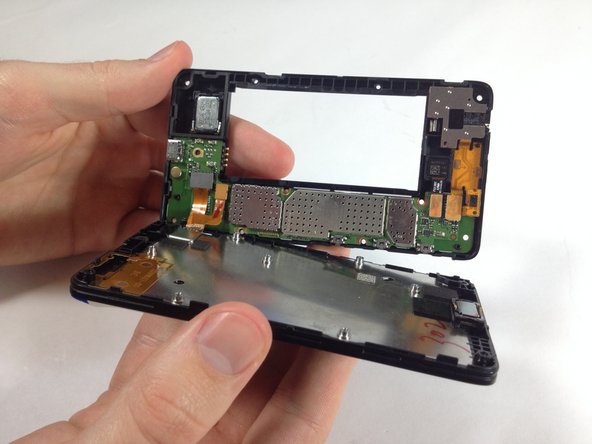
  5. Nokia X Headphone Jack Replacement: 步骤 5 中的图像 1,2 Nokia X Headphone Jack Replacement: 步骤 5 中的图像 2,2
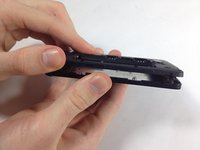
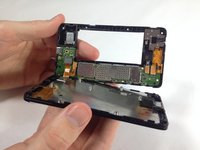
    • To remove the screen from the motherboard, you will need to apply some force until you feel it snap off. If the connectors unhook themselves, don't worry.

  6. Nokia X Headphone Jack Replacement: 步骤 6 中的图像 1,1
    • If the connectors are still attached, simply unhook them by lifting the top of the connector with your finger.

  7. Nokia X Headphone Jack Replacement, Headphone Jack: 步骤 7 中的图像 1,2 Nokia X Headphone Jack Replacement, Headphone Jack: 步骤 7 中的图像 2,2
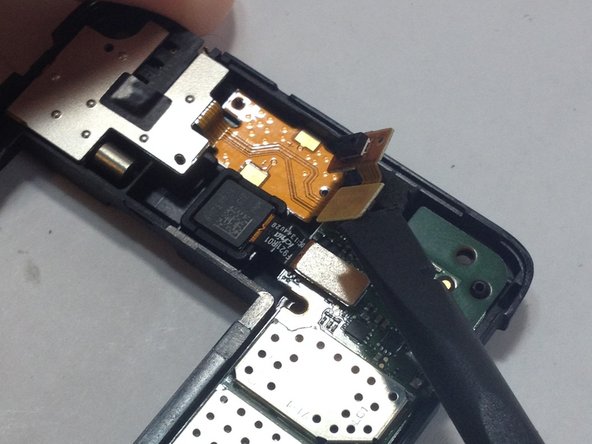
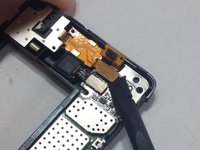
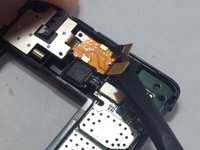
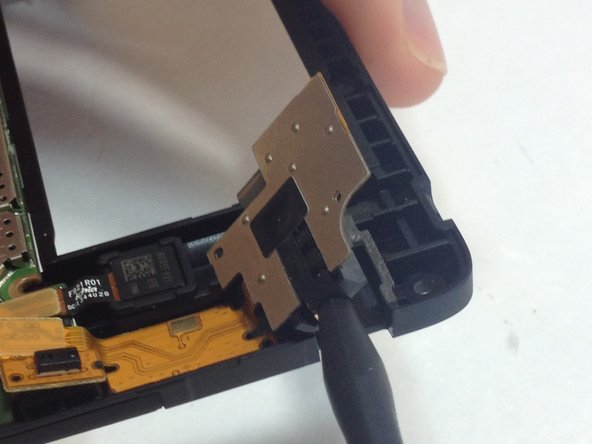
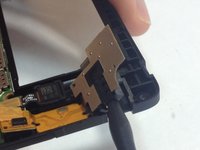
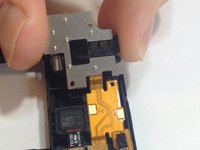
    • Using the flat end of the spudger tool, unhook the two connectors connecting the audio jack to the motherboard.

    • The top connecter is attached via an adhesive as well, it will require a little bit of force to remove it.

  8. Nokia X Headphone Jack Replacement: 步骤 8 中的图像 1,3 Nokia X Headphone Jack Replacement: 步骤 8 中的图像 2,3 Nokia X Headphone Jack Replacement: 步骤 8 中的图像 3,3
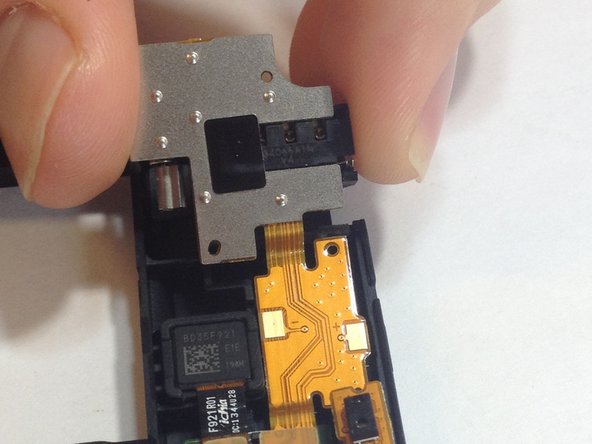
    • Gently insert the pointed end of the spudger tool into the audio jack and lightly press upwards until the jack snaps loose.

    • It will take a bit of force to disconnect the biggest circuit from the motherboard as it is attached via an adhesive.

结论

To reassemble your device, follow these instructions in reverse order.

11等其他人完成本指南。

Avery Dorsey

于01/21/15注册

1,894 声望

创作了4篇指南

团队

USF Tampa, Team 6-1, Brown Winter 2015 USF Tampa, Team 6-1, Brown Winter 2015 的会员

USFT-BROWN-W15S6G1

3 名成员

创作了8篇指南

0条评论

添加评论

浏览统计数据:

过去 24 小时: 0

过去 7 天: 0

过去 30 天: 3

总计 3,349