跳转到主内容

当前版本的文档还未经巡查,您可以查看最新的已查核版本

你所需要的

  1. 这个步骤还没有翻译 帮忙翻译一下

    : 步骤 1 中的图像 1,3 : 步骤 1 中的图像 2,3 : 步骤 1 中的图像 3,3
    • Remove the SIM card tray and the memory card try.

    • Use a screwdriver Torx T2 and remove the screw under the SIM card tray.

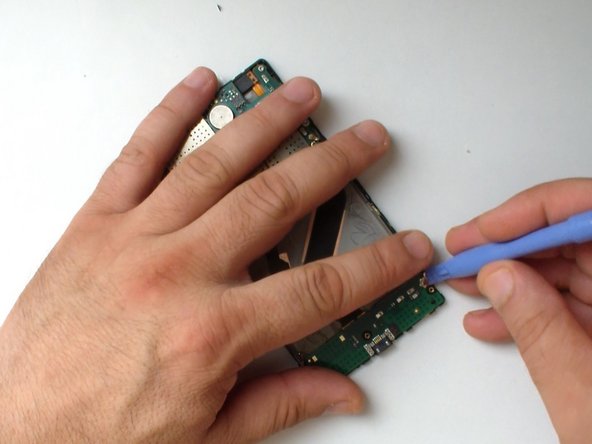
    • Use plastic tools and start the separating the back cover from the top side.

  2. 这个步骤还没有翻译 帮忙翻译一下

    : 步骤 2 中的图像 1,3 : 步骤 2 中的图像 2,3 : 步骤 2 中的图像 3,3
    • Be careful with the volume buttons.

  3. 这个步骤还没有翻译 帮忙翻译一下

    : 步骤 3 中的图像 1,3 : 步骤 3 中的图像 2,3 : 步骤 3 中的图像 3,3
    • Remove the 3x Torx T4 screws.

    • Buzzer / Loudspeacker

  4. 这个步骤还没有翻译 帮忙翻译一下

    : 步骤 4 中的图像 1,3 : 步骤 4 中的图像 2,3 : 步骤 4 中的图像 3,3
    • Disconnect the battery flex cable.

    • Unstick the metal foil from the logic board.

    • Use a plastic tool with a thin tip and unstuck the battery from the middle frame.

    • Battery - BP-4GWA, 2000mAh, 3.7V, 7.4Vh

  5. 这个步骤还没有翻译 帮忙翻译一下

    : 步骤 5 中的图像 1,3 : 步骤 5 中的图像 2,3 : 步骤 5 中的图像 3,3
    • Disconnect the Antenna cable from the Logic board and from the Charging Dock board and remove it.

  6. 这个步骤还没有翻译 帮忙翻译一下

    : 步骤 6 中的图像 1,3 : 步骤 6 中的图像 2,3 : 步骤 6 中的图像 3,3
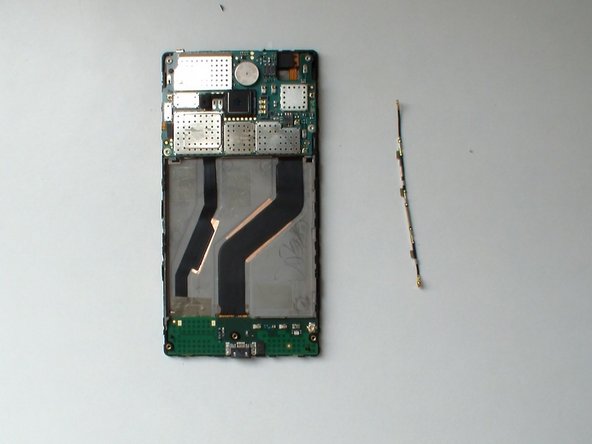
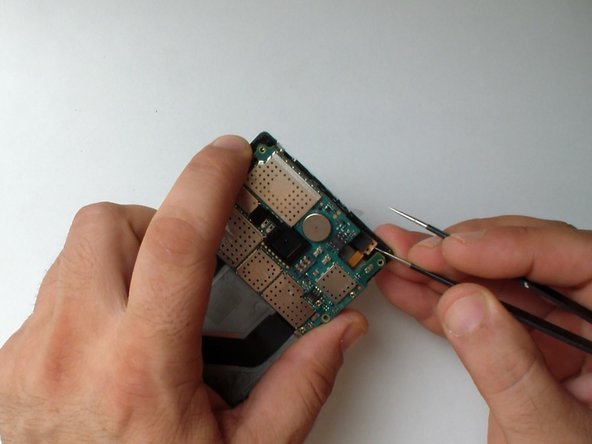
    • Disconnect the Volume, Power and camera buttons flex cable.

    • Remove the 4x Torx T4 screws.

    • Slightly lift the board

    • Slowly and gently unstuck the light sensor from the middle frame.

  7. 这个步骤还没有翻译 帮忙翻译一下

    : 步骤 7 中的图像 1,3 : 步骤 7 中的图像 2,3 : 步骤 7 中的图像 3,3
    • Disconnect the Display Assembly flex cable.

    • Disconnect the Charging Dock Board flex cable.

    • Remove the Main board.

终点

ZFix

于12/09/13注册

191,329 声望

创作了330篇指南

团队

Master Techs Master Techs 的会员

Community

322 名成员

创作了2,539篇指南

0条评论

添加评论

浏览统计数据:

过去 24 小时: 1

过去 7 天: 3

过去 30 天: 5

总计 883