简介
尽管任天堂声称用户不应该自行更换电池,但其实维修操作起来挺简单的。
你所需要的
-
-
-
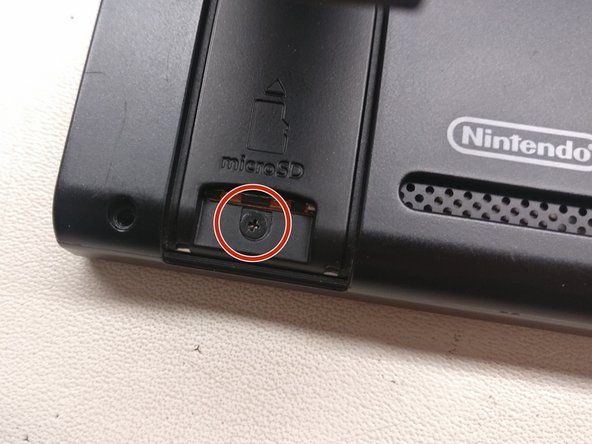
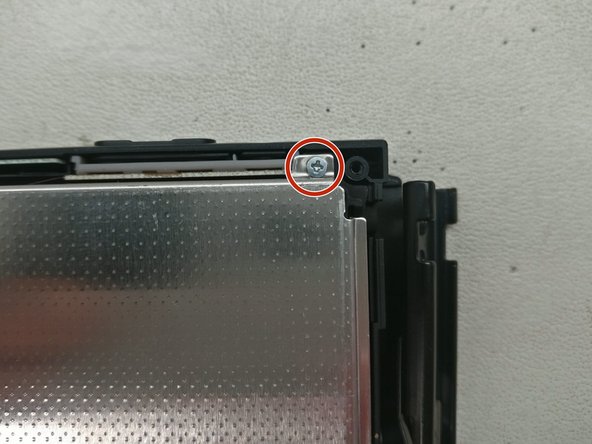
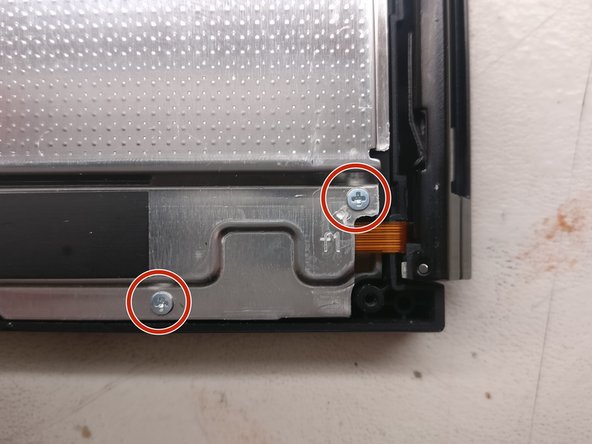
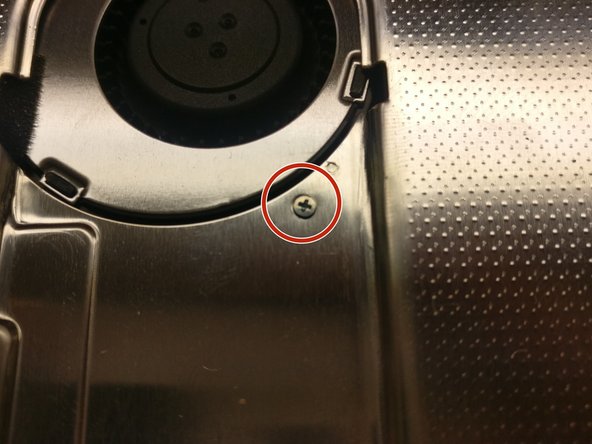
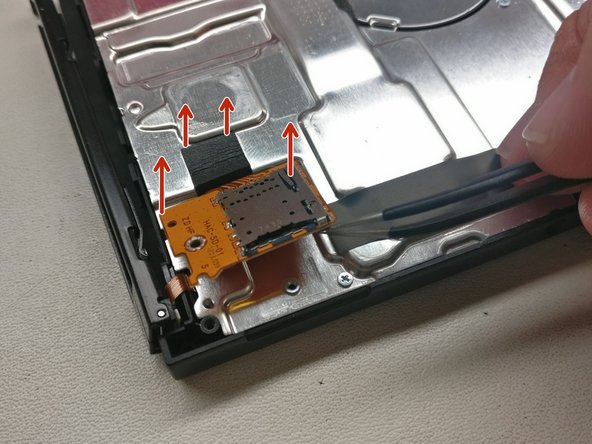
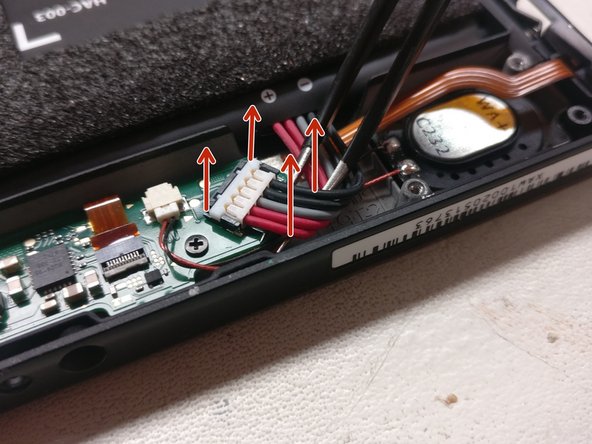
卸下设备中间风扇旁边的一颗十字形螺丝以及SD卡读卡装置上的一颗十字形螺丝。接着用一把捏子或一把撬棒小心翼翼地卸下SD卡读卡器与其连接到主板上的排线。你可以通过使用撬棒小心地在海绵盖住的区域下方滑动并轻轻地撬动来卸下读卡器。它很容易便能取下来。
-
-
-
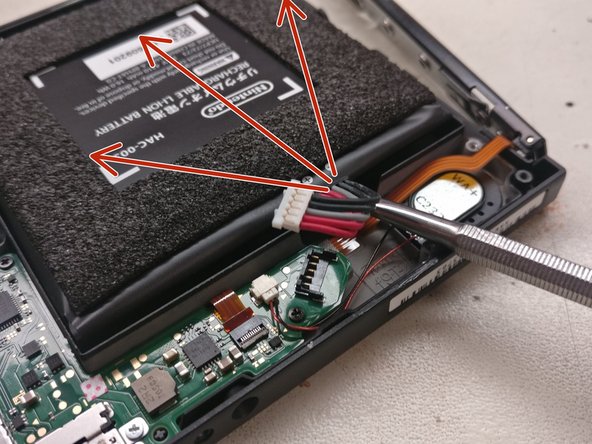
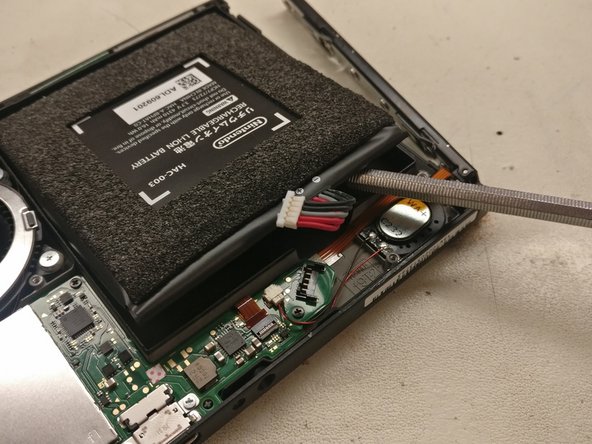
最后使用一把长扁头撬棒从各个方向以小角度小心地分离电池的粘合胶。我发现分别从如图几个方向插入撬棒很有效。不要把撬棒放在电池下方往上撬,仅仅分离粘合胶就能把电池取下来了。
-


按照指南的倒序重新组装好你的设备。
12等其他人完成本指南。


4指南评论
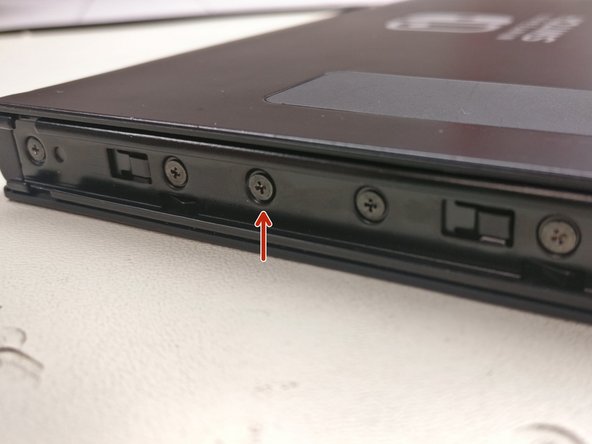
There is no need to remove all the screws on the joy con bracket.Only the 3rd one down from the top is securing the rear clamshell on both sides.
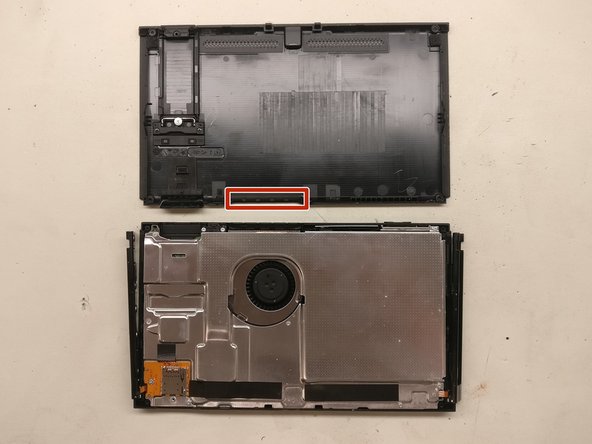
To get the 4 screws out of the back cover, I had to use a Y0 tri-point screwdriver instead of a Y1.
I need the black piece that snaps the white battery plug onto the motherboard as I accidentally damaged it while trying to remove the adhesive. What is it called and where can I get it? Now the black piece has 4 contacts instead 5 so one of the Ground wires isn’t connected. The Switch still powers up but I’m worried that it could cause issues later or charging issues.
ccfman2004 - 回复