跳转到主内容

Nintendo Family Computer (Famicom) Motherboard Replacement

你所需要的

  1. Nintendo Family Computer (Famicom) Motherboard Replacement, Motherboard: 步骤 1 中的图像 1,2 Nintendo Family Computer (Famicom) Motherboard Replacement, Motherboard: 步骤 1 中的图像 2,2
    • Use a Phillips screwdriver to remove the six 13.5 mm screws that secure the lower case.

    • Remove the lower case.

  2. Nintendo Family Computer (Famicom) Motherboard Replacement: 步骤 2 中的图像 1,2 Nintendo Family Computer (Famicom) Motherboard Replacement: 步骤 2 中的图像 2,2
    • Disconnect both of the controller motherboard connections.

    • Do not pull on the wires.

  3. Nintendo Family Computer (Famicom) Motherboard Replacement: 步骤 3 中的图像 1,1
    • Lift the controller cables out of the chassis.

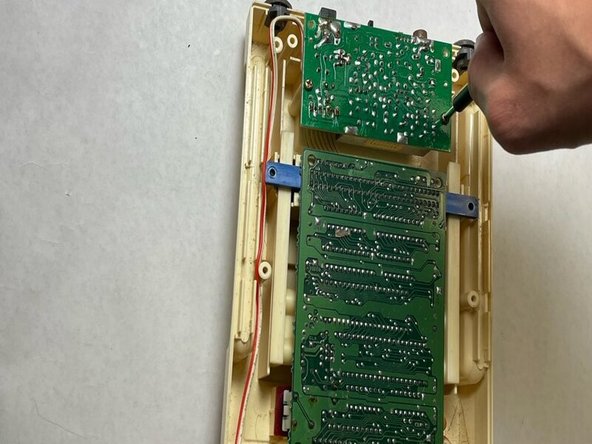
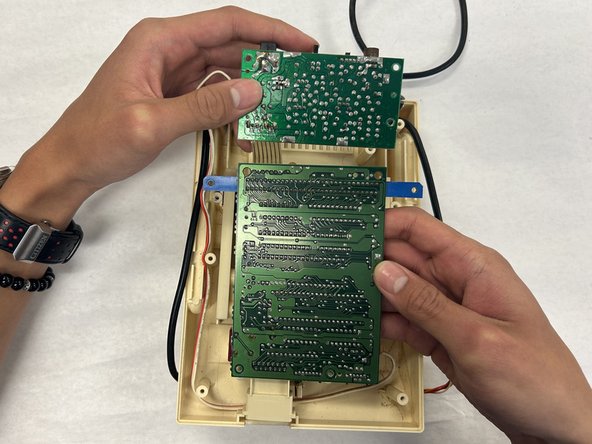
  4. Nintendo Family Computer (Famicom) Motherboard Replacement: 步骤 4 中的图像 1,3 Nintendo Family Computer (Famicom) Motherboard Replacement: 步骤 4 中的图像 2,3 Nintendo Family Computer (Famicom) Motherboard Replacement: 步骤 4 中的图像 3,3
    • Remove the eight 13.5 mm Phillips screws that secure the motherboard.

    • Lift the motherboard up and out of the chassis.

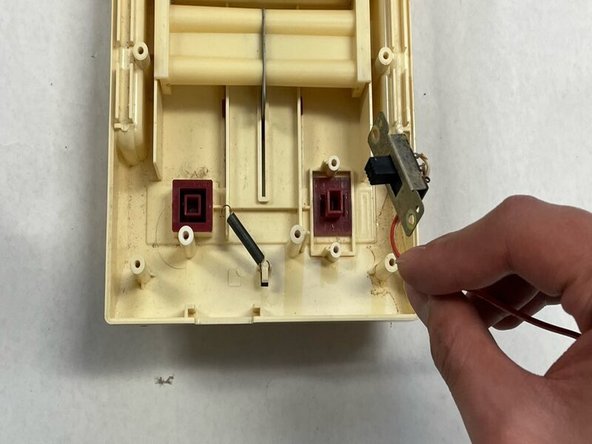
  5. Nintendo Family Computer (Famicom) Motherboard Replacement: 步骤 5 中的图像 1,2 Nintendo Family Computer (Famicom) Motherboard Replacement: 步骤 5 中的图像 2,2
    • Remove the two 13.8 mm Phillips screws that secure the power switch.

    • The motherboard is connected to the power switch, and cannot be replaced without removing the switch. Forcibly removing the motherboard will only cause damage to the device

结论

To reassemble your device, follow these instructions in reverse order.

Siddharth Murali

于04/02/24注册

121 声望

撰写一个指南

团队

IUPUI, Team 2-2, Harley Spring 2024 IUPUI, Team 2-2, Harley Spring 2024 的会员

IUPUI-HARLEY-S24S2G2

4 名成员

创作了3篇指南

0条评论

添加评论

浏览统计数据:

过去 24 小时: 4

过去 7 天: 20

过去 30 天: 20

总计 58