跳转到主内容

Nintendo 64 Controller D-Pad Replacement

你所需要的

  1. Nintendo 64 Controller D-Pad Replacement, Controller D-Pad Replacement: 步骤 1 中的图像 1,3 Nintendo 64 Controller D-Pad Replacement, Controller D-Pad Replacement: 步骤 1 中的图像 2,3 Nintendo 64 Controller D-Pad Replacement, Controller D-Pad Replacement: 步骤 1 中的图像 3,3
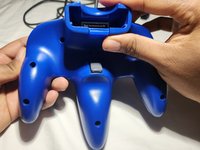
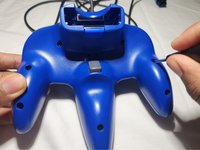
    • Use a Phillips #0 screwdriver to remove the seven 10 mm screws from the body.

    • Remove the two 6 mm Phillips #0 screws from the expansion slot.

    • Separate the back cover from the front and set it aside.

  2. Nintendo 64 Controller D-Pad Replacement: 步骤 2 中的图像 1,2 Nintendo 64 Controller D-Pad Replacement: 步骤 2 中的图像 2,2
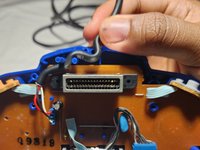
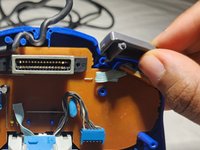
    • Remove the left and right shoulder triggers by sliding them straight up.

    • Gently unhook the cable that is looped around two cable clamps by nudging it up and out.

  3. Nintendo 64 Controller D-Pad Replacement: 步骤 3 中的图像 1,3 Nintendo 64 Controller D-Pad Replacement: 步骤 3 中的图像 2,3 Nintendo 64 Controller D-Pad Replacement: 步骤 3 中的图像 3,3
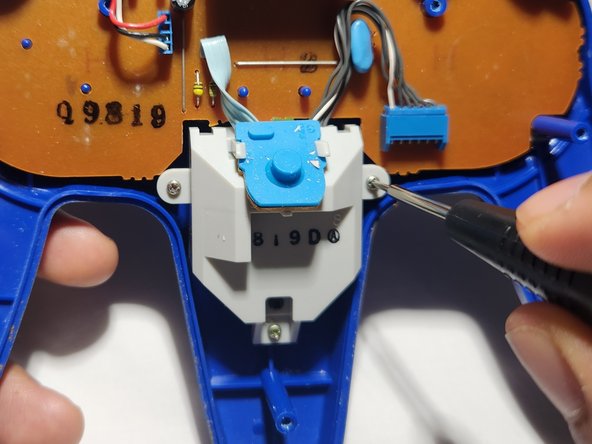
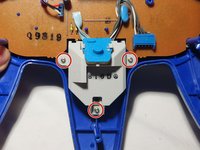
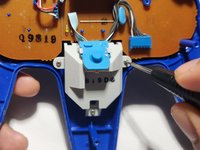
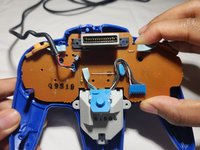
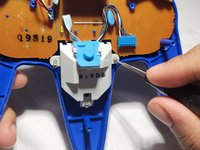
    • Use a Phillips #0 screwdriver to remove the three silver 6 mm screws holding the joystick assembly in place.

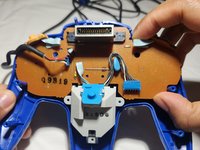
    • Gently lift the motherboard and joystick assembly out of the controller.

    • In order to avoid damage to the board, lift it by the edges.

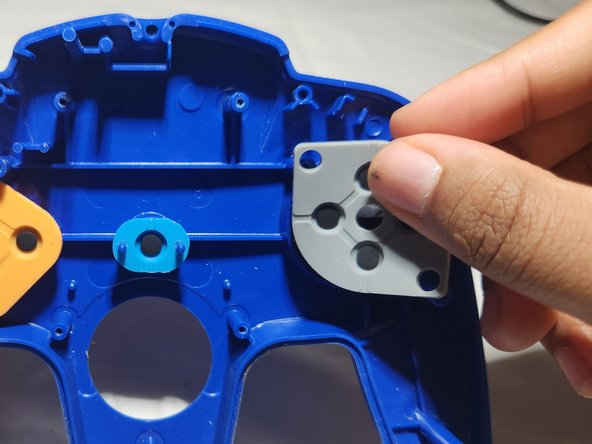
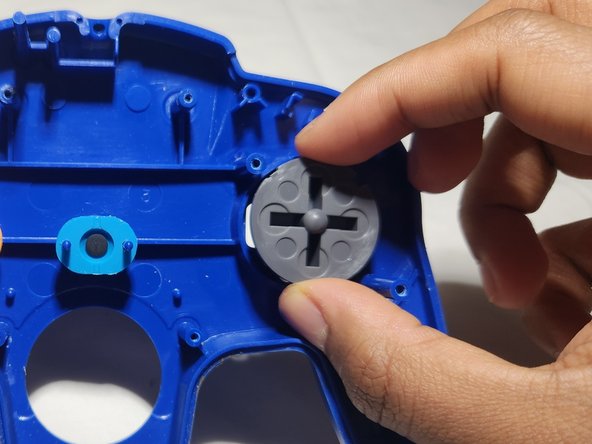
  4. Nintendo 64 Controller D-Pad Replacement: 步骤 4 中的图像 1,3 Nintendo 64 Controller D-Pad Replacement: 步骤 4 中的图像 2,3 Nintendo 64 Controller D-Pad Replacement: 步骤 4 中的图像 3,3
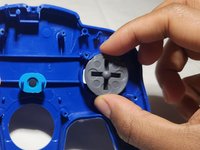
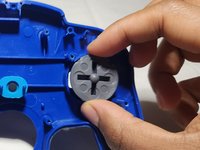
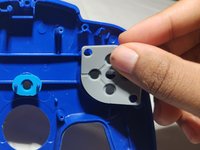
    • Slide the rubber pad off that covers the back of the D-pad.

    • Remove the broken D-pad from its socket.

  5. Nintendo 64 Controller D-Pad Replacement: 步骤 5 中的图像 1,3 Nintendo 64 Controller D-Pad Replacement: 步骤 5 中的图像 2,3 Nintendo 64 Controller D-Pad Replacement: 步骤 5 中的图像 3,3
    • Insert the replacement D-pad into the socket.

    • Stretch the rubber backing onto the plastic pieces and slide it down over the D-pad.

    • Carefully reinsert the circuit board into the controller housing.

    • Insert the joystick into its opening.

  6. Nintendo 64 Controller D-Pad Replacement: 步骤 6 中的图像 1,3 Nintendo 64 Controller D-Pad Replacement: 步骤 6 中的图像 2,3 Nintendo 64 Controller D-Pad Replacement: 步骤 6 中的图像 3,3
    • Carefully secure the cord around the cable clamps.

    • Be sure to apply enough pressure so it sits below or flush to the edge to avoid problems putting the front and back case together.

    • Re-insert the shoulder triggers into place.

    • The L trigger will go on the right and the R trigger on the left.

    • Use a Phillips #0 screwdriver to secure the screws to the joystick assembly.

  7. Nintendo 64 Controller D-Pad Replacement: 步骤 7 中的图像 1,2 Nintendo 64 Controller D-Pad Replacement: 步骤 7 中的图像 2,2
    • Snap the back cover into place.

    • Use a Phillips #0 screwdriver to replace the screws on the back cover.

结论

Happy gaming!

另外一个人完成了本指南。

Jamie Durman

于07/01/23注册

169 声望

撰写一个指南

0条评论

添加评论

浏览统计数据:

过去 24 小时: 3

过去 7 天: 10

过去 30 天: 30

总计 331