Use the flat end of a spudger or your fingernail to flip up the retaining flap on the speaker assembly ribbon cable ZIF socket.
Be sure you are prying up on the hinged retaining flap, NOT the socket itself. Damaging the socket or cable will result in a 3DS that will blink its power LED when you press the power button - and do nothing else.
Disconnect the speaker assembly ribbon cable with a pair of tweezers.
Continue lifting the motherboard assembly and rotate it until it is resting next to the rest of the device.
Use the flat end of a spudger or your fingernail to flip up the retaining flap on the LCD ribbon cable ZIF socket.
Be sure you are prying up on the hinged retaining flap, not the socket itself. Damaging the socket or cable will result in a 3DS that won't have a functional top screen.
Before continuing with disassembly, use a pair of tweezers to remove the clear plastic diffuser for the wireless notification LED. The small piece is likely to fall out on its own, and may be difficult to find if it lands on the floor.
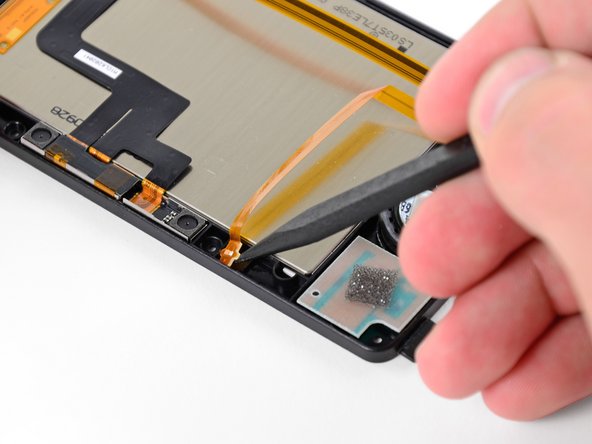
De-route the Wi-Fi antenna cable from the bottom of the upper case.
This step is not necessary if you are only replacing the front panel; however, the replacement of the upper screen, speakers, cameras, and Wi-Fi antenna require it.
Heat the edges of the upper display front panel with a hair dryer or heat gun to soften the adhesive holding it to the display bezel.
Begin prying the edges of the front panel off with a plastic opening tool.
If it is difficult to pry the front panel off, reheat the area you are working on with the heat gun, and then return to prying. Applying excessive force could crack the front panel.
Flip the device over so that the rear display bezel is on top and the hinge is on the side opposite from you.
Lift the edge of the rear display bezel closest to you and rotate it towards the hinge.
Continue to lift the rear display bezel off the rest of the device until it is free.
There are clips toward the bottom of the rear display bezel holding it in place. Use enough force to disengage the clips, but be careful not to break them.
Remove the 3D adjustment switch from the front display bezel.
This step is not necessary for disassembly, but the switch is likely to fall out on its own. By removing it yourself, you reduce the chance of losing it.
Before proceeding, note how the 3 ribbon cables are oriented (what direction the gold contacts face) and layered together (which cable is on top of which). The cables are too short to reach if they are threaded through in any other orientation.
Slowly pull the upper display assembly away from the upper case.
Make sure that the various ribbon cables are being fed through the slit in the upper case.
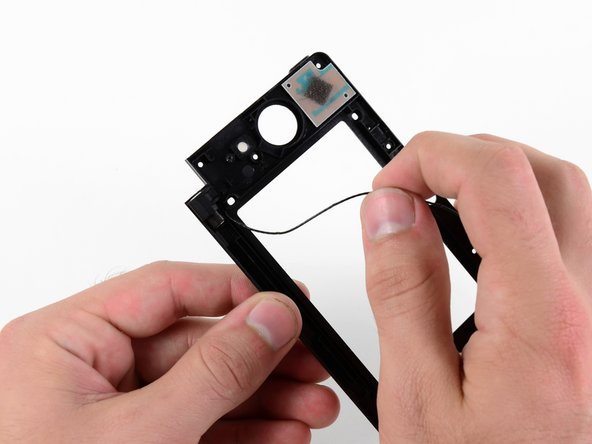
Separate the upper display assembly from the upper case.
this guide is idiotic, i followed it to the letter and all it did was make me realize that there is a much easier and much safer way of replacing the antenna; steps 1-29 (step 30 if you want to, not necessary though) are fine and right on the money, however pushing the ribbons through makes it way more difficult when you could just remove the antenna board, thred just the wire through leaving the ribbons unchanched, and put in the replacement board and thread the wire through, then reassemble the console. this method almost guarantees that the ribbons wont get scratch and you wont get frustrated.
this is amazing i will going to follow all steps it seems very difficult before i read this but now this will really helpful and easier than i thought thank you!! Antenna Amplifier