当前版本的文档还未经巡查,您可以查看最新的已查核版本。
你所需要的
-
-
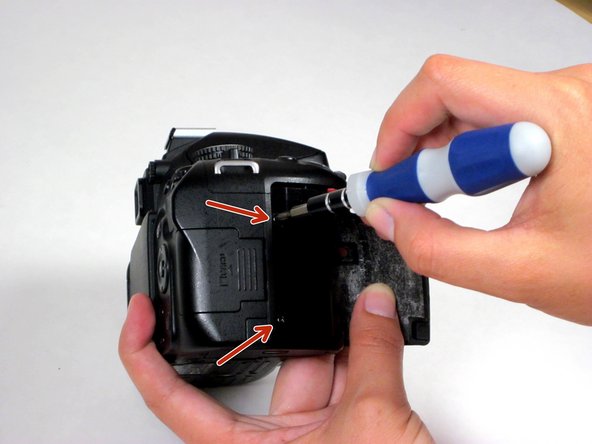
这个步骤还没有翻译 帮忙翻译一下
-
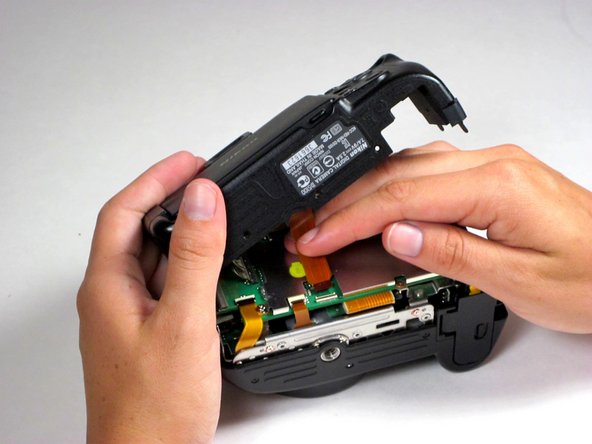
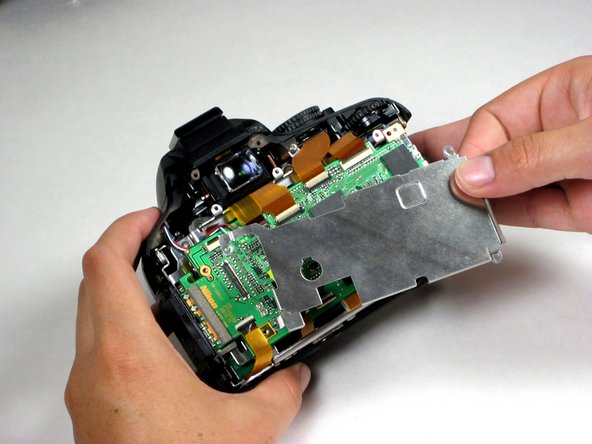
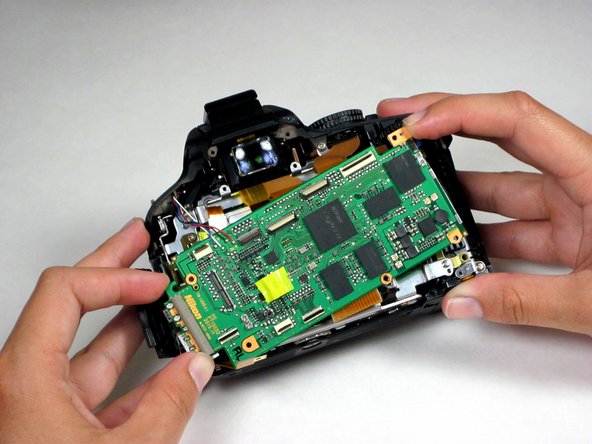
Flip the motherboard out of the camera's body, toward the bottom of the device, to expose its underside.
-
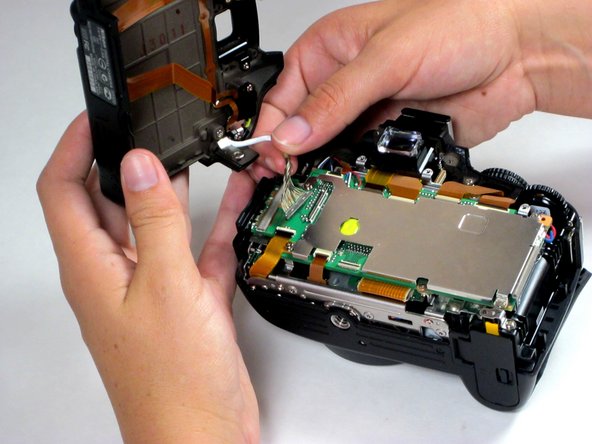
Using a spudger, peel back the adhesive, that is protecting the large ribbon cable on the underside of the motherboard.
-
Disconnect the ribbon cable by flipping its clasp up and removing it from the plastic casing in the direction of the cable.
-


13等其他人完成本指南。
团队

Cal Poly, Team 10-54, Amido Spring 2014 Cal Poly, Team 10-54, Amido Spring 2014 的会员
CPSU-AMIDO-S14S10G54
4 名成员
创作了5篇指南
4条评论
Thanks for the guide. I would not have attempted this without your help.
After replacing the main board, the only issue I am having is that the top focus point is not lighting up when I select it. It still works as a focus point, but is not light in the view finder as red. I probably did not perfectly seat one of the ribbon cables. It would be nice if someone new which cable controlled lighting in red the focus dots in the viewfinder.
Thanks so much!
Hey David, where did you get the new mainboard from? Know of any website that sells them? I need one for D5000. Thanks!
pbmbuss -
ebay seller from chicago area has tons of nikon parts
rongyuanxie |
Feedback Score Of
128606 | 99.2%
(i'm not that seller)