跳转到主内容

Nikon Coolpix S4100 External Casing Replacement

你所需要的

  1. Nikon Coolpix S4100 External Casing Replacement, External Casing: 步骤 1 中的图像 1,3 Nikon Coolpix S4100 External Casing Replacement, External Casing: 步骤 1 中的图像 2,3 Nikon Coolpix S4100 External Casing Replacement, External Casing: 步骤 1 中的图像 3,3
    • Using a Philips #000 head screwdriver, remove the 8 screws (3.30 mm) visible on the external part of the camera.

    • There are 2 on each side, and 4 on the bottom.

  2. Nikon Coolpix S4100 External Casing Replacement: 步骤 2 中的图像 1,1
    • Remove the black casing on the back of the camera that runs around the LCD screen.

  3. Nikon Coolpix S4100 External Casing Replacement: 步骤 3 中的图像 1,1
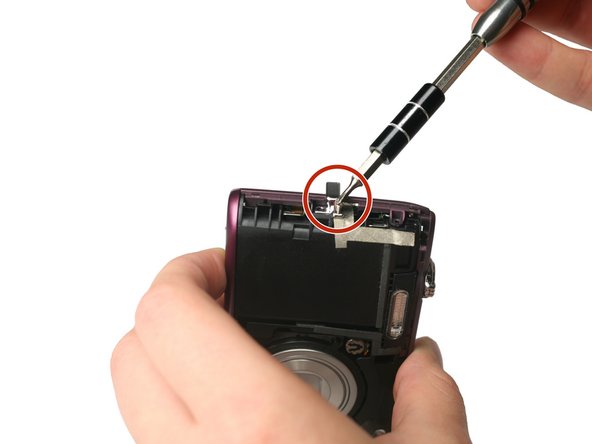
    • Using the Philips #000 head screwdriver, remove the 1.90 mm internal screw located just above the lanyard mount.

  4. Nikon Coolpix S4100 External Casing Replacement: 步骤 4 中的图像 1,3 Nikon Coolpix S4100 External Casing Replacement: 步骤 4 中的图像 2,3 Nikon Coolpix S4100 External Casing Replacement: 步骤 4 中的图像 3,3
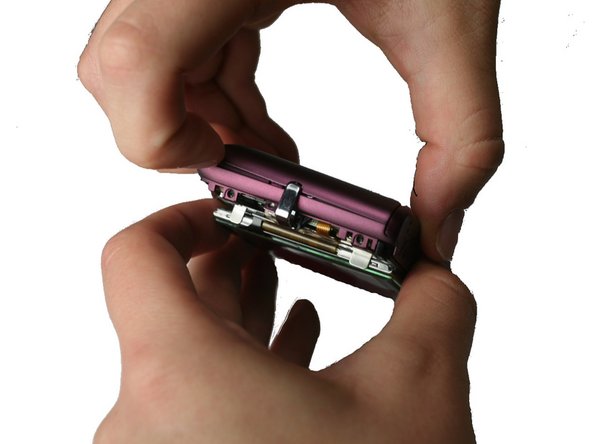
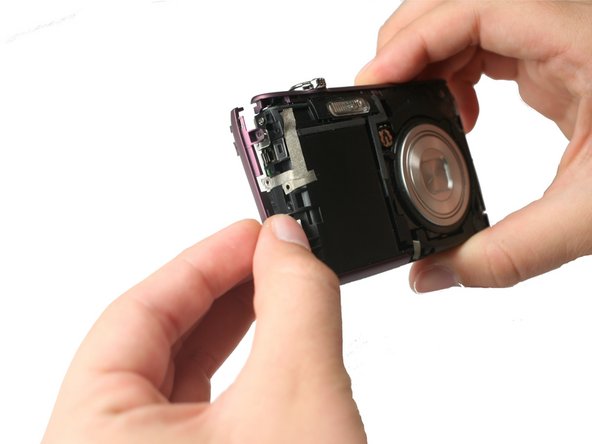
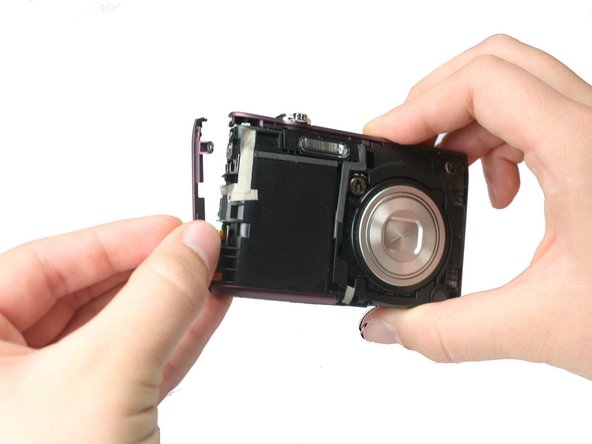
    • Pry off the front shell casing.

    • If you find this difficult, use a prying tool to help gently remove the casing.

  5. Nikon Coolpix S4100 External Casing Replacement: 步骤 5 中的图像 1,1
    • Using the Philips #000 head screwdriver, remove the 3.30 mm screw located on the side of the camera near the lanyard mount.

  6. Nikon Coolpix S4100 External Casing Replacement: 步骤 6 中的图像 1,2 Nikon Coolpix S4100 External Casing Replacement: 步骤 6 中的图像 2,2
    • Using the Philips #000 head screwdriver, remove 2 additional 3.30 mm screws holding the lanyard mount in place.

  7. Nikon Coolpix S4100 External Casing Replacement: 步骤 7 中的图像 1,3 Nikon Coolpix S4100 External Casing Replacement: 步骤 7 中的图像 2,3 Nikon Coolpix S4100 External Casing Replacement: 步骤 7 中的图像 3,3
    • Remove the lanyard mount and accompanying side shell casing off of the camera.

  8. Nikon Coolpix S4100 External Casing Replacement: 步骤 8 中的图像 1,1
    • Using the Philips #000 head screwdriver, remove the 3.30 mm screw securing the top shell casing.

  9. Nikon Coolpix S4100 External Casing Replacement: 步骤 9 中的图像 1,1
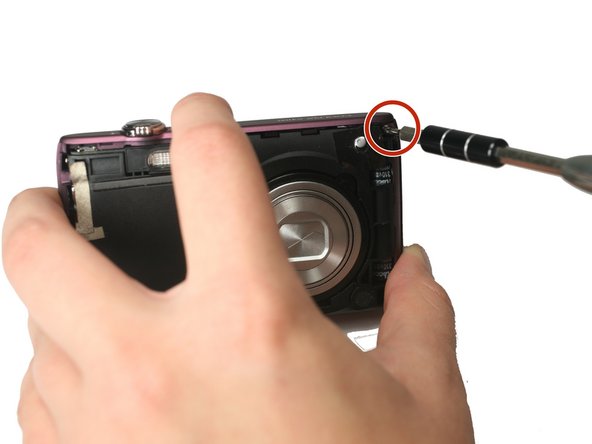
    • Using the Philips #000 head screwdriver, remove the 3.40 mm screw located on the front of the camera in the upper corner by the LED light.

  10. Nikon Coolpix S4100 External Casing Replacement: 步骤 10 中的图像 1,1
    • Remove the remaining side shell casing.

  11. Nikon Coolpix S4100 External Casing Replacement: 步骤 11 中的图像 1,1
    • Remove the top shell casing.

结论

To reassemble your device, follow these instructions in reverse order.

2等其他人完成本指南。

Matthew Willis

于09/22/15注册

586 声望

创作了4篇指南

团队

Baylor, Team 4-2, Williams Fall 2015 Baylor, Team 4-2, Williams Fall 2015 的会员

BU-WILLIAMS-F15S4G2

4 名成员

创作了8篇指南

0条评论

添加评论

浏览统计数据:

过去 24 小时: 0

过去 7 天: 6

过去 30 天: 16

总计 935