跳转到主内容

Nikon Coolpix S30 LCD Screen Replacement

你所需要的

  1. Nikon Coolpix S30 LCD Screen Replacement, Batteries: 步骤 1 中的图像 1,2 Nikon Coolpix S30 LCD Screen Replacement, Batteries: 步骤 1 中的图像 2,2
    • Slide the battery cover to the right.

    • The hinge is on the left side of the cover which will allow the cover to stay attached.

  2. Nikon Coolpix S30 LCD Screen Replacement: 步骤 2 中的图像 1,2 Nikon Coolpix S30 LCD Screen Replacement: 步骤 2 中的图像 2,2
    • Slide the second cover (yellow) to the right (similar to the outer cover). This will allow the batteries to be exposed.

  3. Nikon Coolpix S30 LCD Screen Replacement: 步骤 3 中的图像 1,1
    • Remove the batteries by gently tipping the camera.

  4. Nikon Coolpix S30 LCD Screen Replacement, LCD Screen: 步骤 4 中的图像 1,1
    • FIRST: remove the batteries.

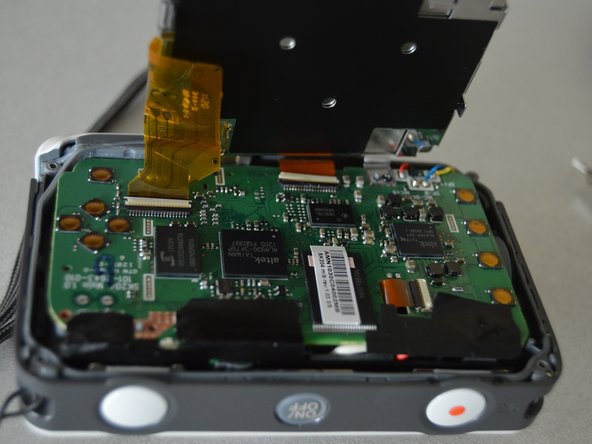
    • Unscrew the four screws around the corners of the camera. This can be done using the iFixit kit's T5 (star tip screwdriver)

  5. Nikon Coolpix S30 LCD Screen Replacement: 步骤 5 中的图像 1,1
    • Unscrew the screw on the left (silver) first. It can be removed with the same tip (T5)

    • Change screwdriver tip to iFixit kit's PH000. This removes the screw on the right (black) It is a small Phillips head.

  6. Nikon Coolpix S30 LCD Screen Replacement: 步骤 6 中的图像 1,1
    • Gently separate the back panel from the rest of the camera.

  7. Nikon Coolpix S30 LCD Screen Replacement: 步骤 7 中的图像 1,1
    • Remove screw connecting the top right of the screen to the mother board.

  8. Nikon Coolpix S30 LCD Screen Replacement: 步骤 8 中的图像 1,1
    • Spin the camera around and gently pull the screen towards you. This will allow easy access to components on the motherboard.

  9. Nikon Coolpix S30 LCD Screen Replacement: 步骤 9 中的图像 1,2 Nikon Coolpix S30 LCD Screen Replacement: 步骤 9 中的图像 2,2
    • Remove connected strip by flipping up the small off-white plastic strip with tweezers.

    • Gently pull out the strip from the motherboard.

  10. Nikon Coolpix S30 LCD Screen Replacement: 步骤 10 中的图像 1,2 Nikon Coolpix S30 LCD Screen Replacement: 步骤 10 中的图像 2,2
    • Remove screw that is now in the top right corner. This will detach the screen entirely.

结论

To reassemble your device, follow these instructions in reverse order.

另外一个人完成了本指南。

Cassie Hamm

于01/21/15注册

207 声望

创作了2篇指南

团队

Penn State, Team 2-4, Kaschak Winter 2015 Penn State, Team 2-4, Kaschak Winter 2015 的会员

PSU-KASCHAK-W15S2G4

4 名成员

创作了5篇指南

0条评论

添加评论

浏览统计数据:

过去 24 小时: 0

过去 7 天: 0

过去 30 天: 4

总计 863