本指南有最近更改,您可查看未经巡查的最新版本。
简介
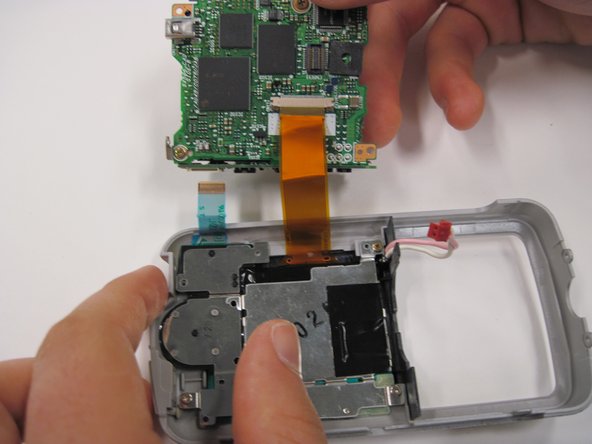
This guide will demonstrate how to remove and replace the camera lens on a Nikon Coolpix 3500.
Prior to the replacement process, be sure to save photos from the device, have the new camera lens available, and disconnect any external power.
During the replacement process, it is necessary to disconnect the battery from the device before removing and replacing the camera lens.
After the replacement process, it is then important to reconnect the battery.
你所需要的
-
-
Unlatch the battery cover and slide the cover out. Place cover to the side, it will not be needed for the next few steps.
-
Remove the battery.
-
Remove the battery cover without using excessive force. Keep in mind this cover is fragile.
-
-
-
Remove the two 4.5 mm screws that sit next to the battery slot.
-
Remove the 3 mm screw that sits below the CF card slot.
-
Remove the 4.5 mm screw that sits above the digital I/O cover.
-


To reassemble your device, follow these instructions in reverse order.
To reassemble your device, follow these instructions in reverse order.
团队

Cal Poly, Team 30-38, Garner Spring 2010 Cal Poly, Team 30-38, Garner Spring 2010 的会员
CPSU-GARNER-S10S30G38
5 名成员
创作了11篇指南