简介
在执行操作前,请关闭手机并且移除SIM卡。
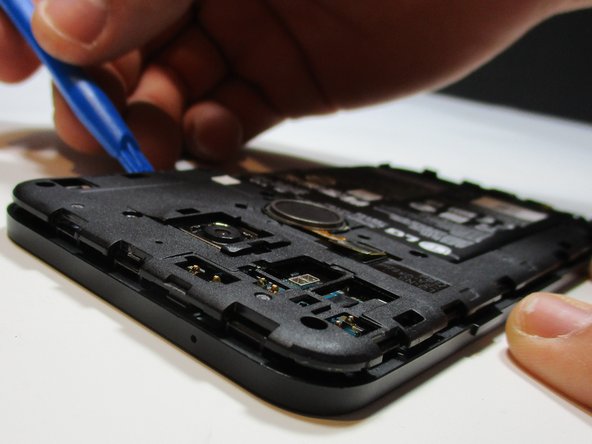
你所需要的


结论
若要重新组装你的设备,按照以下步骤逆序操作。如果你的中面板被破坏,请把新的面板安装上去。
7等其他人完成本指南。


团队

Metro State, Team 1-1, Carpenter Spring 2016 Metro State, Team 1-1, Carpenter Spring 2016 的会员
MSU-CARPENTER-S16S1G1
4 名成员
创作了6篇指南
2指南评论
Has anyone else run into the different screws holding the midframe? I opened my son's phone today to swap out the battery and found the screws to be tri-wing. Imagine my confusion. I've been into to my wife's Nexus 5x before, and it has phillips-head screws. Weird.