跳转到主内容

此翻译可能不反映源指南的最新更新。 帮助更新翻译查看源指南

Nexus 5X 主板更换

你所需要的

  1. Nexus 5X 主板更换, 背板: 步骤 1 中的图像 1,2 Nexus 5X 主板更换, 背板: 步骤 1 中的图像 2,2
    • 将取卡针插入到左侧SIM卡槽处。

    • 用点力将卡托弹出手机。

    • 移除卡托,将其放到合适的位置。

  2. Nexus 5X 主板更换: 步骤 2 中的图像 1,2 Nexus 5X 主板更换: 步骤 2 中的图像 2,2
    • 从SIM卡插槽开始,将塑料打开工具放在后面板和手机之间。

    • 将开启器工具轻轻地滑动到手机周围,直到听到咔嗒声,并且明显地看到与手机主体与背板分开。

    • 在手机的每个边缘继续进行此过程,直到指纹识别处。

  3. Nexus 5X 主板更换: 步骤 3 中的图像 1,1
    • 从手机背面的指纹识别处上轻轻取下后背板。

  4. Nexus 5X 主板更换, 中框架: 步骤 4 中的图像 1,2 Nexus 5X 主板更换, 中框架: 步骤 4 中的图像 2,2
    • 使用Phillips #000号螺丝刀移除10个中框架螺丝。

  5. Nexus 5X 主板更换: 步骤 5 中的图像 1,1
    • 从底部开始,使用塑料开启工具来把中面板翘起。

    • 小心的进行此操作因为如果你从上部分开始的话,中面板会裂成两半,你可能会撕裂两边的连接处。

  6. Nexus 5X 主板更换, 主板: 步骤 6 中的图像 1,2 Nexus 5X 主板更换, 主板: 步骤 6 中的图像 2,2
    • 使用塑料撬棒的尖端断开下列四个按压连接插头。

    • 前置摄像头连接插头

    • 后置摄像头连接插头

    • 电池连接插头

    • 数字转换器连接插头

  7. Nexus 5X 主板更换: 步骤 7 中的图像 1,3 Nexus 5X 主板更换: 步骤 7 中的图像 2,3 Nexus 5X 主板更换: 步骤 7 中的图像 3,3
    • 在主板顶部任意边角下方一半的位置插入塑料打开工具。

    • 轻轻地将主板从手机主体上撬出。

    • 确保在您拆卸主板时,没有任何排线被卡在主板上。

结论

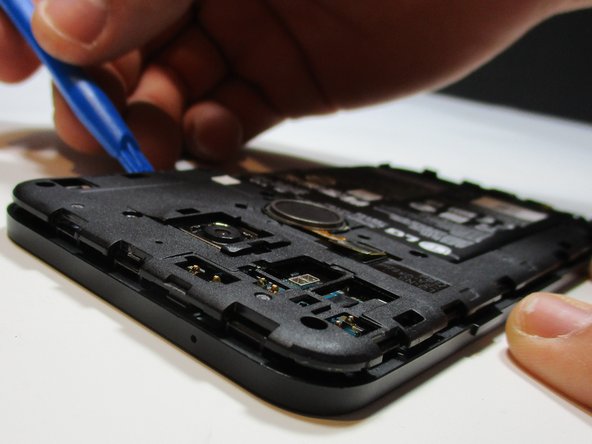
要重新组装您的设备,请按照本指南的相反顺序进行操作。

61等其他人完成本指南。

由衷感谢以下译者:

en zh

28%

Leon赵国鑫正在帮助我们修复这个世界! 您也想加入吗?
开始翻译 ›

Isaiah Schultz

于01/15/16注册

4,806 声望

创作了6篇指南

团队

Metro State, Team 1-1, Carpenter Spring 2016 Metro State, Team 1-1, Carpenter Spring 2016 的会员

MSU-CARPENTER-S16S1G1

4 名成员

创作了7篇指南

40条评论

Anyone with the bootloop problem has been successful on returning the 5X to life by replacing the motherboard?

Jago MF - 回复

that's a stupid question. new motherboard means new operating system. maybe you should just use fastboot and flash stock firmware on your phone easy

Alek Kels -

where can I get a new motherboard at?????

Alek Kels -

in most 'google image boot' issues, it is a hardware issue, not software. besides, the phone will not allow a bootloader option.

Chris Mayberry -

yes …….and its the only way after bootloop

damneetsingh2000 -

添加评论

浏览统计数据:

过去 24 小时: 0

过去 7 天: 7

过去 30 天: 39

总计 62,805