你所需要的
-
-
Use a pick and an opening tool here rather than your fingernail.
-
The blue plastic is part of the display assembly, so be sure to lift up under that.
-
DO NOT PRY UNDER THE GLASS
-
-
-
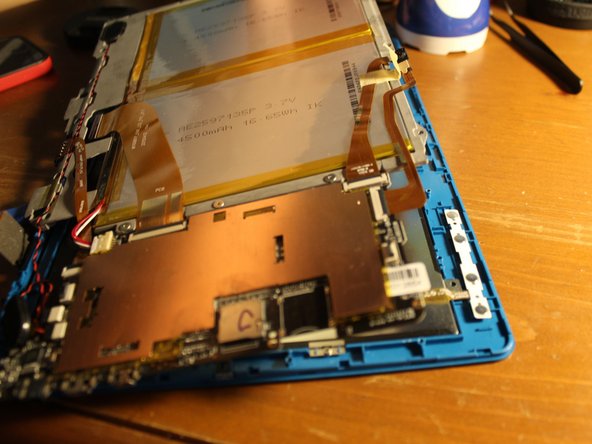
I forgot to disconnect the battery, don't make the same mistake.
-
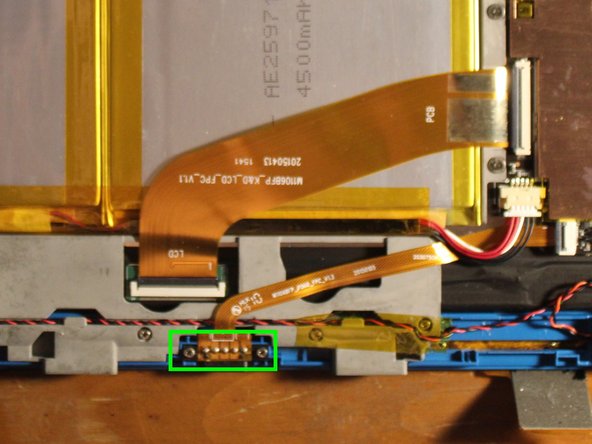
I believe that the connector inside the pink outline (see image) is the battery connector that must be unplugged.
-
-
-
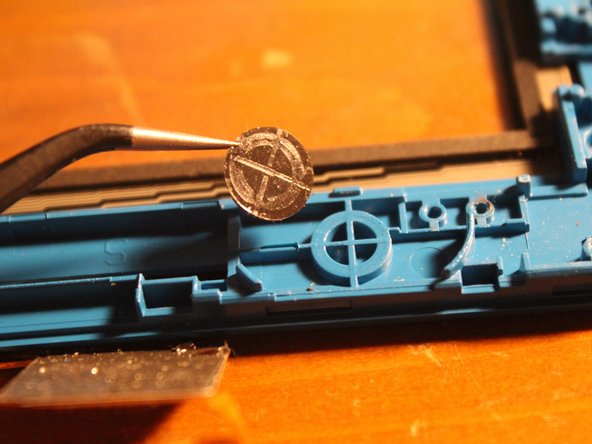
Each screw is pretty similar, so it is not the end of the world if you mix one of these up.
-
However, the two screws that hold down the keyboard smart connector (green outline) are different.
-
-
-
Keep these screws apart from the others!
-
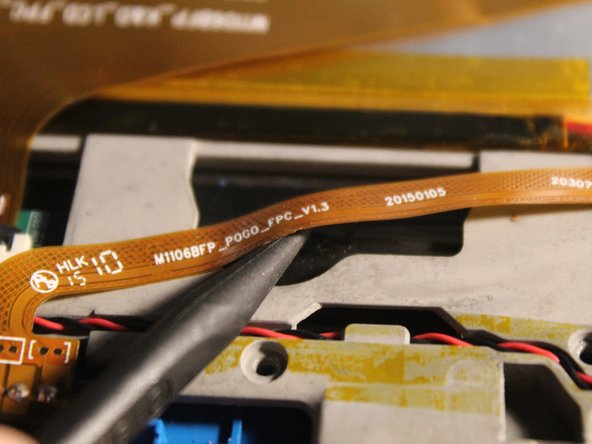
As shown, part of the ribbon cable may be glued down. Use a spudger tool and CAREFULLY lift up. Don't rush.
-
-
-
-
The front facing camera can easily come out by prying it up with a plastic tool.
-
The rear facing camera is glued down and needs a little more elbow grease to unstick. If you're lucky, it'll remain sticky and can be reapplied on the new assembly.
-
TRANSFER PLASTIC SQUARE TO NEW ASSEMBLY
-
Using tweezers, the plastic square under the rear facing webcam (only) should be peeled up and transferred to the new assembly.
-
Use a plastic spudger tool to push down the new square if there is enough adhesive left to stick it. If not, use double-sided tape.
-
-
-
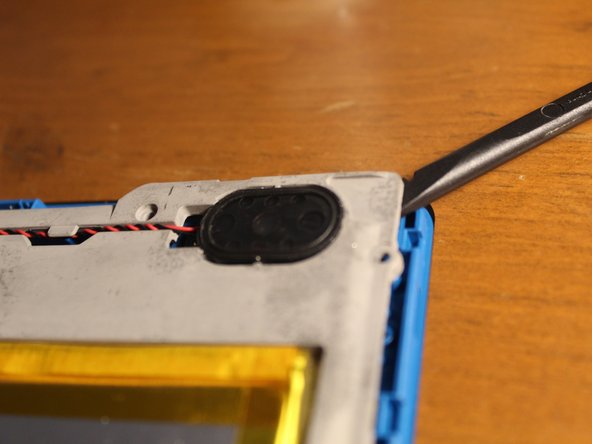
The right speaker can be pulled up however, it may rip the adhesive sticker. If this occurs, reapplying the bottom of the sticker to the new assembly and adding a drop of superglue will hold it back in place.
-
The left speaker can be lifted up when you lift up the rest of the logic board housing later.
-
-
-
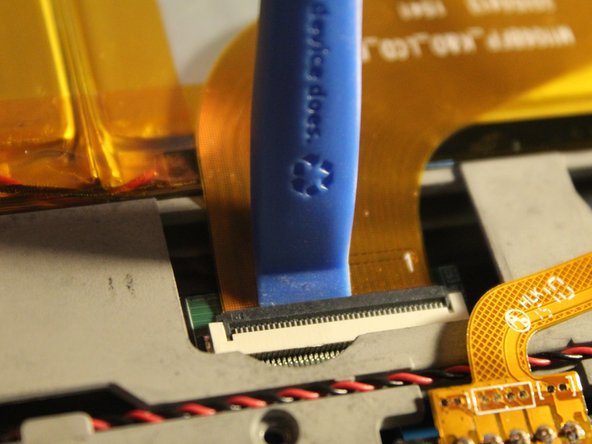
The larger ribbon cable uses a ZIF style connector. Use an opening tool in order to pry it up safely.
-
The power and volume ribbon cable leads to the buttons at the top right of the assembly. This strip of buttons has adhesive on the bottom and should be lifted up carefully as to not bend it.
-
Transfer the strip to the new assembly using the guide holes. (See next step)
-
-
-
Start lifting up the entire logic board here. Use a spudger if needed.
-
Notice here at the top right of the tablet is the button strip to be lifted up.
-
Remove and add this strip to the new assembly.
-
-
-
Remove the four LCD brackets that hold the LCD display in place.
-
Each bracket appears to be similar and reversible thus, mixing them up is not an issue.
-
-
-
If your new assembly does not have this plastic piece, replace it.
-
You may need to apply new adhesive if the old one is not usable.
-
Second image shows new assembly on the left.
-


To reassemble your device, follow these instructions in reverse order.
To reassemble your device, follow these instructions in reverse order.
6等其他人完成本指南。