当前版本的文档还未经巡查,您可以查看最新的已查核版本 。
Before disassembling your Nerf Hail-Fire, be sure to remove the batteries.
Remove the two 9.0 mm Phillips screws securing the battery compartment.
Slide the battery compartment out.
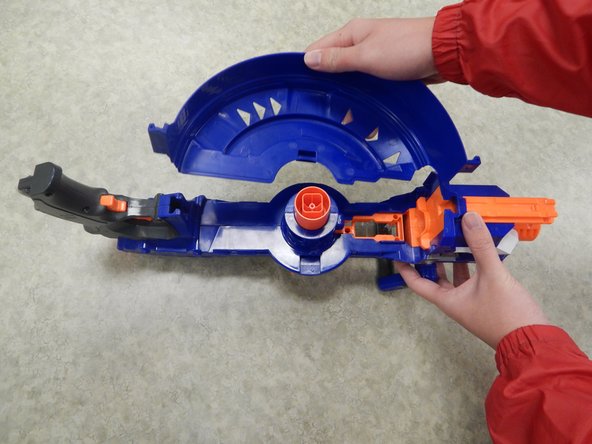
Remove both halves of the ring by tugging on it upwards until the lock gets freed.
This requires quite a bit of force and if you are not careful, you may break the plastic lock.
Remove the three 9.0 mm Phillips screws holding together the firing chamber.
Remove the single 7.0 mm Phillips screw below the barrel.
Remove the two 14.0 mm Philips screws using a screwdriver with a length of approximately 4.0 inches and a diameter of approximately 0.2 cm.
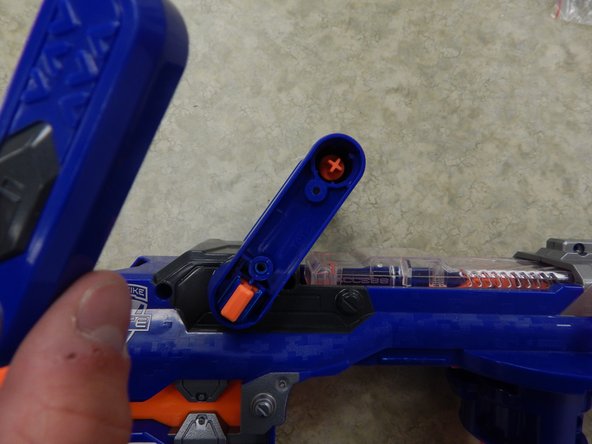
Insert one plastic opening tool inside one side of the orange part depicted in the picture.
Insert a second plastic opening tool to the other side of the orange part and gradually pull the piece out, freeing it from the handle.
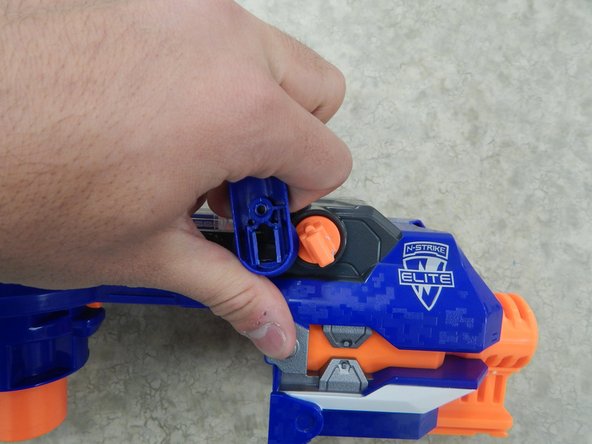
Lift the entire left shell slowly. The process should be easy and if there is any resistance, there is something wrong. You may have forgotten a screw.
Completely remove the left shell from the rest of the Nerf Gun.
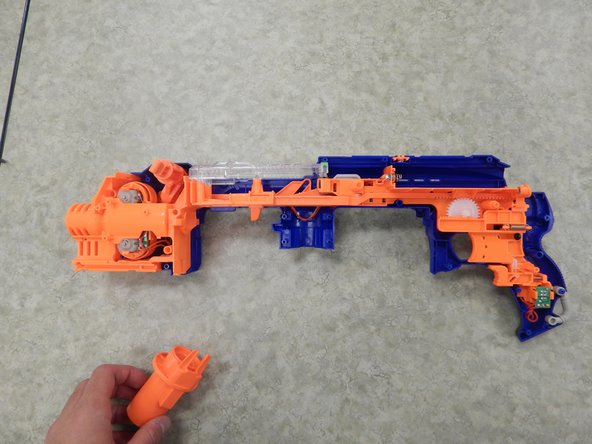
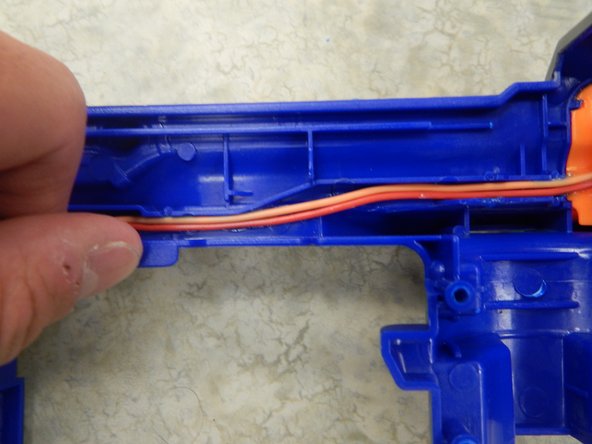
To remove the motor and trigger mechanism you have to detach these two wires which are glued to the shell.
Hold close to the wire and pull upward slowly.
If you pull too quickly you can potentially damage the wire.
Locate the orange bar protruding from the rest of the gun. You should see the spring hooked onto two ends.
Push the orange bar until the spring becomes loose.
The trigger should come loose right away.
嵌入本指南
选择一个尺寸并复制下面的代码,将本指南作为一个小插件嵌入到你的网站/论坛中。
单个步骤
完整指南
小——600像素
中——800像素
大——1200像素
预览