跳转到主内容

Neato BOTVAC CONNECTED Side Wheel Replacement

你所需要的

  1. Neato BOTVAC CONNECTED Side Wheel Replacement, Battery: 步骤 1 中的图像 1,1
    • Place the top of the Neato Botvac Connected against a flat surface.

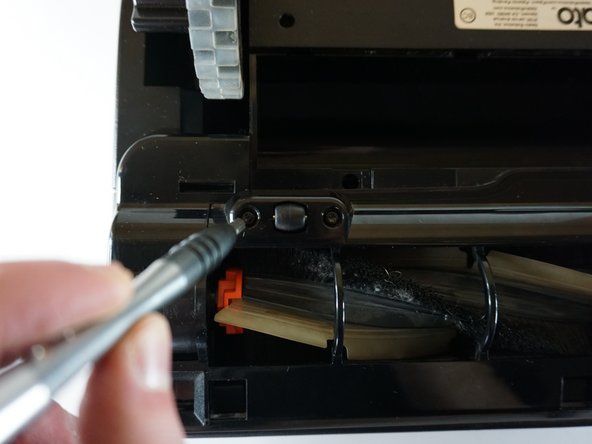
  2. Neato BOTVAC CONNECTED Side Wheel Replacement: 步骤 2 中的图像 1,2 Neato BOTVAC CONNECTED Side Wheel Replacement: 步骤 2 中的图像 2,2
    • Remove the two 5.5 mm screws with a Phillips #2 screwdriver.

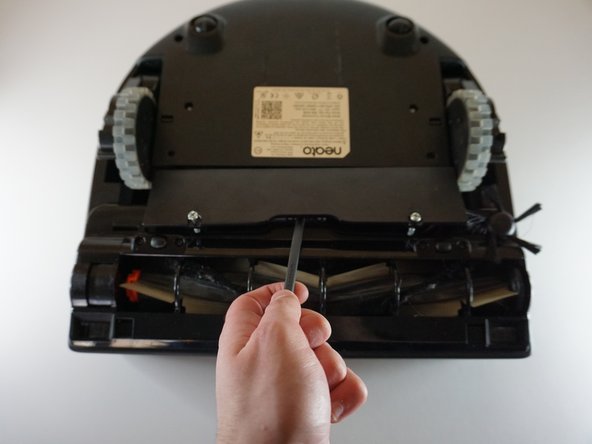
  3. Neato BOTVAC CONNECTED Side Wheel Replacement: 步骤 3 中的图像 1,2 Neato BOTVAC CONNECTED Side Wheel Replacement: 步骤 3 中的图像 2,2
    • Using the spudger, remove the panel covering the battery.

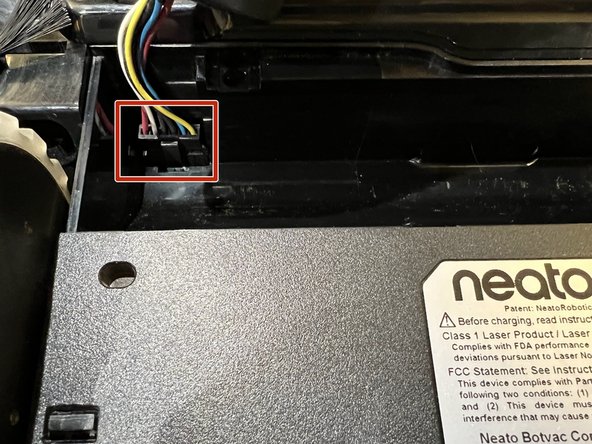
  4. Neato BOTVAC CONNECTED Side Wheel Replacement: 步骤 4 中的图像 1,3 Neato BOTVAC CONNECTED Side Wheel Replacement: 步骤 4 中的图像 2,3 Neato BOTVAC CONNECTED Side Wheel Replacement: 步骤 4 中的图像 3,3
    • Gently remove the connecting wires attached to the battery.

    • The wires are attached to the vacuum through a clip.

  5. Neato BOTVAC CONNECTED Side Wheel Replacement: 步骤 5 中的图像 1,1
    • Using the spudger, gently remove the battery from the device.

  6. Neato BOTVAC CONNECTED Side Wheel Replacement, Front Roller Brush: 步骤 6 中的图像 1,2 Neato BOTVAC CONNECTED Side Wheel Replacement, Front Roller Brush: 步骤 6 中的图像 2,2
    • Remove the following screws with a Torx screwdriver:

    • Four 2.3 mm screws.

  7. Neato BOTVAC CONNECTED Side Wheel Replacement: 步骤 7 中的图像 1,1
    • Gently remove the thin panel held by the four screws with a spudger.

  8. Neato BOTVAC CONNECTED Side Wheel Replacement: 步骤 8 中的图像 1,1
    • Gently remove the two small wheels, and the axles attached to them.

  9. Neato BOTVAC CONNECTED Side Wheel Replacement: 步骤 9 中的图像 1,1
    • Gently remove the panel that is on top of the front roller with the spudger.

  10. Neato BOTVAC CONNECTED Side Wheel Replacement: 步骤 10 中的图像 1,1
    • Gently remove the front brush.

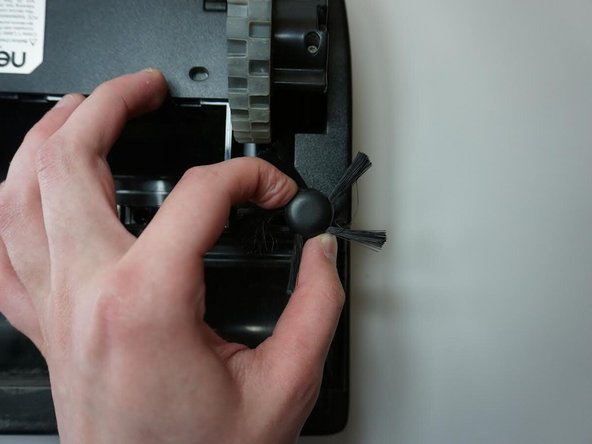
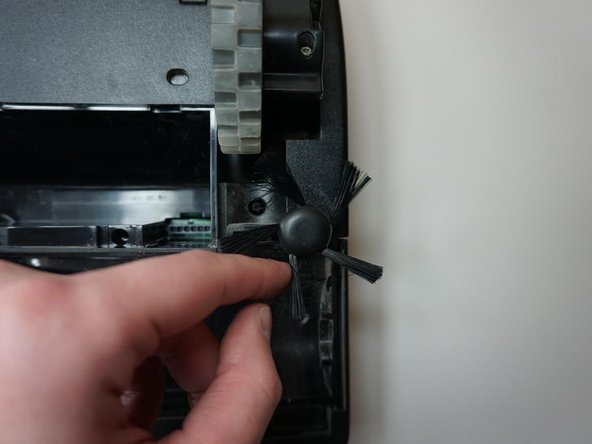
  11. Neato BOTVAC CONNECTED Side Wheel Replacement, Side Brush: 步骤 11 中的图像 1,2 Neato BOTVAC CONNECTED Side Wheel Replacement, Side Brush: 步骤 11 中的图像 2,2
    • Gently twist the side brush back and forth.

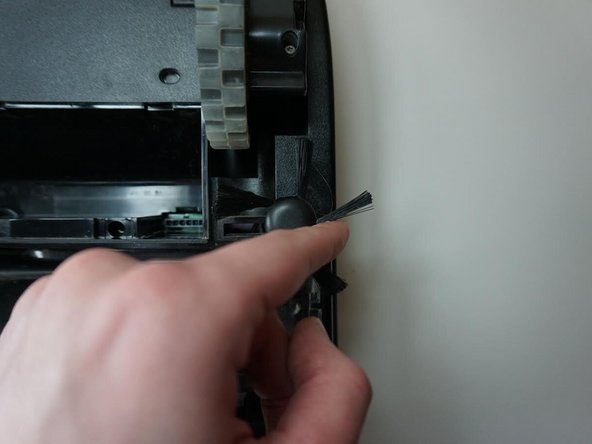
  12. Neato BOTVAC CONNECTED Side Wheel Replacement: 步骤 12 中的图像 1,3 Neato BOTVAC CONNECTED Side Wheel Replacement: 步骤 12 中的图像 2,3 Neato BOTVAC CONNECTED Side Wheel Replacement: 步骤 12 中的图像 3,3
    • Spin the side brush counter counterclockwise.

  13. Neato BOTVAC CONNECTED Side Wheel Replacement: 步骤 13 中的图像 1,1
    • Use the spudger to gently pry up and remove the side brush.

  14. Neato BOTVAC CONNECTED Side Wheel Replacement, Filter: 步骤 14 中的图像 1,1
    • Flip the cleaner around and locate the front panel.

  15. Neato BOTVAC CONNECTED Side Wheel Replacement: 步骤 15 中的图像 1,1
    • Gently remove the front panel by opening it with a spudger.

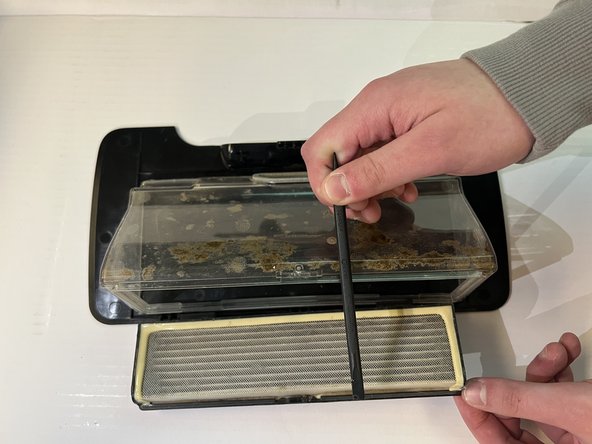
  16. Neato BOTVAC CONNECTED Side Wheel Replacement: 步骤 16 中的图像 1,2 Neato BOTVAC CONNECTED Side Wheel Replacement: 步骤 16 中的图像 2,2
    • Use the spudger to gently remove the paper filter.

  17. Neato BOTVAC CONNECTED Side Wheel Replacement, Side Wheel: 步骤 17 中的图像 1,1
    • Remove the following screws with a TR10 Torx screwdriver:

    • Six 2.3 mm screws.

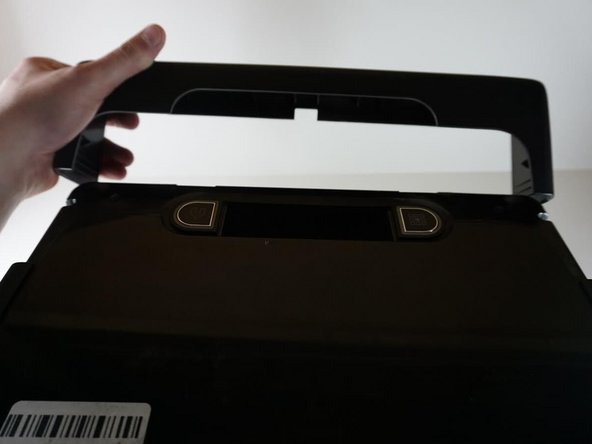
  18. Neato BOTVAC CONNECTED Side Wheel Replacement: 步骤 18 中的图像 1,2 Neato BOTVAC CONNECTED Side Wheel Replacement: 步骤 18 中的图像 2,2
    • Remove the front bumper by pulling it horizontally on each side.

  19. Neato BOTVAC CONNECTED Side Wheel Replacement: 步骤 19 中的图像 1,1
    • Remove the screw that is directly attached to the wheel on the side using a Phillips #2 screwdriver.

  20. Neato BOTVAC CONNECTED Side Wheel Replacement: 步骤 20 中的图像 1,1
    • Remove the two 2.3 mm screws on the front of the vacuum with a TR10 Torx screwdriver.

  21. Neato BOTVAC CONNECTED Side Wheel Replacement: 步骤 21 中的图像 1,1
    • Remove the layer below the front bumper by pressing firmly on the two levers located nearby.

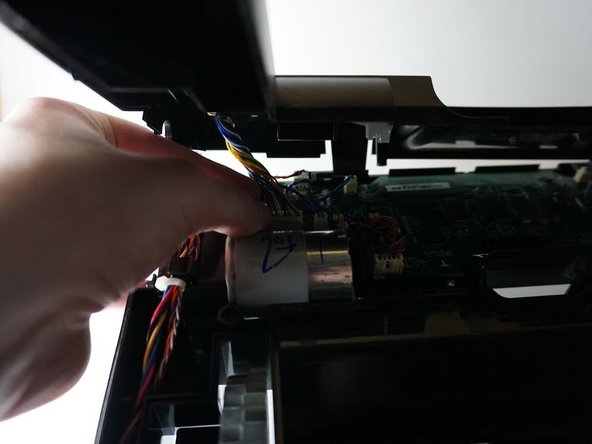
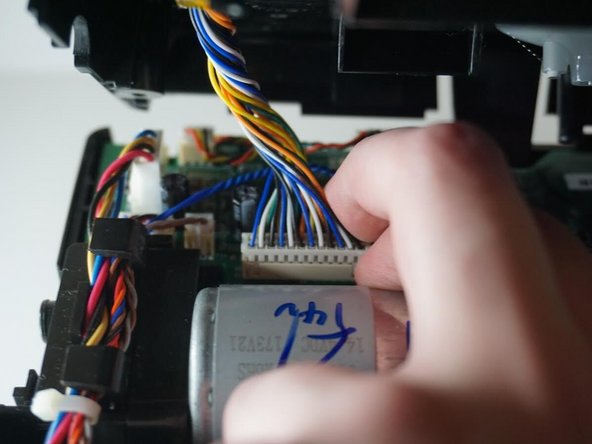
  22. Neato BOTVAC CONNECTED Side Wheel Replacement: 步骤 22 中的图像 1,3 Neato BOTVAC CONNECTED Side Wheel Replacement: 步骤 22 中的图像 2,3 Neato BOTVAC CONNECTED Side Wheel Replacement: 步骤 22 中的图像 3,3
    • Gently take out the top panel, and take out the connecting wires.

  23. Neato BOTVAC CONNECTED Side Wheel Replacement: 步骤 23 中的图像 1,1
    • Remove the following screws with a TR10 Torx screwdriver:

    • Two 2.3 mm screws.

  24. Neato BOTVAC CONNECTED Side Wheel Replacement: 步骤 24 中的图像 1,1
    • Flip around the vacuum and remove the wheel with the spudger.

结论

To reassemble your device, follow these instructions in reverse order.

另外一个人完成了本指南。

Justin Silva

于03/20/23注册

645 声望

创作了5篇指南

团队

UMass Dartmouth, Team 6-3, Botvin Spring 2023 UMass Dartmouth, Team 6-3, Botvin Spring 2023 的会员

UMASSD-BOTVIN-S23S6G3

4 名成员

创作了5篇指南

0条评论

添加评论

浏览统计数据:

过去 24 小时: 0

过去 7 天: 3

过去 30 天: 16

总计 229