跳转到主内容

Nabi 2S Screen Replacement

你所需要的

  1. Nabi 2S Screen Replacement, Nabi 2S Disassembly: 步骤 1 中的图像 1,1
    • Remove the red rubber case from the device.

  2. Nabi 2S Screen Replacement: 步骤 2 中的图像 1,2 Nabi 2S Screen Replacement: 步骤 2 中的图像 2,2
    • Make sure the screen is facing away from you and the back cover is facing you.

    • Using a Phillips #0 Screwdriver, unscrew the 3mm screws counter-clockwise in each corner of the plastic back cover. It will be a total of four screws. The smaller case on the back cover is attached to the main cover so it will not need to be removed.

  3. Nabi 2S Screen Replacement: 步骤 3 中的图像 1,1
    • Using the plastic opening tool, remove the case.

    • Removing the case will take a bit of effort and force. We recommend using two hands and if possible another person to help. It will require some gusto.

    • It is helpful to pry at the corners first to loosen the case.

  4. Nabi 2S Screen Replacement: 步骤 4 中的图像 1,1
    • After the back case is loosened, remove it from the device to change or access the battery.

  5. Nabi 2S Screen Replacement, Screen: 步骤 5 中的图像 1,2 Nabi 2S Screen Replacement, Screen: 步骤 5 中的图像 2,2
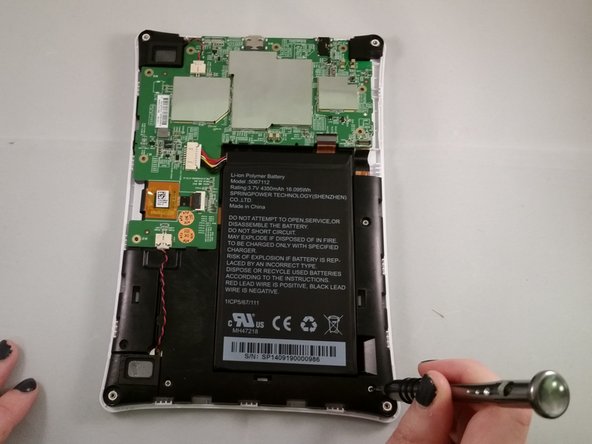
    • Unscrew the circuit board from the motherboard by using a Phillips #0 screwdriver to unscrew the 4mm screws in a counter-clockwise rotation.

  6. Nabi 2S Screen Replacement: 步骤 6 中的图像 1,3 Nabi 2S Screen Replacement: 步骤 6 中的图像 2,3 Nabi 2S Screen Replacement: 步骤 6 中的图像 3,3
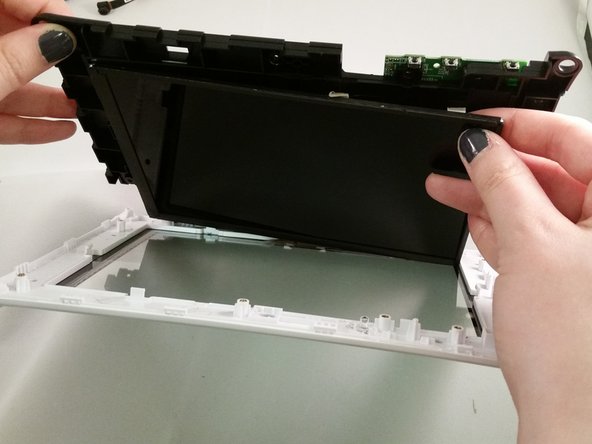
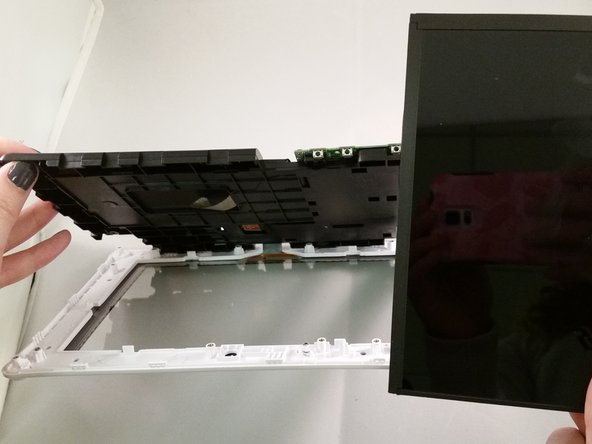
    • Pull motherboard away from the plastic.

    • Use hands to detach the screen because it is taped to the back of the motherboard.

    • Grip the screen and slide it out from between the plastic and the circuit board.

结论

To reassemble your device, follow these instructions in reverse order.

3等其他人完成本指南。

Riana Ramirez

于03/07/16注册

680 声望

创作了4篇指南

团队

Marist, Team 1-4, Laflen Spring 2016 Marist, Team 1-4, Laflen Spring 2016 的会员

MARS-LAFLEN-S16S1G4

2 名成员

创作了10篇指南

0条评论

添加评论

浏览统计数据:

过去 24 小时: 0

过去 7 天: 3

过去 30 天: 4

总计 537