简介
Teardown for polaroid-like toy
你所需要的
-
-
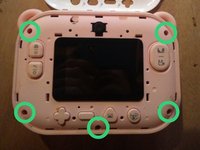
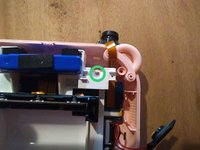
Remove the front panel
-
The panel is simply clipped and can be declipped easily by using a mediator as lever
-
-
-
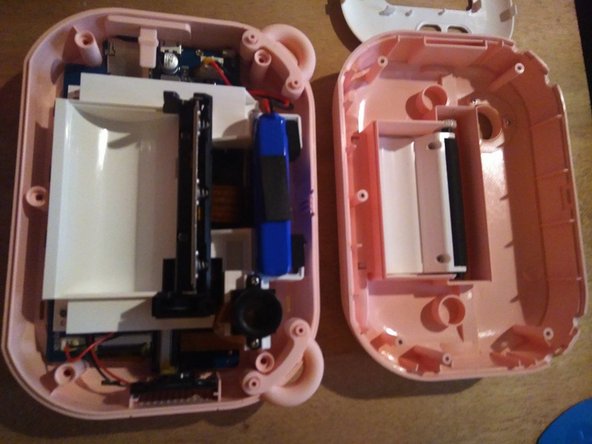
The toy is closed by 5 Philips-head screws, size 0
-
Unscrew them all and open the product
-
-
-
-
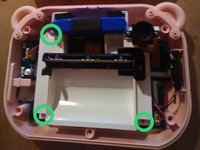
The white piece is held by 4 Philips-head screws
-
Unscrew the three screws you can already access
-
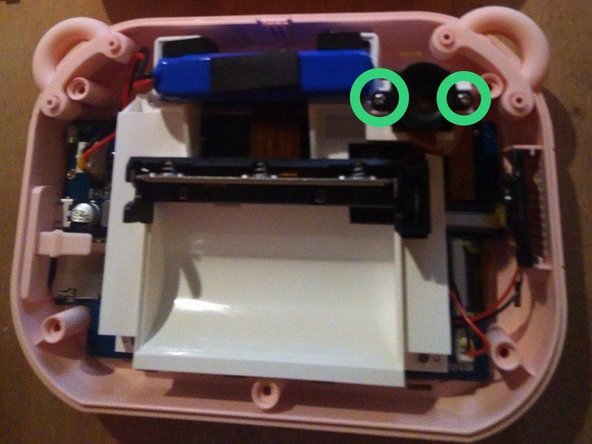
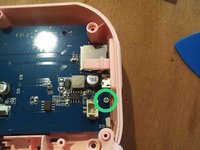
Unscrew the selfie camera, held by two smaller screws
-
Under the camera, unscrew the forth screw holding the piece
-
-
-
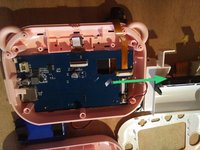
Remove the glue around the screen connector
-
Disconnect by lifting the connector clip upward
-
-
-
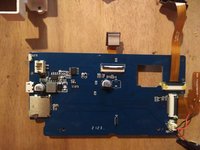
The board is held by the 4 previously removed screws, plus another screw close to USB connector
-
Once all those are removed and the screen is disconnected, pull the card from its compartment by sliding it on the side opposite to USB connector
-
-
-
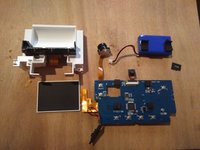
Unknown microcontrolleur, QFP80 package , with reference "2104G-91"
-
Princeton Technology PT5139-HT motor driver
-
Syncrown PT48D 2-inch thermal printer
-
Thinksum 123050 7.4V 750mAh li-ion battery
-
Screen, speaker, two photo modules
-


To reassemble your device, follow the unmounting instructions in reverse order.


1指南评论
Hi,
Where can I purchase a replacement lcd screen for the “myfirst camera insta 2” model no. FC2401