跳转到主内容

Motorola RAZR2 v9m Motherboard Replacement

你所需要的

  1. Motorola RAZR2 v9m Motherboard Replacement, Battery: 步骤 1 中的图像 1,2 Motorola RAZR2 v9m Motherboard Replacement, Battery: 步骤 1 中的图像 2,2
    • Push the rear cover toward the hinge of the RAZR2. The panel will slide about 3 mm.

  2. Motorola RAZR2 v9m Motherboard Replacement: 步骤 2 中的图像 1,3 Motorola RAZR2 v9m Motherboard Replacement: 步骤 2 中的图像 2,3 Motorola RAZR2 v9m Motherboard Replacement: 步骤 2 中的图像 3,3
    • Pinch the top and bottom edges of the panel and pull it away from the RAZR2.

    • The rear panel uses four small hooks to hold it in place. If the panel will not easily pull away, slide the panel more toward the hinge.

  3. Motorola RAZR2 v9m Motherboard Replacement: 步骤 3 中的图像 1,2 Motorola RAZR2 v9m Motherboard Replacement: 步骤 3 中的图像 2,2
    • Gently pull the white plastic tab to lift the battery away from the RAZR2.

    • The white plastic tab is attached to the phone. Only pull it enough to expose the edges of the battery.

  4. Motorola RAZR2 v9m Motherboard Replacement: 步骤 4 中的图像 1,2 Motorola RAZR2 v9m Motherboard Replacement: 步骤 4 中的图像 2,2
    • To remove the battery, grasp its edges pull away from the phone.

    • When installing a new battery, be sure the metal contacts on the phone line up with the ones on the battery.

  5. Motorola RAZR2 v9m Motherboard Replacement, Flip-stop Bumper Pad: 步骤 5 中的图像 1,3 Motorola RAZR2 v9m Motherboard Replacement, Flip-stop Bumper Pad: 步骤 5 中的图像 2,3 Motorola RAZR2 v9m Motherboard Replacement, Flip-stop Bumper Pad: 步骤 5 中的图像 3,3
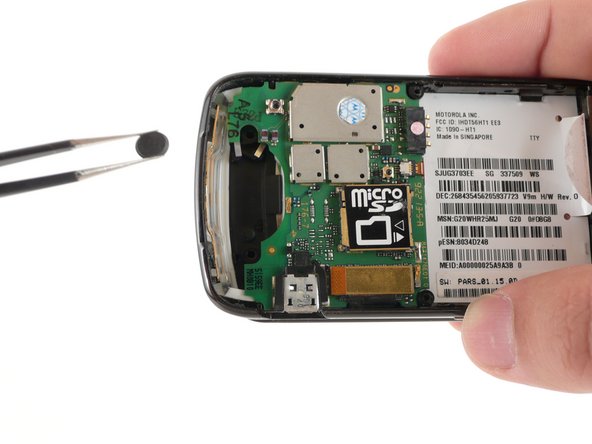
    • Gently press the pointy end of the spudger into the edge of the bumper until it bows and separates from the phone.

    • The bumper is held in place with adhesive. If you plan on reusing the bumper, then use clean tools to keep the surface sticky.

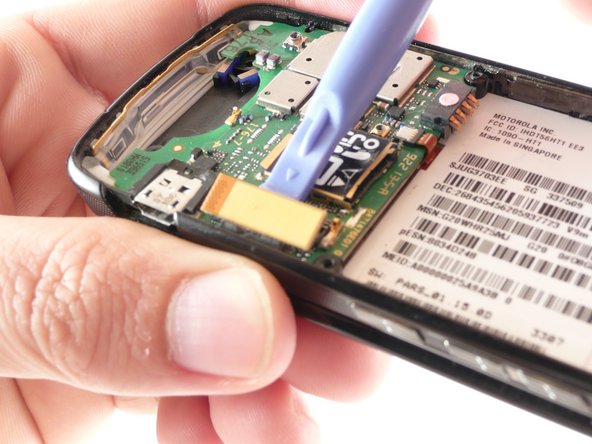
    • Grab the bowed portion of bumper. Gently lift and peel the bumper away from the phone.

    • Remember that the bumper will be sticky. Place it somewhere clean if you will be reusing it.

  6. Motorola RAZR2 v9m Motherboard Replacement, Back Housing: 步骤 6 中的图像 1,2 Motorola RAZR2 v9m Motherboard Replacement, Back Housing: 步骤 6 中的图像 2,2
    • Remove the two 4-mm T5 Torx screws, previously hidden beneath the flip stop bumper pad.

  7. Motorola RAZR2 v9m Motherboard Replacement: 步骤 7 中的图像 1,2 Motorola RAZR2 v9m Motherboard Replacement: 步骤 7 中的图像 2,2
    • Close the phone and flip it onto its back.

    • Remove the two 4-mm T5 Torx screws.

  8. Motorola RAZR2 v9m Motherboard Replacement: 步骤 8 中的图像 1,2 Motorola RAZR2 v9m Motherboard Replacement: 步骤 8 中的图像 2,2
    • Wedge the spudger about 4 mm into the gap between the phone casing and the rear housing.

    • Pry the rear housing away from the phone until enough is exposed to grasp with your fingers.

  9. Motorola RAZR2 v9m Motherboard Replacement: 步骤 9 中的图像 1,3 Motorola RAZR2 v9m Motherboard Replacement: 步骤 9 中的图像 2,3 Motorola RAZR2 v9m Motherboard Replacement: 步骤 9 中的图像 3,3
    • Tilt the loosened half of the rear housing away from the phone. The housing should easily separate after tilting it about 45 degrees away from the phone.

    • A small rubber cap (marked in red on the third image) loosely sits on the motherboard. It can easily fall off when removing the rear housing. Take care not to lose it.

  10. Motorola RAZR2 v9m Motherboard Replacement, Motherboard: 步骤 10 中的图像 1,3 Motorola RAZR2 v9m Motherboard Replacement, Motherboard: 步骤 10 中的图像 2,3 Motorola RAZR2 v9m Motherboard Replacement, Motherboard: 步骤 10 中的图像 3,3
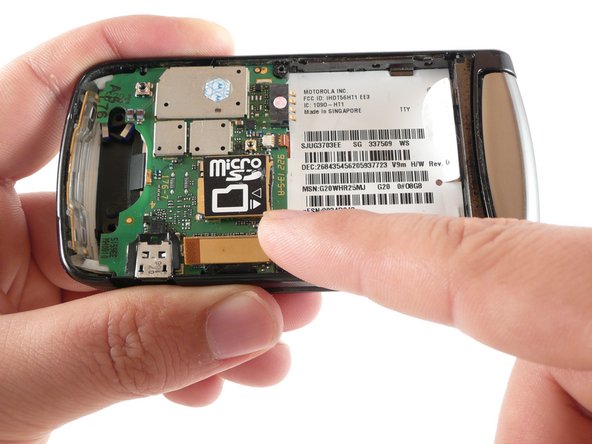
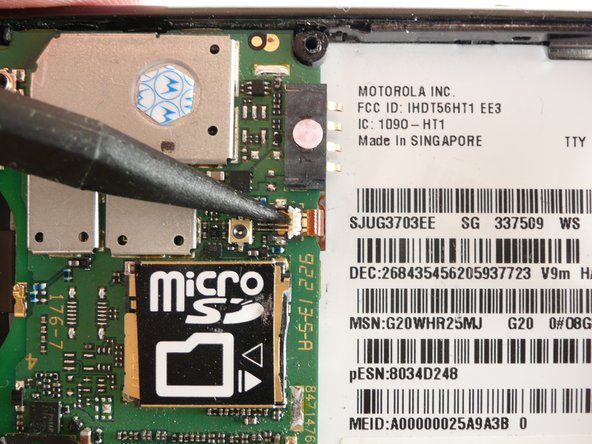
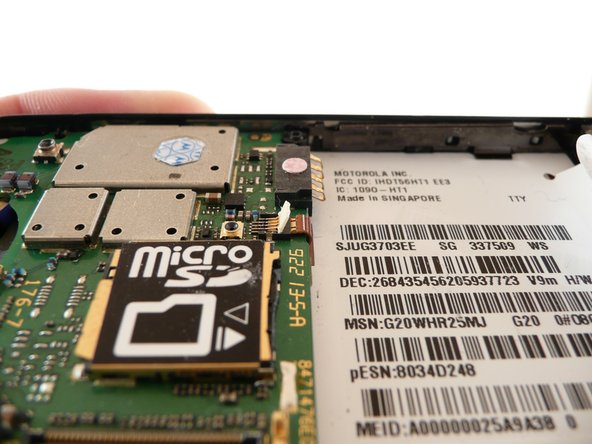
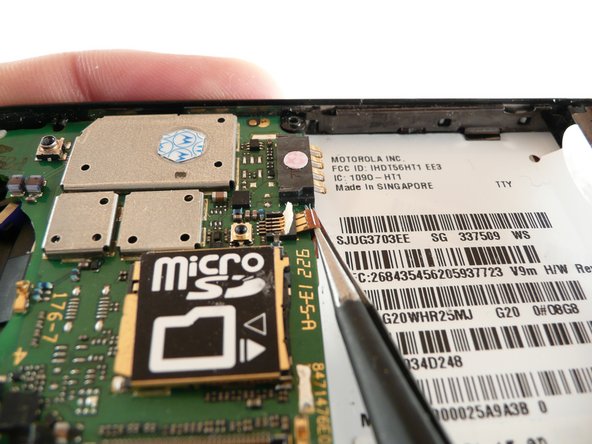
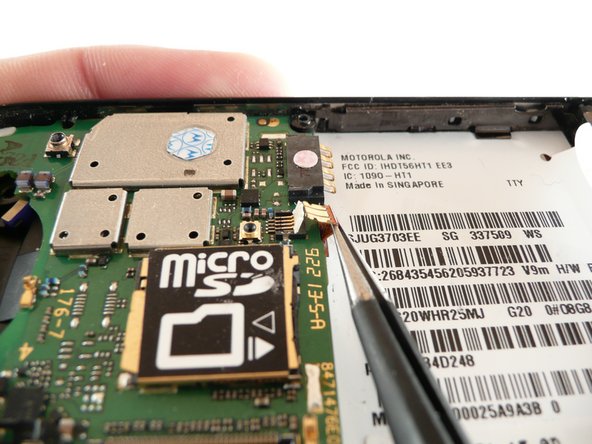
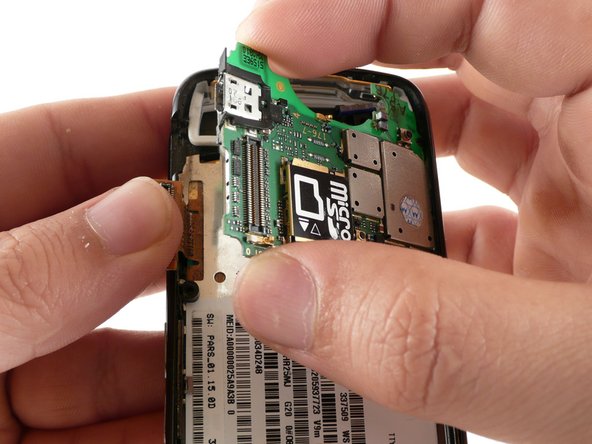
    • Use a pair of tweezers or your fingers to remove the small rubber cap from the motherboard.

  11. Motorola RAZR2 v9m Motherboard Replacement: 步骤 11 中的图像 1,3 Motorola RAZR2 v9m Motherboard Replacement: 步骤 11 中的图像 2,3 Motorola RAZR2 v9m Motherboard Replacement: 步骤 11 中的图像 3,3
    • Use a plastic opening tool to gently pry the main motherboard cable connector away from the RAZR2.

  12. Motorola RAZR2 v9m Motherboard Replacement: 步骤 12 中的图像 1,3 Motorola RAZR2 v9m Motherboard Replacement: 步骤 12 中的图像 2,3 Motorola RAZR2 v9m Motherboard Replacement: 步骤 12 中的图像 3,3
    • Use your finger to bend the connector away from the RAZR2.

  13. Motorola RAZR2 v9m Motherboard Replacement: 步骤 13 中的图像 1,3 Motorola RAZR2 v9m Motherboard Replacement: 步骤 13 中的图像 2,3 Motorola RAZR2 v9m Motherboard Replacement: 步骤 13 中的图像 3,3
    • Use a spudger to flip open the white clamp holding the keypad ribbon in place.

  14. Motorola RAZR2 v9m Motherboard Replacement: 步骤 14 中的图像 1,3 Motorola RAZR2 v9m Motherboard Replacement: 步骤 14 中的图像 2,3 Motorola RAZR2 v9m Motherboard Replacement: 步骤 14 中的图像 3,3
    • Slide the tip of a pair of tweezers between the motherboard and the keyboard cable.

    • Slide the keyboard cable towards the top of the phone, away from the motherboard.

  15. Motorola RAZR2 v9m Motherboard Replacement: 步骤 15 中的图像 1,3 Motorola RAZR2 v9m Motherboard Replacement: 步骤 15 中的图像 2,3 Motorola RAZR2 v9m Motherboard Replacement: 步骤 15 中的图像 3,3
    • While holding the main motherboard cable connector away from the RAZR2, gently lift the motherboard away from the phone.

结论

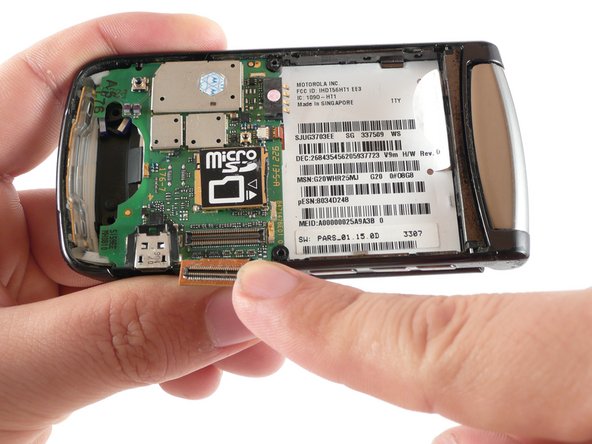
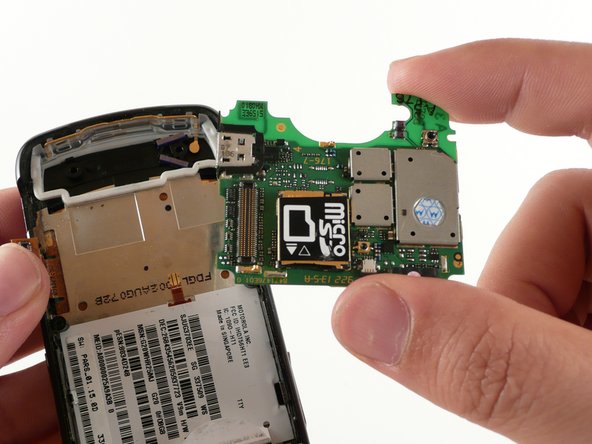
To reassemble your device, follow these instructions in reverse order.

2等其他人完成本指南。

0条评论

添加评论

浏览统计数据:

过去 24 小时: 0

过去 7 天: 3

过去 30 天: 10

总计 1,948