跳转到主内容

Motorola Moto G5 Motherboard Replacement

你所需要的

  1. Motorola Moto G5 Motherboard Replacement, Back Cover: 步骤 1 中的图像 1,2 Motorola Moto G5 Motherboard Replacement, Back Cover: 步骤 1 中的图像 2,2
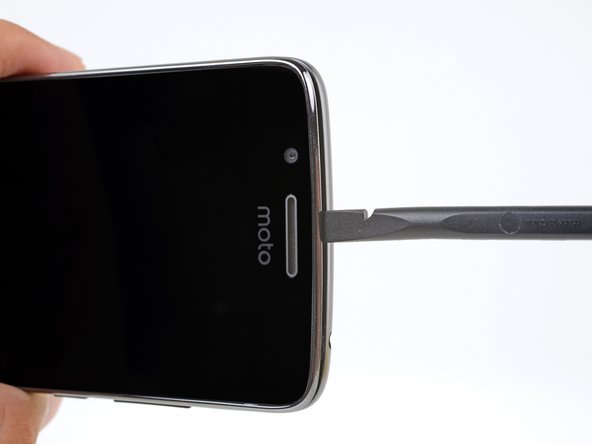
    • Insert your fingernail or the flat end of a spudger into the notch on the bottom edge of the phone near the charging port.

    • Pry with your fingernail or twist the spudger to release the back cover from the phone.

  2. Motorola Moto G5 Motherboard Replacement: 步骤 2 中的图像 1,3 Motorola Moto G5 Motherboard Replacement: 步骤 2 中的图像 2,3 Motorola Moto G5 Motherboard Replacement: 步骤 2 中的图像 3,3
    • Insert the flat end of a spudger into the seam and slide it along the bottom edge to release the clips holding the back cover to the phone.

  3. Motorola Moto G5 Motherboard Replacement: 步骤 3 中的图像 1,3 Motorola Moto G5 Motherboard Replacement: 步骤 3 中的图像 2,3 Motorola Moto G5 Motherboard Replacement: 步骤 3 中的图像 3,3
    • Continue sliding the flat end of the spudger along the seam for the remaining sides of the phone.

  4. Motorola Moto G5 Motherboard Replacement: 步骤 4 中的图像 1,2 Motorola Moto G5 Motherboard Replacement: 步骤 4 中的图像 2,2
    • Lift the back cover and remove it from the phone.

    • To reinstall the back cover, align the cover with the phone and squeeze along the edges to snap the clips back into place.

  5. Motorola Moto G5 Motherboard Replacement, Battery: 步骤 5 中的图像 1,2 Motorola Moto G5 Motherboard Replacement, Battery: 步骤 5 中的图像 2,2
    • Insert your fingernail or the flat end of the spudger into the notch below the battery.

    • Pry with your fingernail or spudger until you free the battery from its recess.

  6. Motorola Moto G5 Motherboard Replacement: 步骤 6 中的图像 1,1
    • Remove the battery.

    • When installing the battery, make sure the battery's contacts line up with the three gold pins on the top right.

  7. Motorola Moto G5 Motherboard Replacement, Rear Facing Camera: 步骤 7 中的图像 1,2 Motorola Moto G5 Motherboard Replacement, Rear Facing Camera: 步骤 7 中的图像 2,2
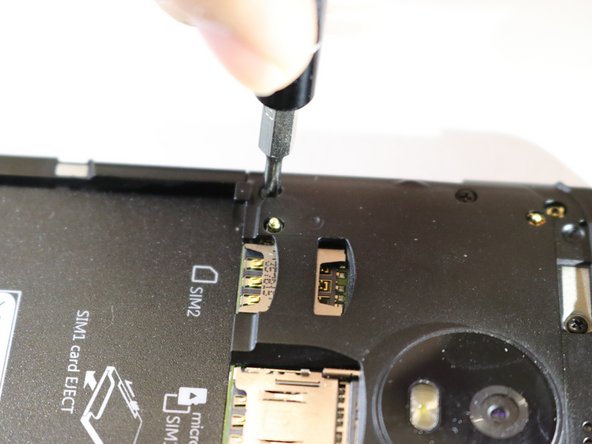
    • Remove the eight (8) 4mm screws with a Phillips screwdriver.

  8. Motorola Moto G5 Motherboard Replacement: 步骤 8 中的图像 1,3 Motorola Moto G5 Motherboard Replacement: 步骤 8 中的图像 2,3 Motorola Moto G5 Motherboard Replacement: 步骤 8 中的图像 3,3
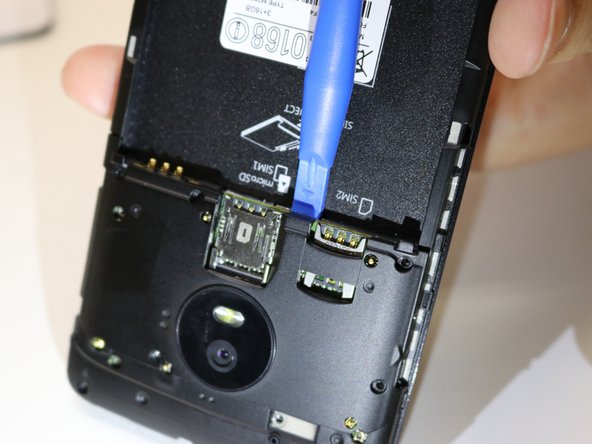
    • Pry the top motherboard cover off using a plastic opening tool.

    • When prying it open, make sure to pry it around evenly so that the cover will not snap. This will require some force.

  9. Motorola Moto G5 Motherboard Replacement: 步骤 9 中的图像 1,3 Motorola Moto G5 Motherboard Replacement: 步骤 9 中的图像 2,3 Motorola Moto G5 Motherboard Replacement: 步骤 9 中的图像 3,3
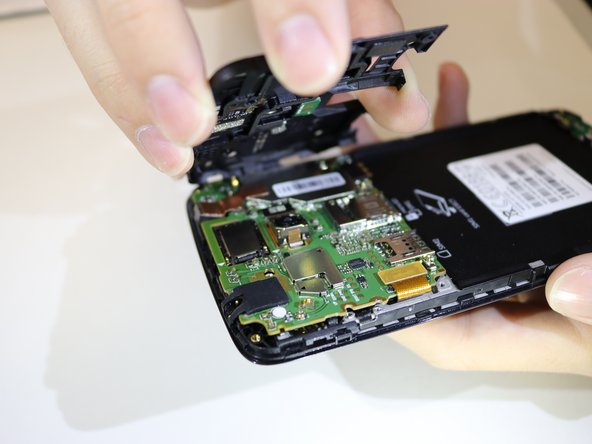
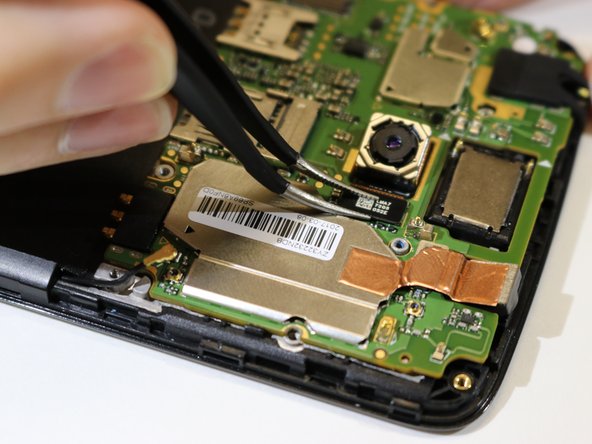
    • Disconnect the marked connector with a pair of tweezers and remove the camera piece.

  10. Motorola Moto G5 Motherboard Replacement, Motherboard: 步骤 10 中的图像 1,1
    • Remove the two 4mm screws shown in the picture using a Phillips #00 screwdriver.

    before lifting the motherboard, remove a) the copper-colored connector on the upper part of the picture and b) disconnect the antenna. The antenna is already disconnected in the picture shown above, but it is not mentioned before

    K. Krass - 回复

    The motherboard is hooked with the plastic pieces next to the screws shown in the picture. When reinstalling, press those 2 points (right of upper screw, and left of the bottom one)

    Francisco - 回复

  11. Motorola Moto G5 Motherboard Replacement: 步骤 11 中的图像 1,1
    • Lift the motherboard up from the top of the phone.

  12. Motorola Moto G5 Motherboard Replacement: 步骤 12 中的图像 1,1
    • Unplug the back connector from the motherboard using tweezers.

结论

To reassemble your device, follow these instructions in reverse order.

11等其他人完成本指南。

Luis Garcia

于01/24/18注册

307 声望

撰写一个指南

团队

Cal Poly, Team S2-G3, Livingston Winter 2018 Cal Poly, Team S2-G3, Livingston Winter 2018 的会员

CPSU-LIVINGSTON-W18S2G3

4 名成员

创作了16篇指南

2条评论

is a xt1670 logic board compatible with a xt1671 phone?

Jaime Oziel Moreno - 回复

While disassembling I accidentally broke off one of the antenna "pins" (the one under the audio jack). I'll try to solder it on again, but in case I cannot, you think it will affect its proper operation too much? I cannot test it right now as I am waiting a replacement side buttons board.

karajay - 回复

添加评论

浏览统计数据:

过去 24 小时: 2

过去 7 天: 11

过去 30 天: 51

总计 6,218