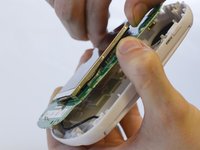
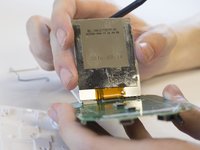
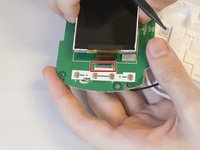
跳转到主内容

Motorola MBP33SBU LCD Screen Replacement

你所需要的

  1. Motorola MBP33SBU LCD Screen Replacement, Battery: 步骤 1 中的图像 1,2 Motorola MBP33SBU LCD Screen Replacement, Battery: 步骤 1 中的图像 2,2
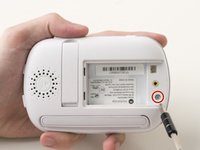
    • Using the Phillips #1 screwdriver, remove the battery cover screw.

    • Remove the battery cover from its hinges and set aside.

  2. Motorola MBP33SBU LCD Screen Replacement: 步骤 2 中的图像 1,3 Motorola MBP33SBU LCD Screen Replacement: 步骤 2 中的图像 2,3 Motorola MBP33SBU LCD Screen Replacement: 步骤 2 中的图像 3,3
    • Lift the battery from its slot.

    • Using precision tweezers, grip the connector plug.

    • Wiggle the connector plug and pull up to remove the connecting wires.

    • Remove the battery from the unit and set it aside.

  3. Motorola MBP33SBU LCD Screen Replacement, LCD Screen: 步骤 3 中的图像 1,3 Motorola MBP33SBU LCD Screen Replacement, LCD Screen: 步骤 3 中的图像 2,3 Motorola MBP33SBU LCD Screen Replacement, LCD Screen: 步骤 3 中的图像 3,3
    • Using the Phillips #1 screwdriver, remove the 7mm screw under the battery cover.

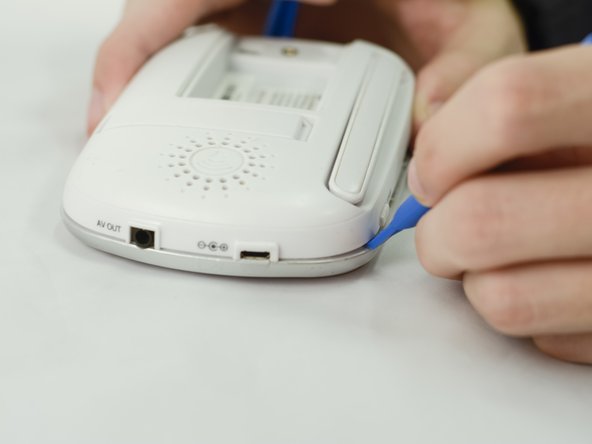
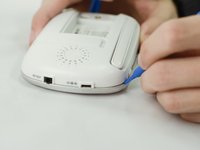
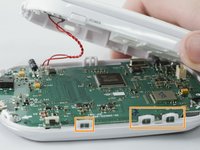
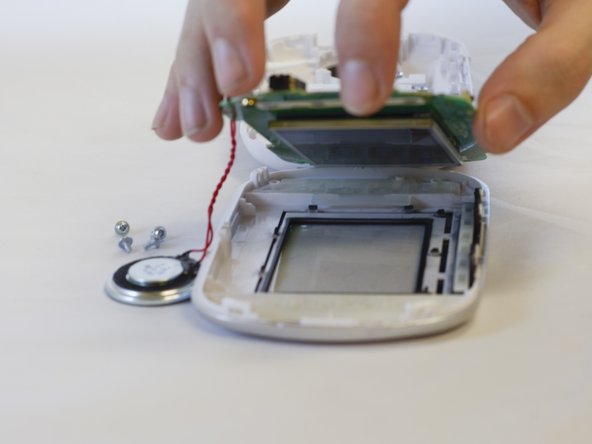
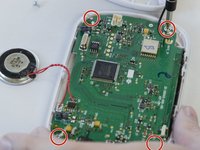
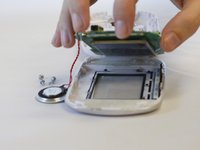
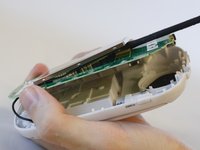
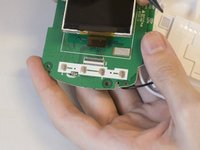
    • Using the blue plastic opening tools, begin prying open the corners and disconnecting the seven clasps around the edges of the parent unit.

    • There should be seven plastic clasps that hook the top portion of the plastic shell to the bottom, these clasps may become damaged while disassembling.

  4. Motorola MBP33SBU LCD Screen Replacement: 步骤 4 中的图像 1,3 Motorola MBP33SBU LCD Screen Replacement: 步骤 4 中的图像 2,3 Motorola MBP33SBU LCD Screen Replacement: 步骤 4 中的图像 3,3
    • Using the Phillips #1 screwdriver, remove the 5.5mm screws holding the circuit board to the shell.

    • Lift the circuit board from the face of the shell, the back should still be connected by the antenna and the speaker.

    • The LCD Screen is glued to the circuit board by a protective foam layer. Attempts at removing the screen may result in damaged hardware.

  5. Motorola MBP33SBU LCD Screen Replacement: 步骤 5 中的图像 1,3 Motorola MBP33SBU LCD Screen Replacement: 步骤 5 中的图像 2,3 Motorola MBP33SBU LCD Screen Replacement: 步骤 5 中的图像 3,3
    • Using the flat end of the spudger tool, wedge the tool between the foam layer and the circuit board.

    • This might bend the metal frame around the screen out of place (don't worry about bending the metal, it is part of the screen being replaced).

    • Using the spudger and your fingers, pry the screen from the circuit board.

  6. Motorola MBP33SBU LCD Screen Replacement: 步骤 6 中的图像 1,2 Motorola MBP33SBU LCD Screen Replacement: 步骤 6 中的图像 2,2
    • There is a small black clasp that holds the circuit ribbon in place. The LCD screen can be removed without undoing the clasp but will need to be put back in place when installing the new screen.

    • Gripping the screen with your fingers, gently pull and wiggle back and fourth until the circuit ribbon detaches from the circuit board.

结论

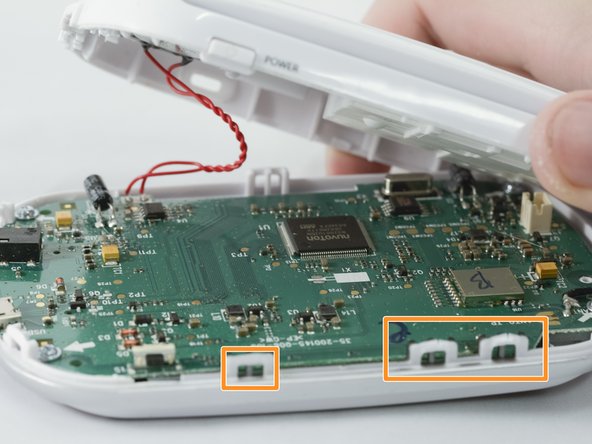
To reassemble your device, follow these instructions in reverse order.

3等其他人完成本指南。

一条评论

Thanks for the this guide! I just needed to get to the antenna and wanted to make sure I want breaking anything.

modem21 - 回复

添加评论

浏览统计数据:

过去 24 小时: 1

过去 7 天: 5

过去 30 天: 12

总计 3,681