跳转到主内容
加入维修社区 - 创建账户

Motorola Droid RAZR M Battery Replacement

你所需要的

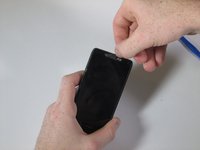
    1. Motorola Droid RAZR M Battery Replacement, Front Assembly: 步骤 1 中的图像 1,3 Motorola Droid RAZR M Battery Replacement, Front Assembly: 步骤 1 中的图像 2,3 Motorola Droid RAZR M Battery Replacement, Front Assembly: 步骤 1 中的图像 3,3
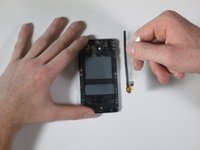
      • Open the small latch on the left side of the device by lifting gently with your finger, exposing the SIM card and microSD card slots.

      • If either of these cards are present, remove them to prevent damaging them while taking apart the phone. Our device does not have either.

      • Close the latch once the two cards are removed.

      询问修复机器人

      添加评论

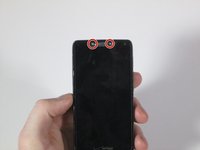
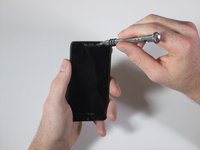
    2. Motorola Droid RAZR M Battery Replacement: 步骤 2 中的图像 1,3 Motorola Droid RAZR M Battery Replacement: 步骤 2 中的图像 2,3 Motorola Droid RAZR M Battery Replacement: 步骤 2 中的图像 3,3
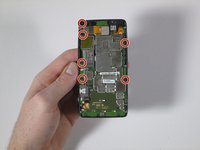
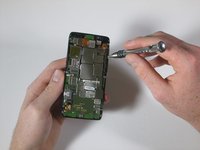
      • Remove the six 4mm T3 Torx screws. There are 3 on each side of the device.

      询问修复机器人

      添加评论

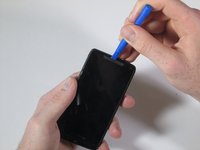
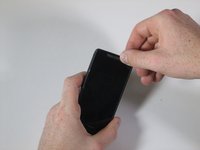
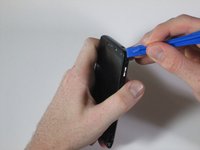
    3. Motorola Droid RAZR M Battery Replacement: 步骤 3 中的图像 1,3 Motorola Droid RAZR M Battery Replacement: 步骤 3 中的图像 2,3 Motorola Droid RAZR M Battery Replacement: 步骤 3 中的图像 3,3
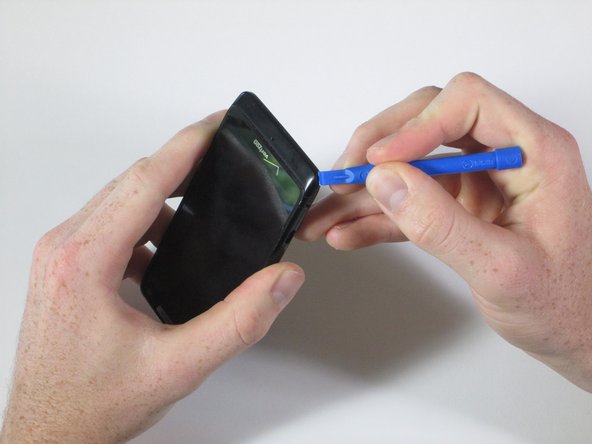
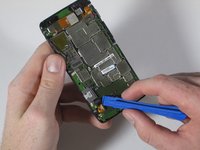
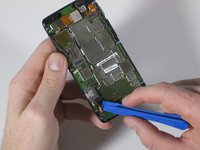
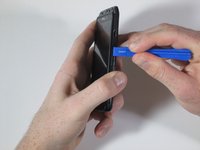
      • Run the plastic opening tool under the bottom edge of the phone to detach the small plastic cover below the Verizon logo.

      • It will take some force to remove this piece. Work around the bottom corners to unlatch the two hooks holding the piece in place.

      • The small plastic hooks can break during removal. Be careful that you don't damage them, but it will take some force to get them undone.

      • Once the plastic cover is detached, pull the piece away with your fingers.

      添加评论

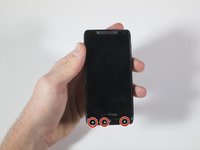
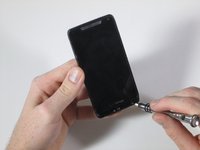
    4. Motorola Droid RAZR M Battery Replacement: 步骤 4 中的图像 1,2 Motorola Droid RAZR M Battery Replacement: 步骤 4 中的图像 2,2
      • Remove the three T4 Torx screws. There are three at the bottom of the device.

      询问修复机器人

      添加评论

    5. Motorola Droid RAZR M Battery Replacement: 步骤 5 中的图像 1,3 Motorola Droid RAZR M Battery Replacement: 步骤 5 中的图像 2,3 Motorola Droid RAZR M Battery Replacement: 步骤 5 中的图像 3,3
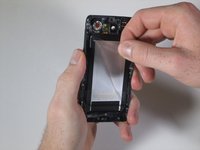
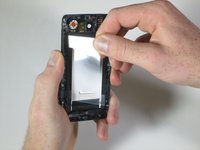
      • Using the plastic opening tool, peel away the silver Motorola plate at the top of the phone. There is a fair amount of adhesive underneath, so you may have to pry it from a few different angles.

      • As soon as you can get your finger underneath, pull away the silver plate.

      询问修复机器人

      添加评论

    6. Motorola Droid RAZR M Battery Replacement: 步骤 6 中的图像 1,2 Motorola Droid RAZR M Battery Replacement: 步骤 6 中的图像 2,2
      • Remove the two 7mm T4 Torx screws at the top of the device.

      询问修复机器人

      添加评论

    7. Motorola Droid RAZR M Battery Replacement: 步骤 7 中的图像 1,3 Motorola Droid RAZR M Battery Replacement: 步骤 7 中的图像 2,3 Motorola Droid RAZR M Battery Replacement: 步骤 7 中的图像 3,3
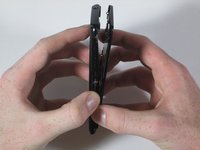
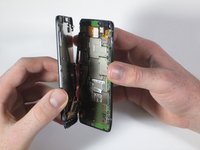
      • When you detach the front from the back, don't pull the two pieces entirely apart. There is a flat orange wire that connects the two pieces that will be disconnected in the next step.

      • Snap apart the two internal clips located on the top corners of the device, and the two clips in the bottom corners.

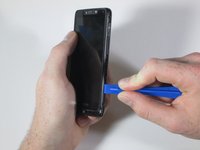
      • Run the plastic opening tool around the edge of the entire device to pry apart the front of the phone from the back.

      • There is a small black plastic piece located at the bottom of the front assembly. Do not worry if the strip falls off; just simply snap it back on and proceed.

      询问修复机器人

      添加评论

    8. Motorola Droid RAZR M Battery Replacement: 步骤 8 中的图像 1,3 Motorola Droid RAZR M Battery Replacement: 步骤 8 中的图像 2,3 Motorola Droid RAZR M Battery Replacement: 步骤 8 中的图像 3,3
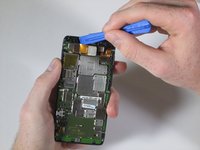
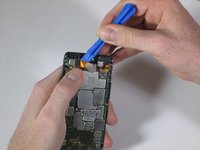
      • Like a clamshell, slowly open the device from the top. Open the remainder of the device slowly while being mindful of the flat orange wire that connects the motherboard to the front assembly.

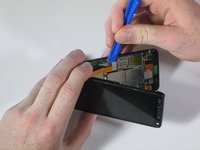
      • Undo the snap connection in the lower left corner by inserting the plastic opening tool under the end of the orange wire connected to the motherboard. Lift gently.

      • Once the snap connection is undone, pull apart the front assembly from the rest of the phone.

      询问修复机器人

      添加评论

    1. Motorola Droid RAZR M Battery Replacement, Motherboard: 步骤 9 中的图像 1,2 Motorola Droid RAZR M Battery Replacement, Motherboard: 步骤 9 中的图像 2,2
      • Remove the six 4mm T5 Torx screws located along the outer edge of the motherboard.

      询问修复机器人

      添加评论

    2. Motorola Droid RAZR M Battery Replacement: 步骤 10 中的图像 1,2 Motorola Droid RAZR M Battery Replacement: 步骤 10 中的图像 2,2
      • Disconnect the snap connection in the lower left corner by prying underneath using the plastic opening tool.

      询问修复机器人

      添加评论

    3. Motorola Droid RAZR M Battery Replacement: 步骤 11 中的图像 1,2 Motorola Droid RAZR M Battery Replacement: 步骤 11 中的图像 2,2
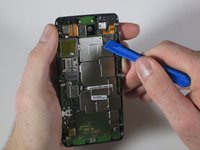
      • Disconnect the snap connection in the upper left corner by prying underneath using the plastic opening tool.

      • As you undo the snap connection, pull the rear facing camera off completely. It will slide out of its slot in the motherboard.

      询问修复机器人

      添加评论

    4. Motorola Droid RAZR M Battery Replacement: 步骤 12 中的图像 1,2 Motorola Droid RAZR M Battery Replacement: 步骤 12 中的图像 2,2
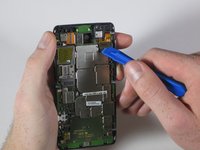
      • Disconnect the snap connection in the upper right corner by prying underneath using the plastic opening tool.

      询问修复机器人

      添加评论

    5. Motorola Droid RAZR M Battery Replacement: 步骤 13 中的图像 1,3 Motorola Droid RAZR M Battery Replacement: 步骤 13 中的图像 2,3 Motorola Droid RAZR M Battery Replacement: 步骤 13 中的图像 3,3
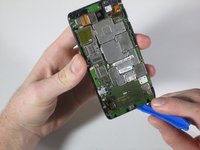
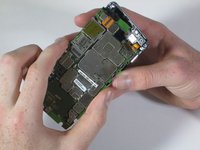
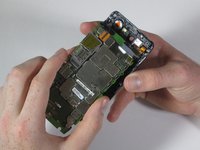
      • By inserting the plastic opening tool between the motherboard and rear casing, lift the bottom of the motherboard from the rear casing.

      • Use your fingers to gently pull the motherboard down and out of the rear casing.

      询问修复机器人

      添加评论

    1. Motorola Droid RAZR M Battery Replacement, Battery: 步骤 14 中的图像 1,3 Motorola Droid RAZR M Battery Replacement, Battery: 步骤 14 中的图像 2,3 Motorola Droid RAZR M Battery Replacement, Battery: 步骤 14 中的图像 3,3
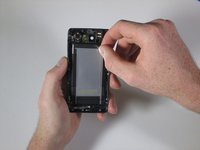
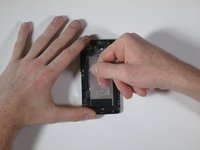
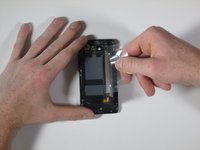
      • Peel back the plastic from the face of the battery.

      询问修复机器人

      添加评论

    2. Motorola Droid RAZR M Battery Replacement: 步骤 15 中的图像 1,3 Motorola Droid RAZR M Battery Replacement: 步骤 15 中的图像 2,3 Motorola Droid RAZR M Battery Replacement: 步骤 15 中的图像 3,3
      • Pull up on the plastic to lift the battery out of the rear assembly casing.

      • There is adhesive securing the battery so you will need to apply a good amount of force.

      • Hold down the left edge of the rear assembly casing as you pull the battery out.

      添加评论

结论

To reassemble your device, follow these instructions in reverse order.

取消:我没有完成这个指南。

12等其他人完成本指南。

团队

Cal Poly, Team 15-1, Amido Spring 2015 Cal Poly, Team 15-1, Amido Spring 2015 的会员

CPSU-AMIDO-S15S15G1

4 名成员

创作了49篇指南

6指南评论

Thank you! This phone is really well-built, and a bear to disassemble. This guide had exactly what I needed to see.

Roy Thomasson - 回复 分享
this was a rockin' guide!!! looked everywhere and here it is, and yes a bear but a cool one!

apriltanner1975 - 回复 分享

Thank You! Hope this new battery works better than the old one!

autococker13 - 回复 分享

Yeah it's kind of helpful.

Sebastian ballensky - 回复 分享

where will i get the battery for the my own phone now

Timothy - 回复 分享

添加评论

浏览统计数据:

过去 24 小时: 0

过去 7 天: 4

过去 30 天: 28

总计 9,183