With the spudger still inserted between the rear case and front case, slide the spudger along the right edge of the device, moving toward the bottom, prying as you go.
Continue prying along the bottom edge of the device from right to left, freeing it from the front panel.
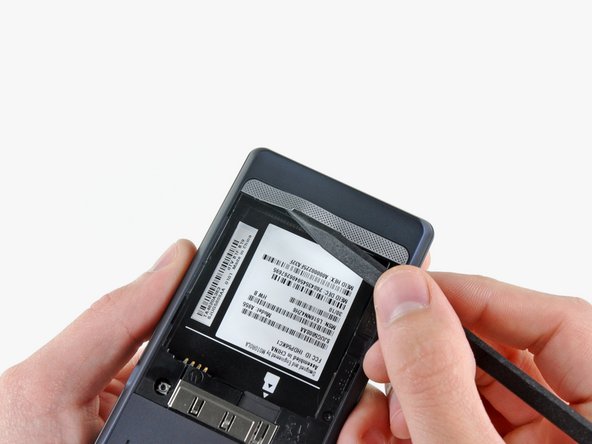
Insert a spudger between the back and front case of the display assembly, and peel the two ribbon cables off the two adhesive pads along the back case of the display assembly.
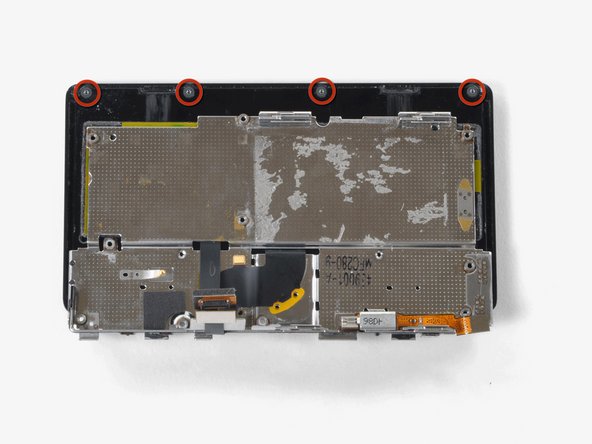
The location of the pads on the back case is shown. The top left corner of the case is the corner of the phone shown in the first picture.
While feeding the display ribbon cable through the slot in the metal keypad backing, slowly continue to slide the phone open past its normal allowed point.
Continue feeding the display ribbon cable through and sliding the phone until the LCD assembly is separated from the keypad.
Thank you very much for this tutorial. It saved me from buying a new phone! It was scary once the phone was completely disected to think that it had to somehow go back together, but I just followed the steps in reverse. I used t4 for the larger screws as t5 did not seem to fit, but it worked out great. Thanks again.